Wednesday, July 17, 2013

Time for a new swim bag...

My youngest's swim/summer bag has seen better days and it's time for a new one, and quick! Since there are three kids in my family they all have to be responsible for their own stuff. Besides the fact that I just don't have enough hands to carry everyone's stuff, I believe in teaching responsibility early on. While carrying your own towel, goggles, and swim rocket my not seem like a big deal, let me tell you the first time one of them doesn't have what they need they learn really quick not to leave their bag on the counter. Therefore, when one six-year old's bag is falling apart, she is not a happy camper. There is no way she wants to carry all her stuff in her arms. She needs her stuff all together, easy to carry, and ready for action!

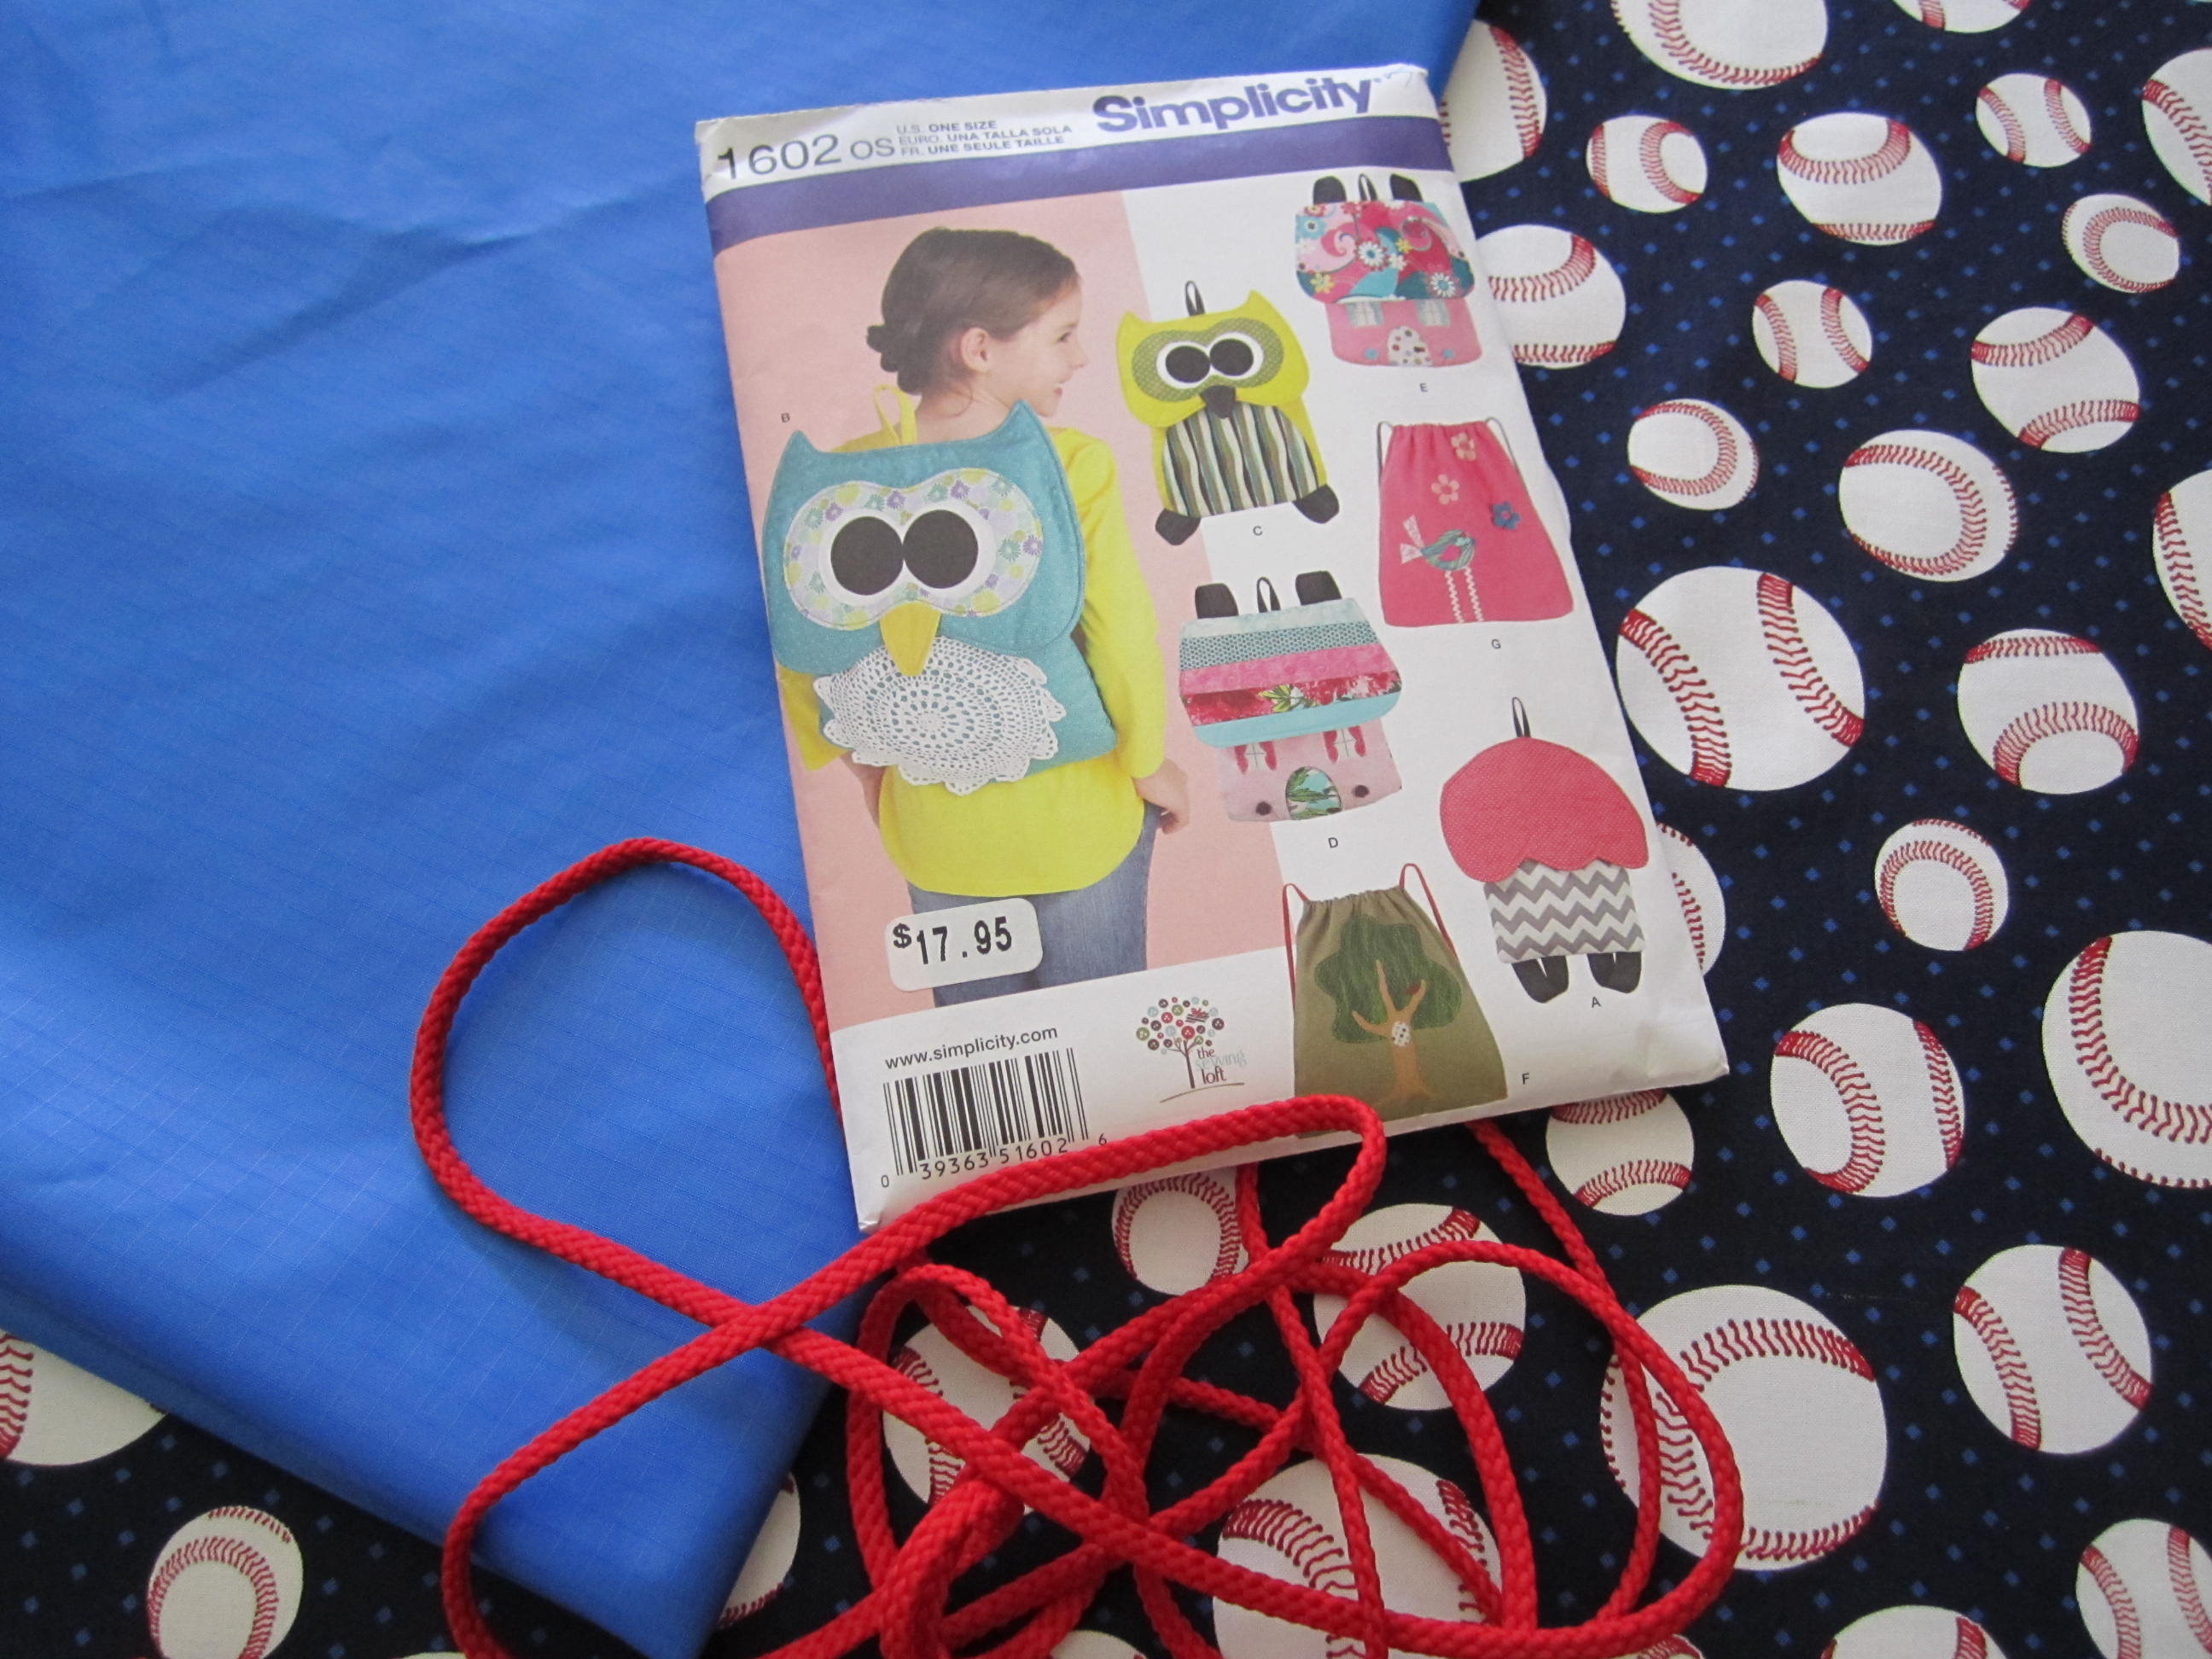
Here is a super quick pattern that Robin whipped up. You can use any cotton print that will personalize it to your child. Sarah just finished her first year in Little League, so this print is right up her alley.

We used Simplicity 1602. All you need 5/8 yards of a cotton print, 5/8 yards of a coordinating rip stop, and 3 yards of a drawstring cord.

photo copy 40

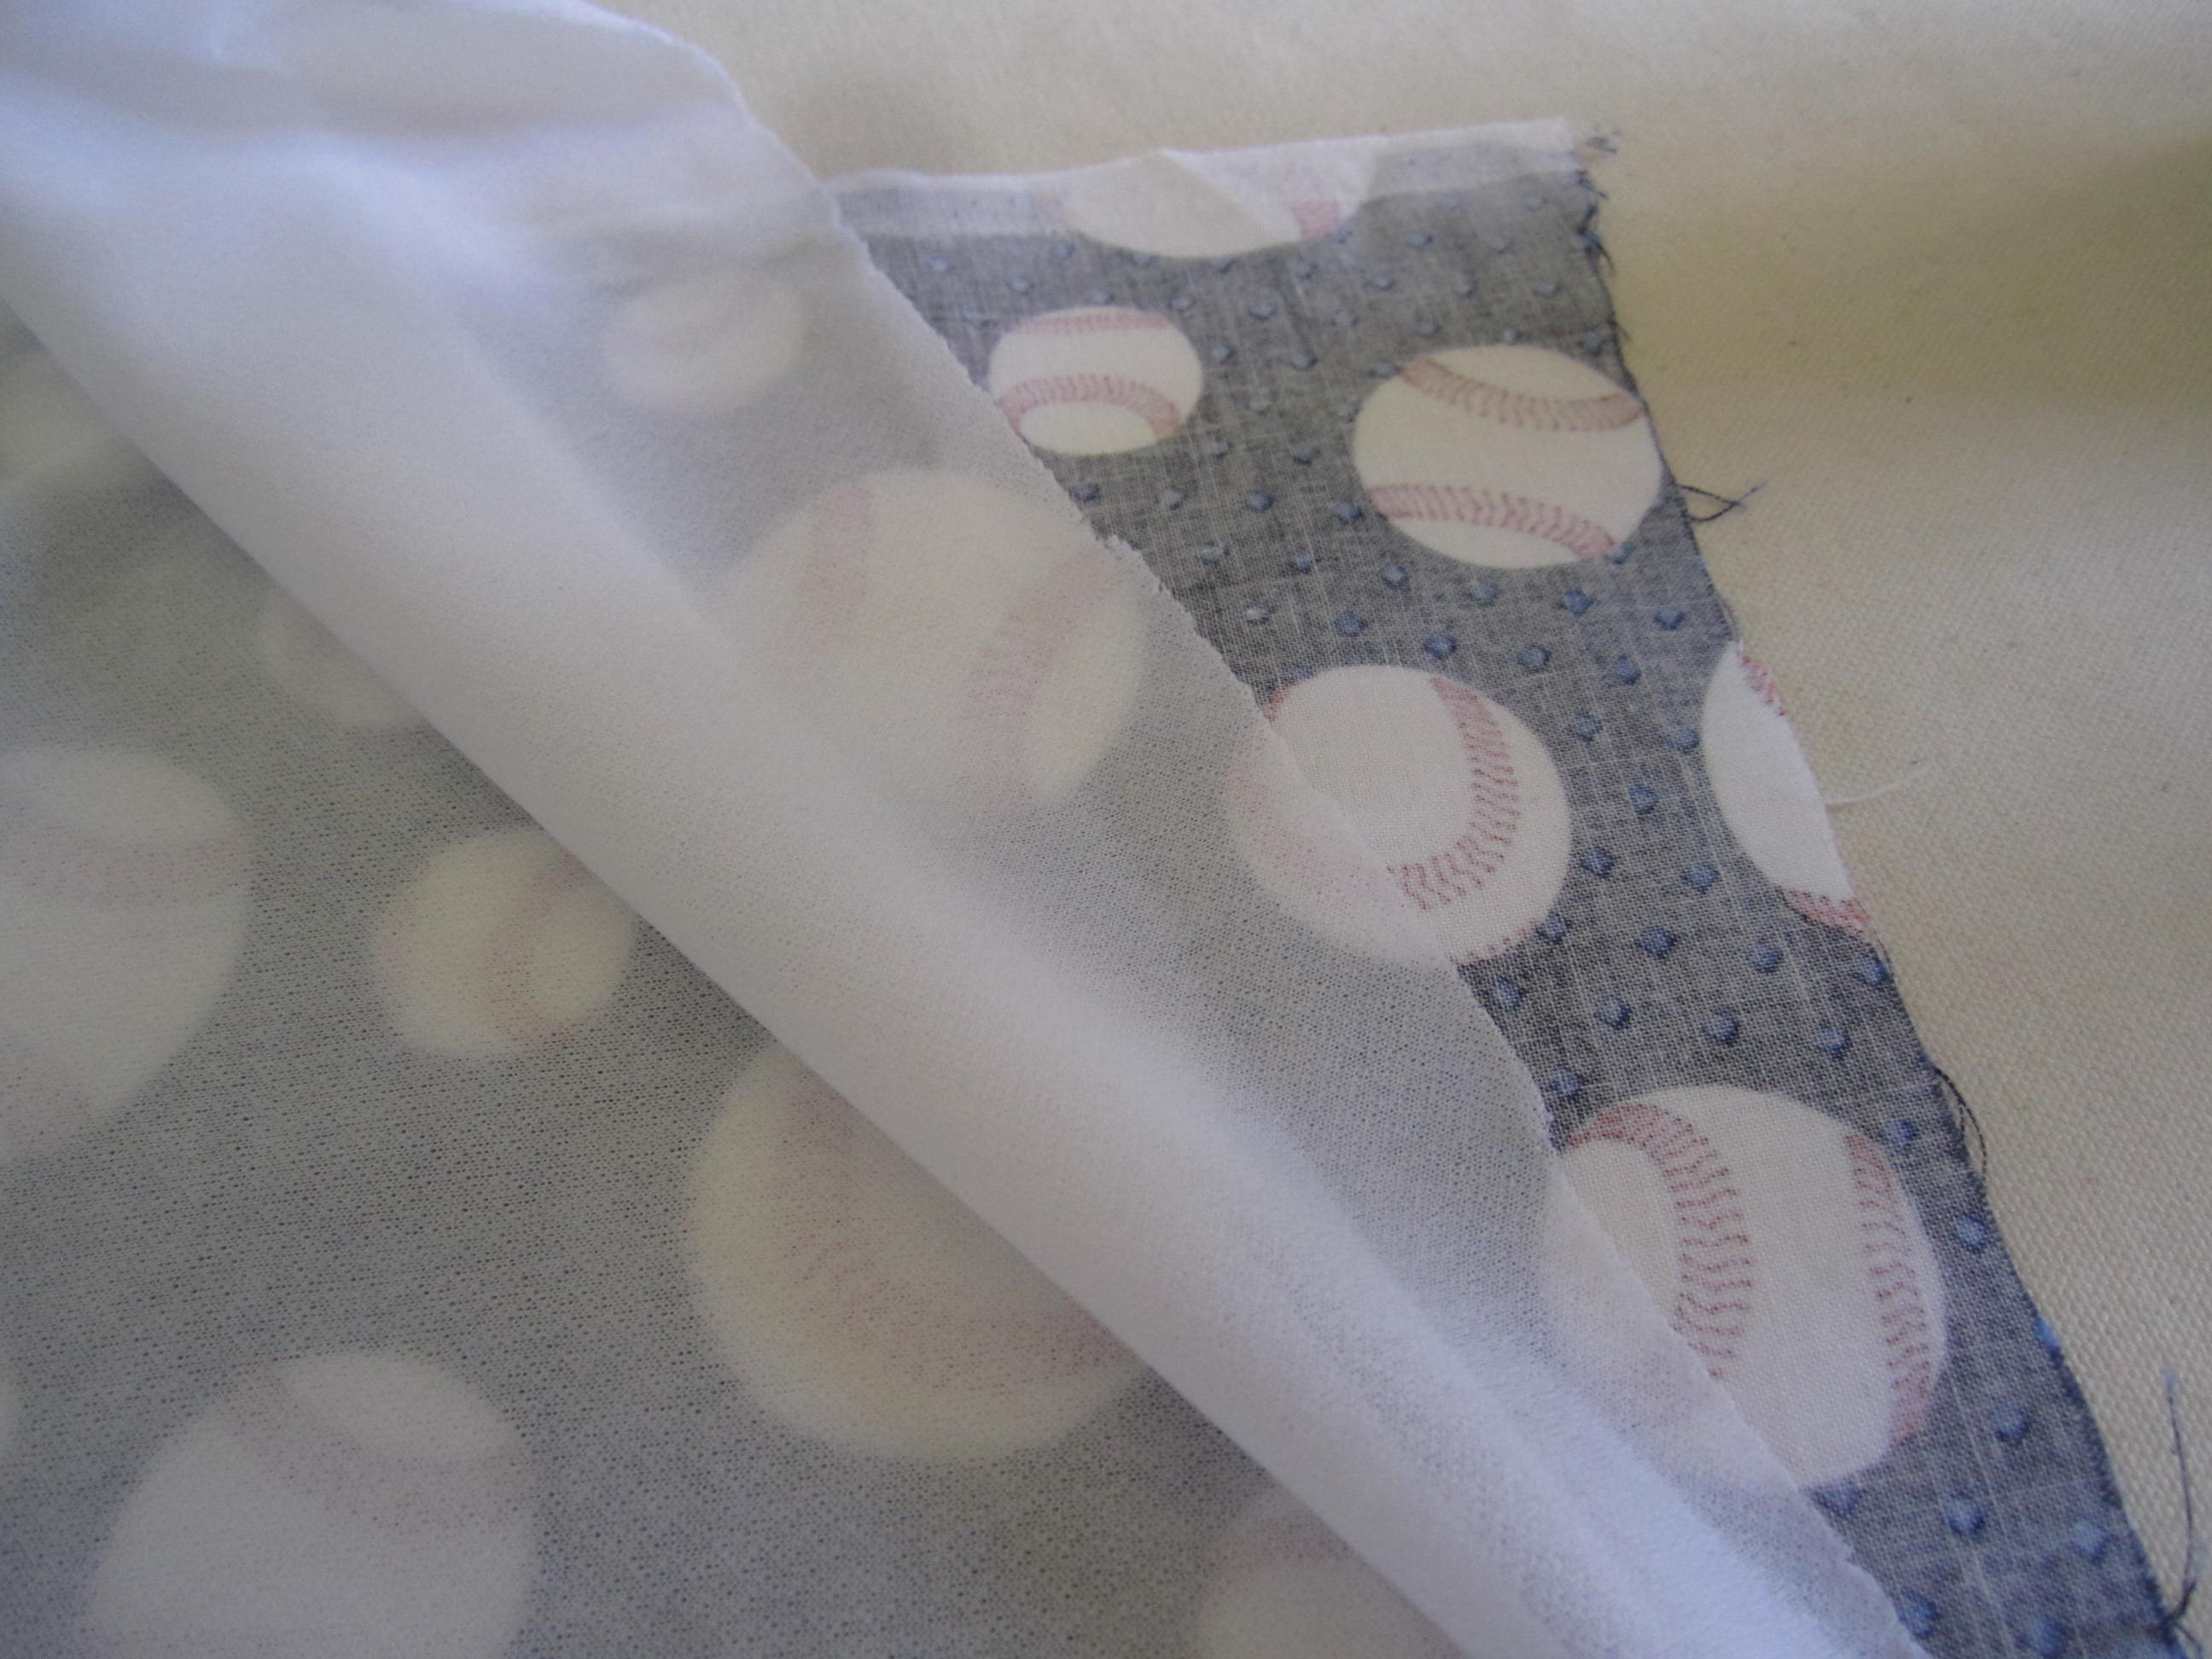
Ironing on some fusible interfacing to add some "hand" and body to the fabric.
photo copy 39

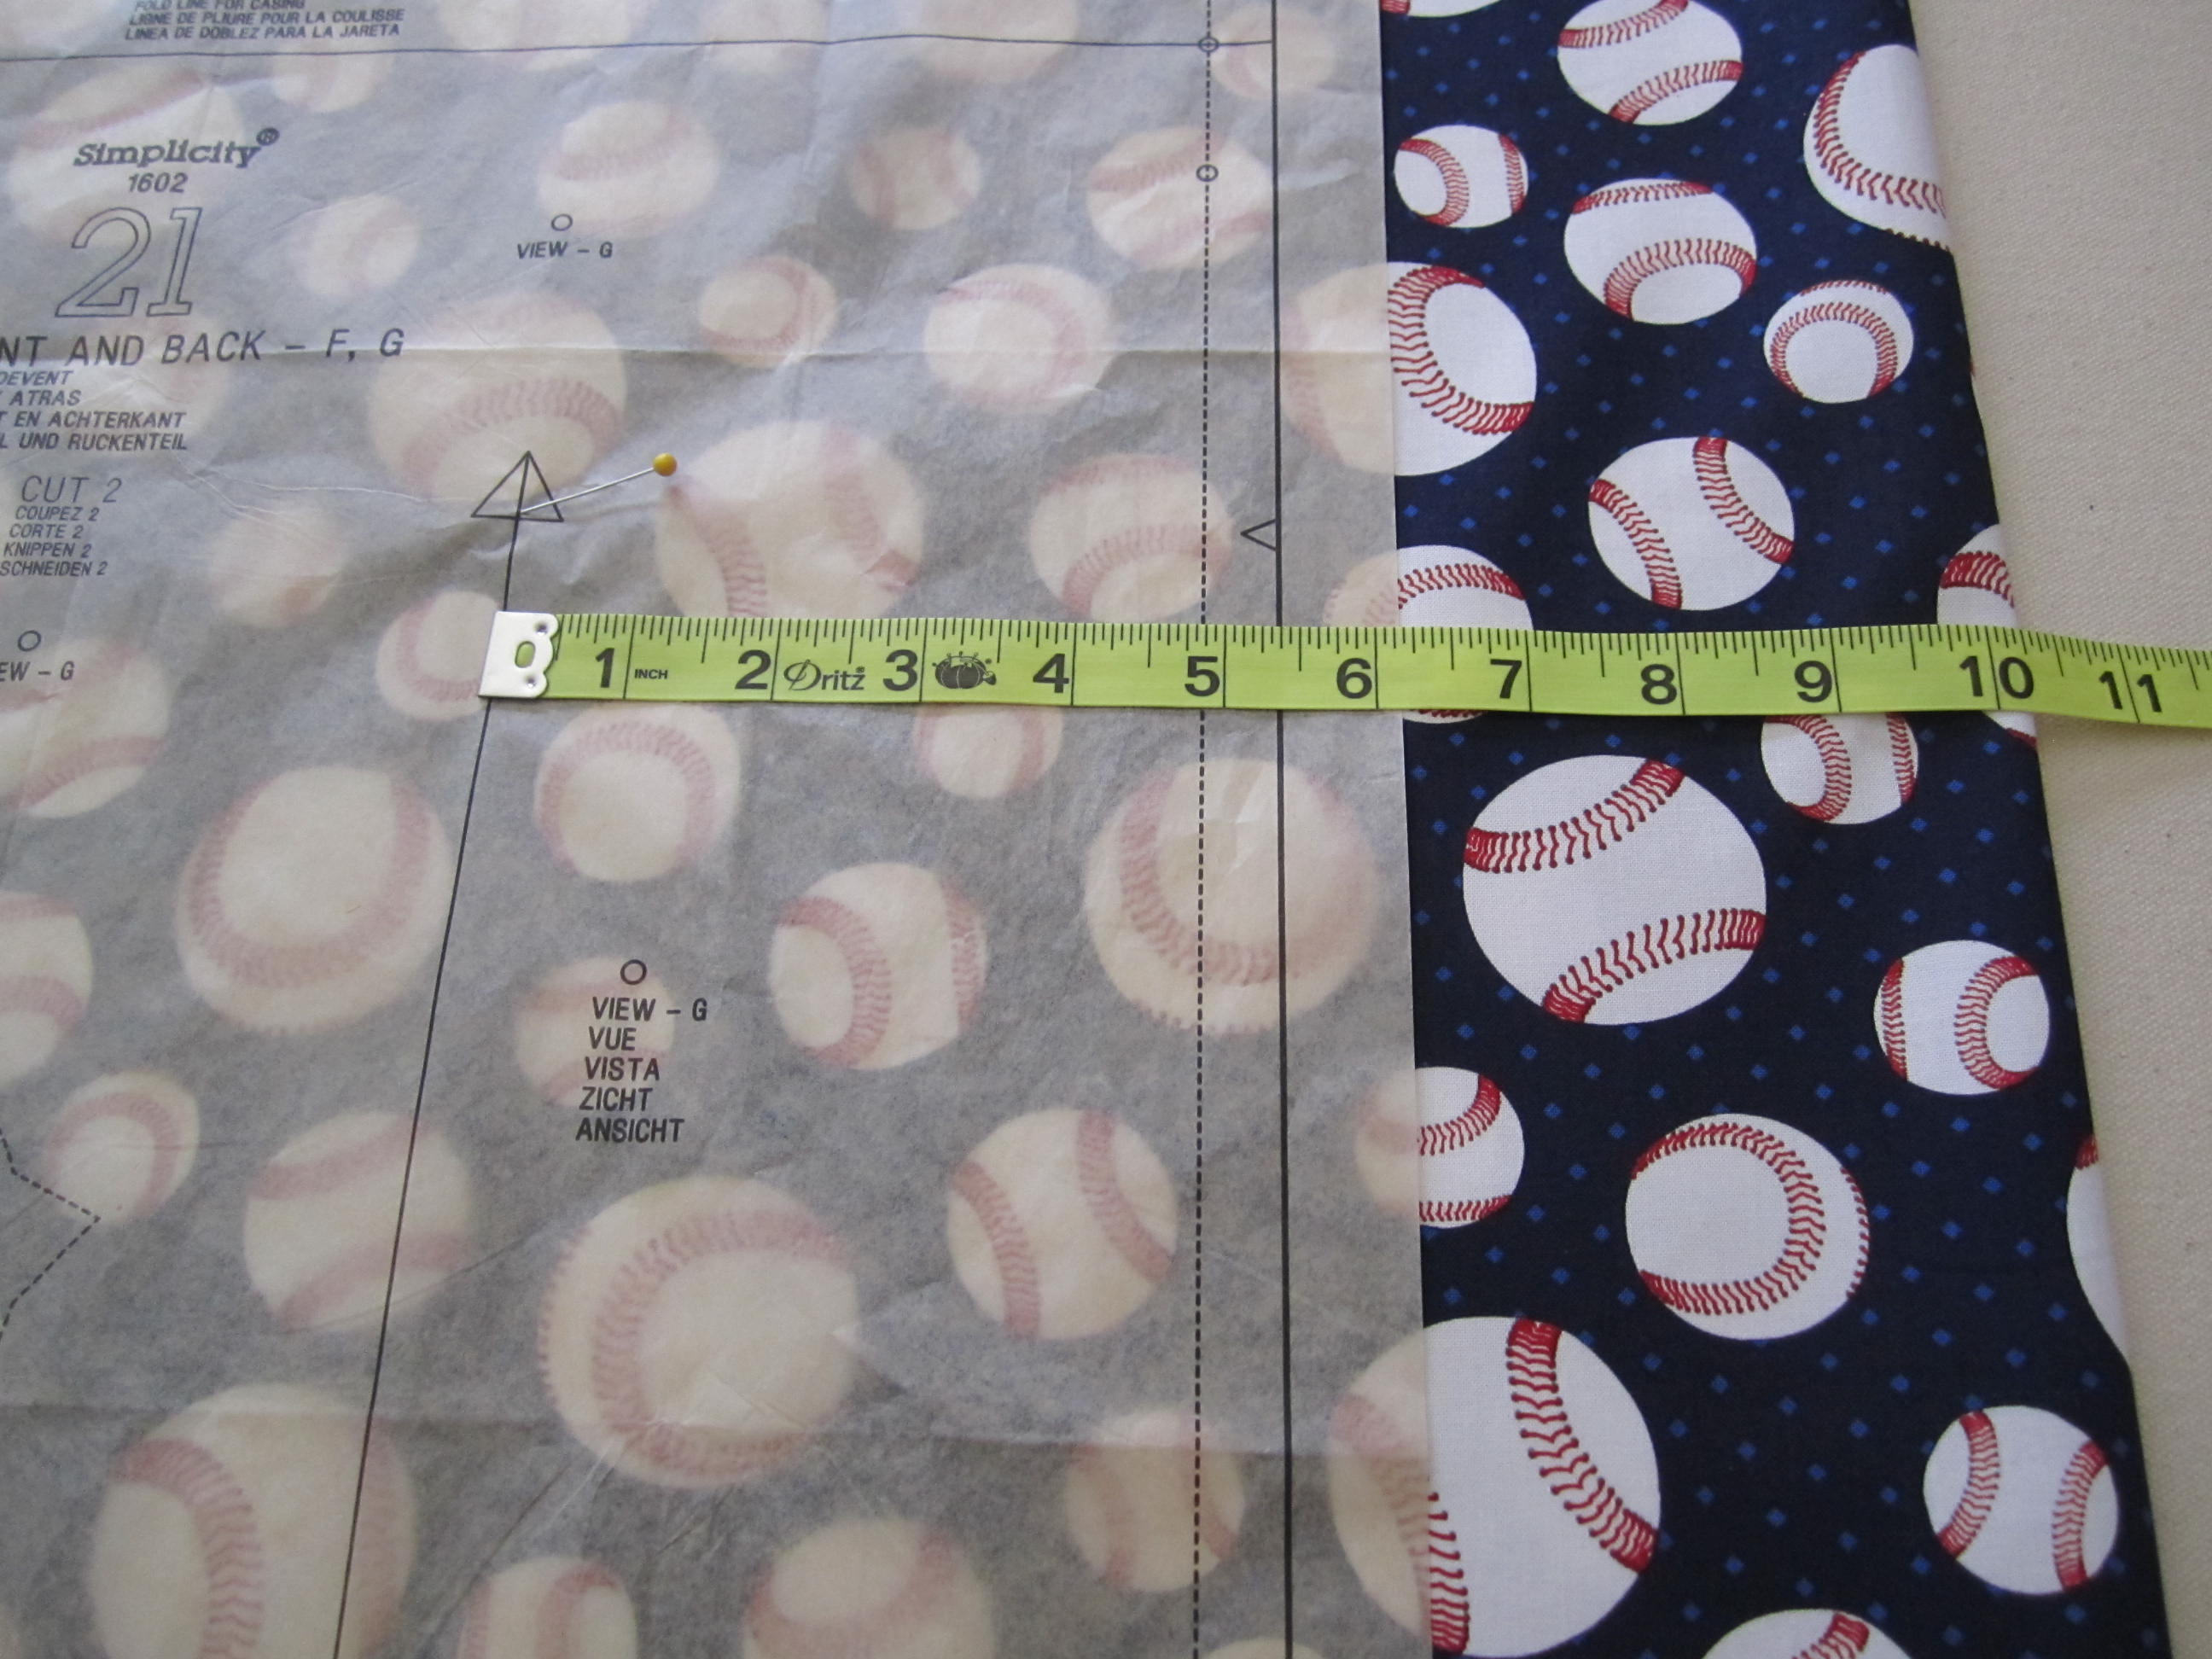
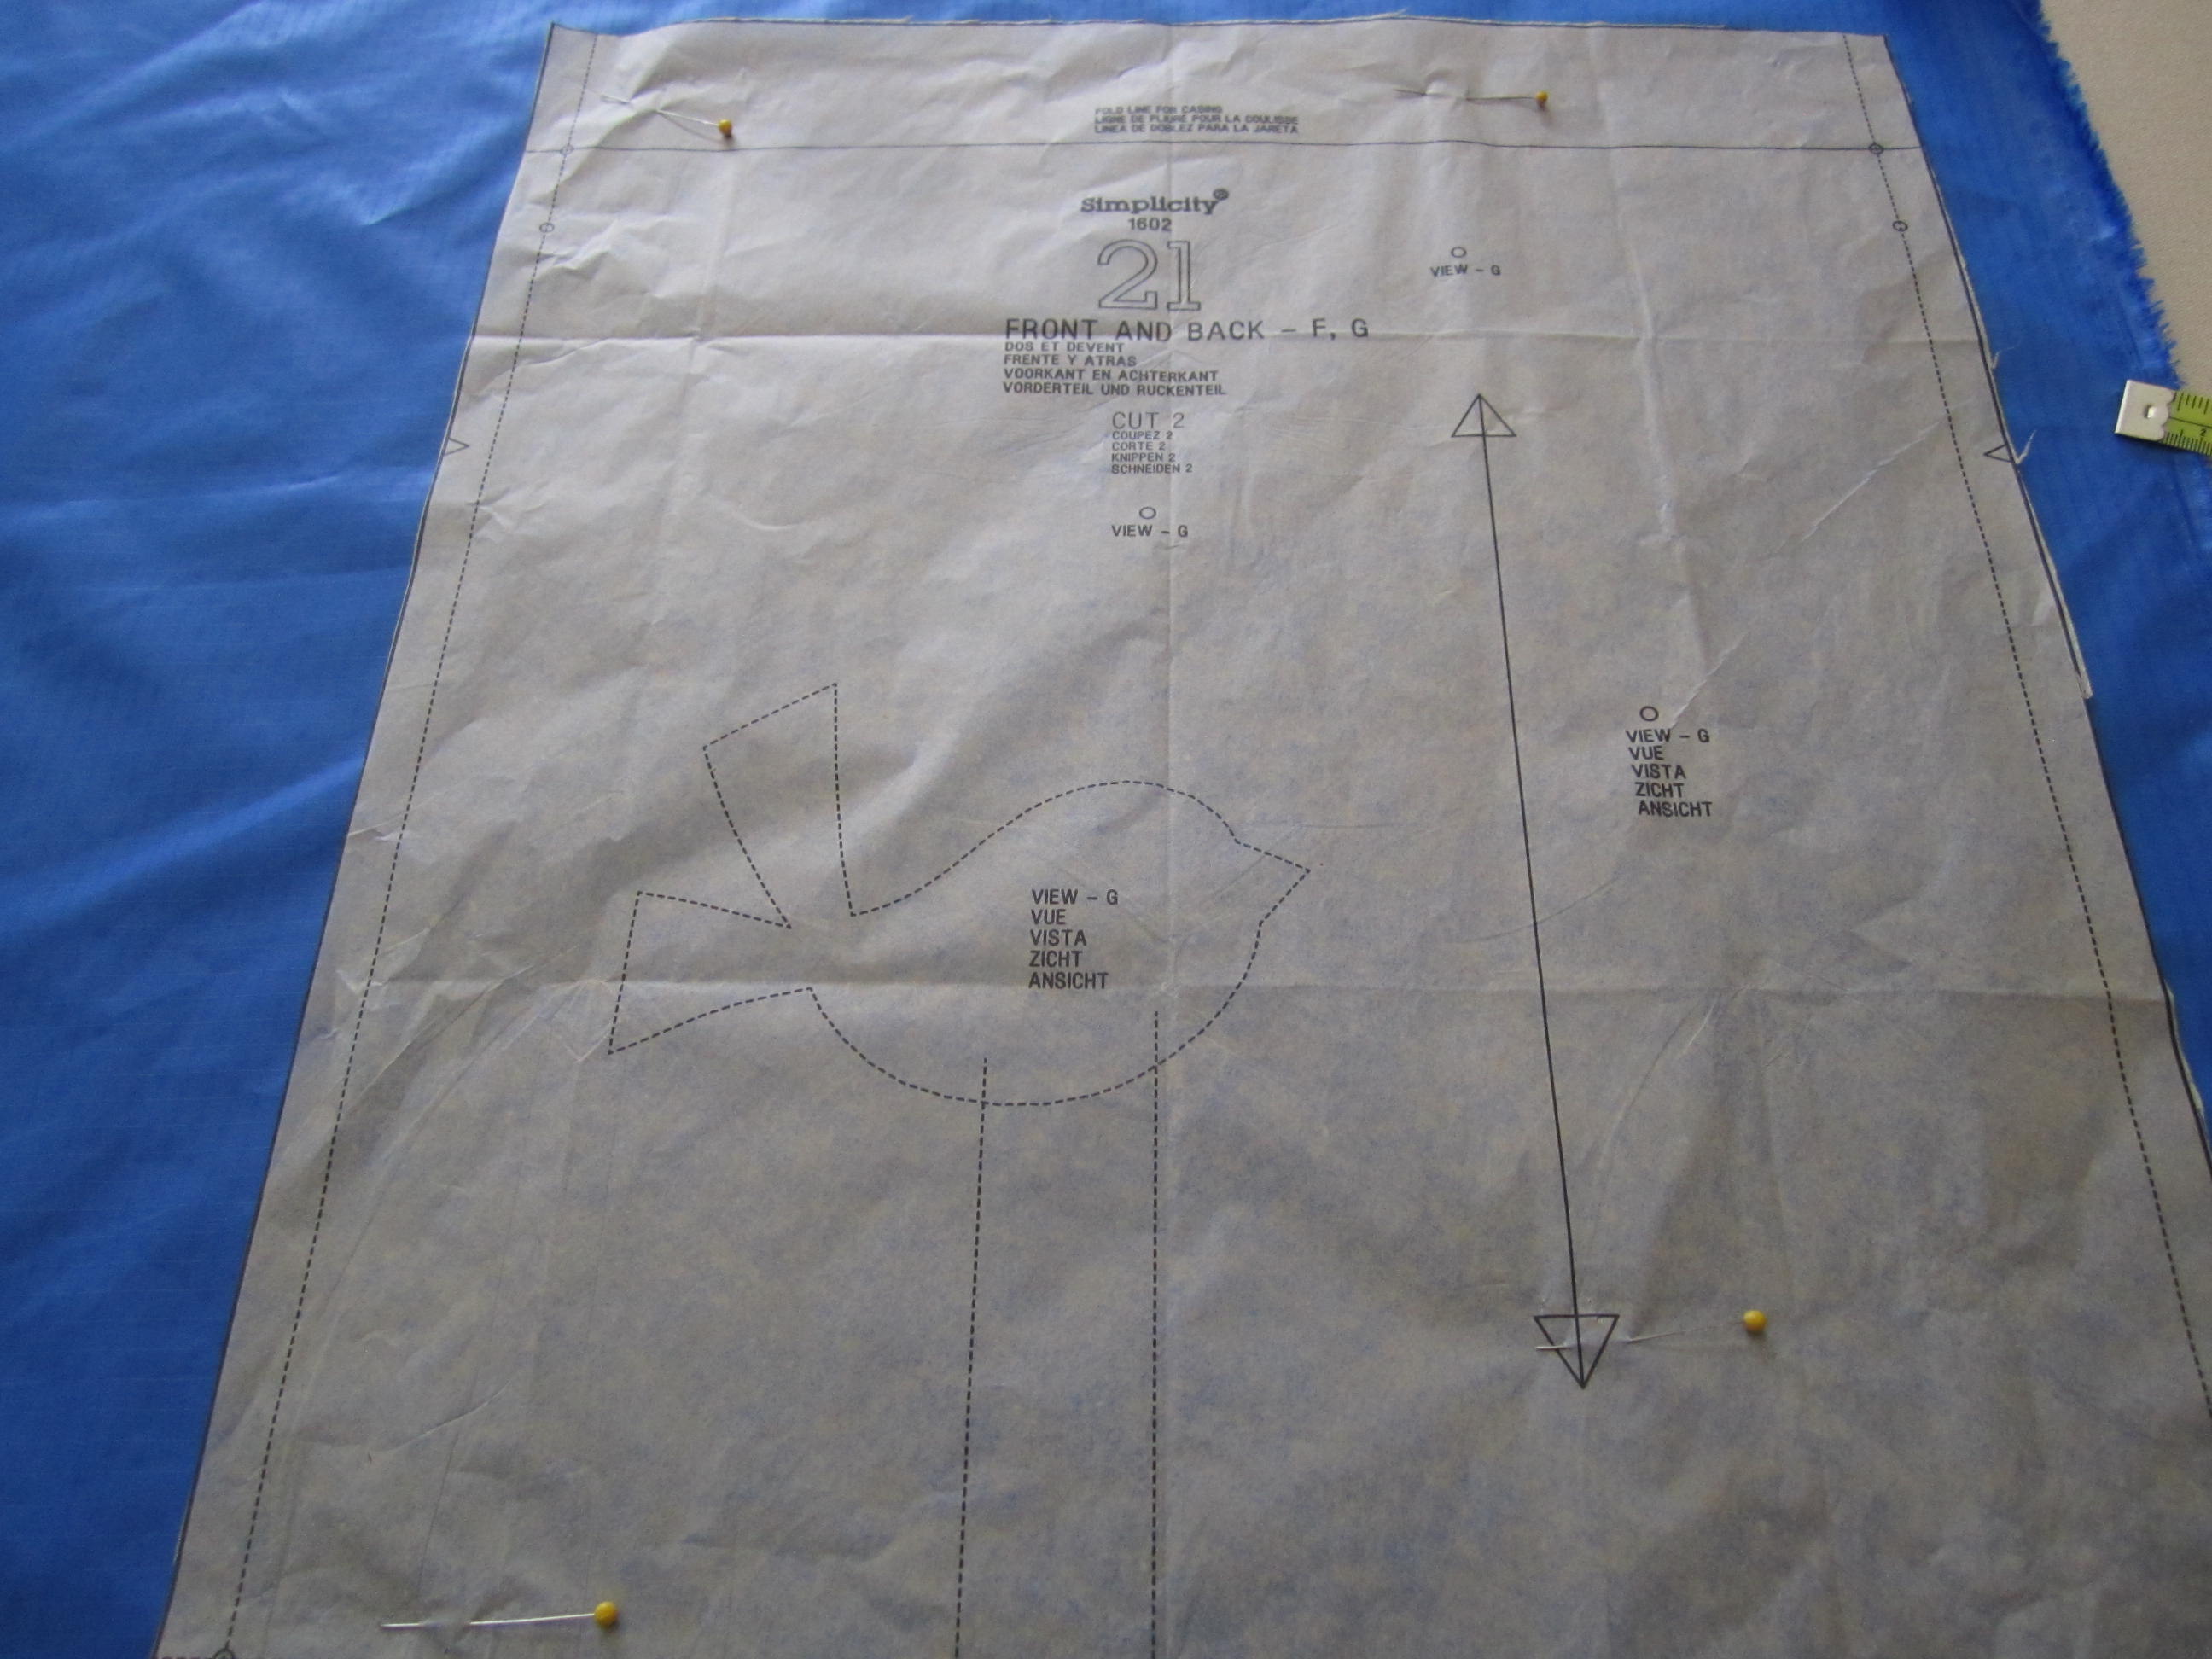
Laying out the pattern.

photo copy 38

Same for the lining.
photo copy 37

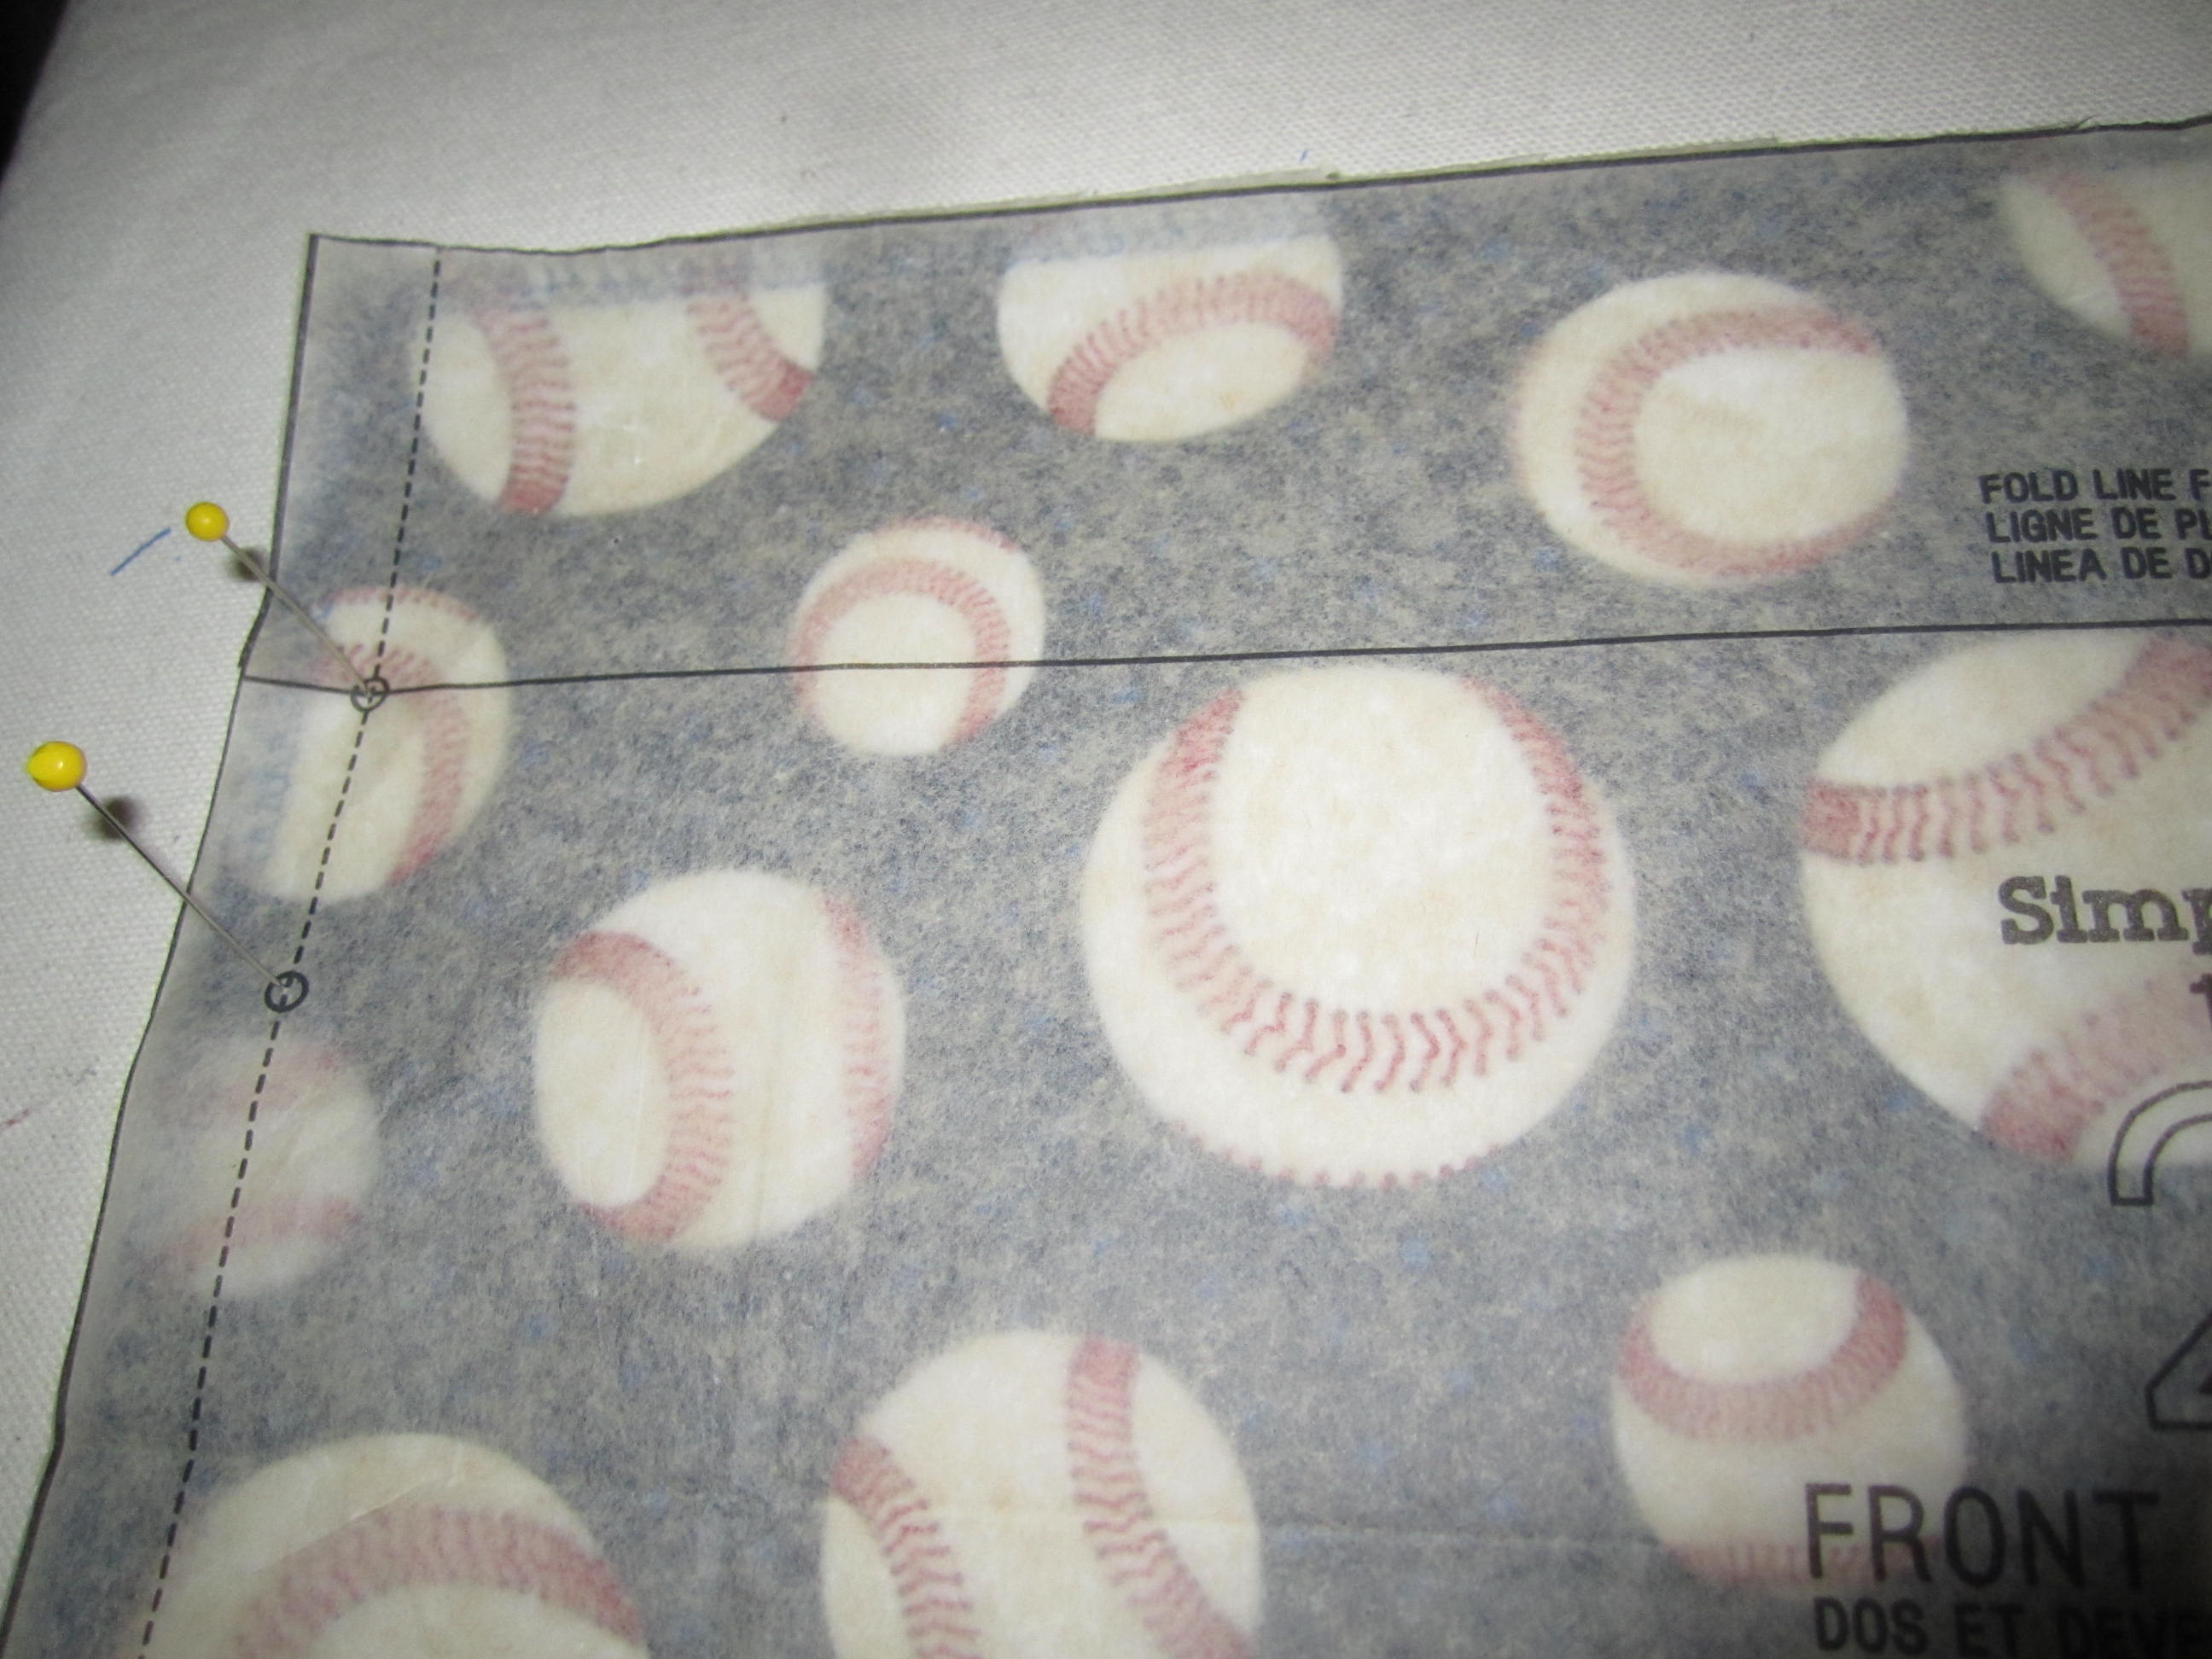
Marking the drawstring line.

photo copy 36

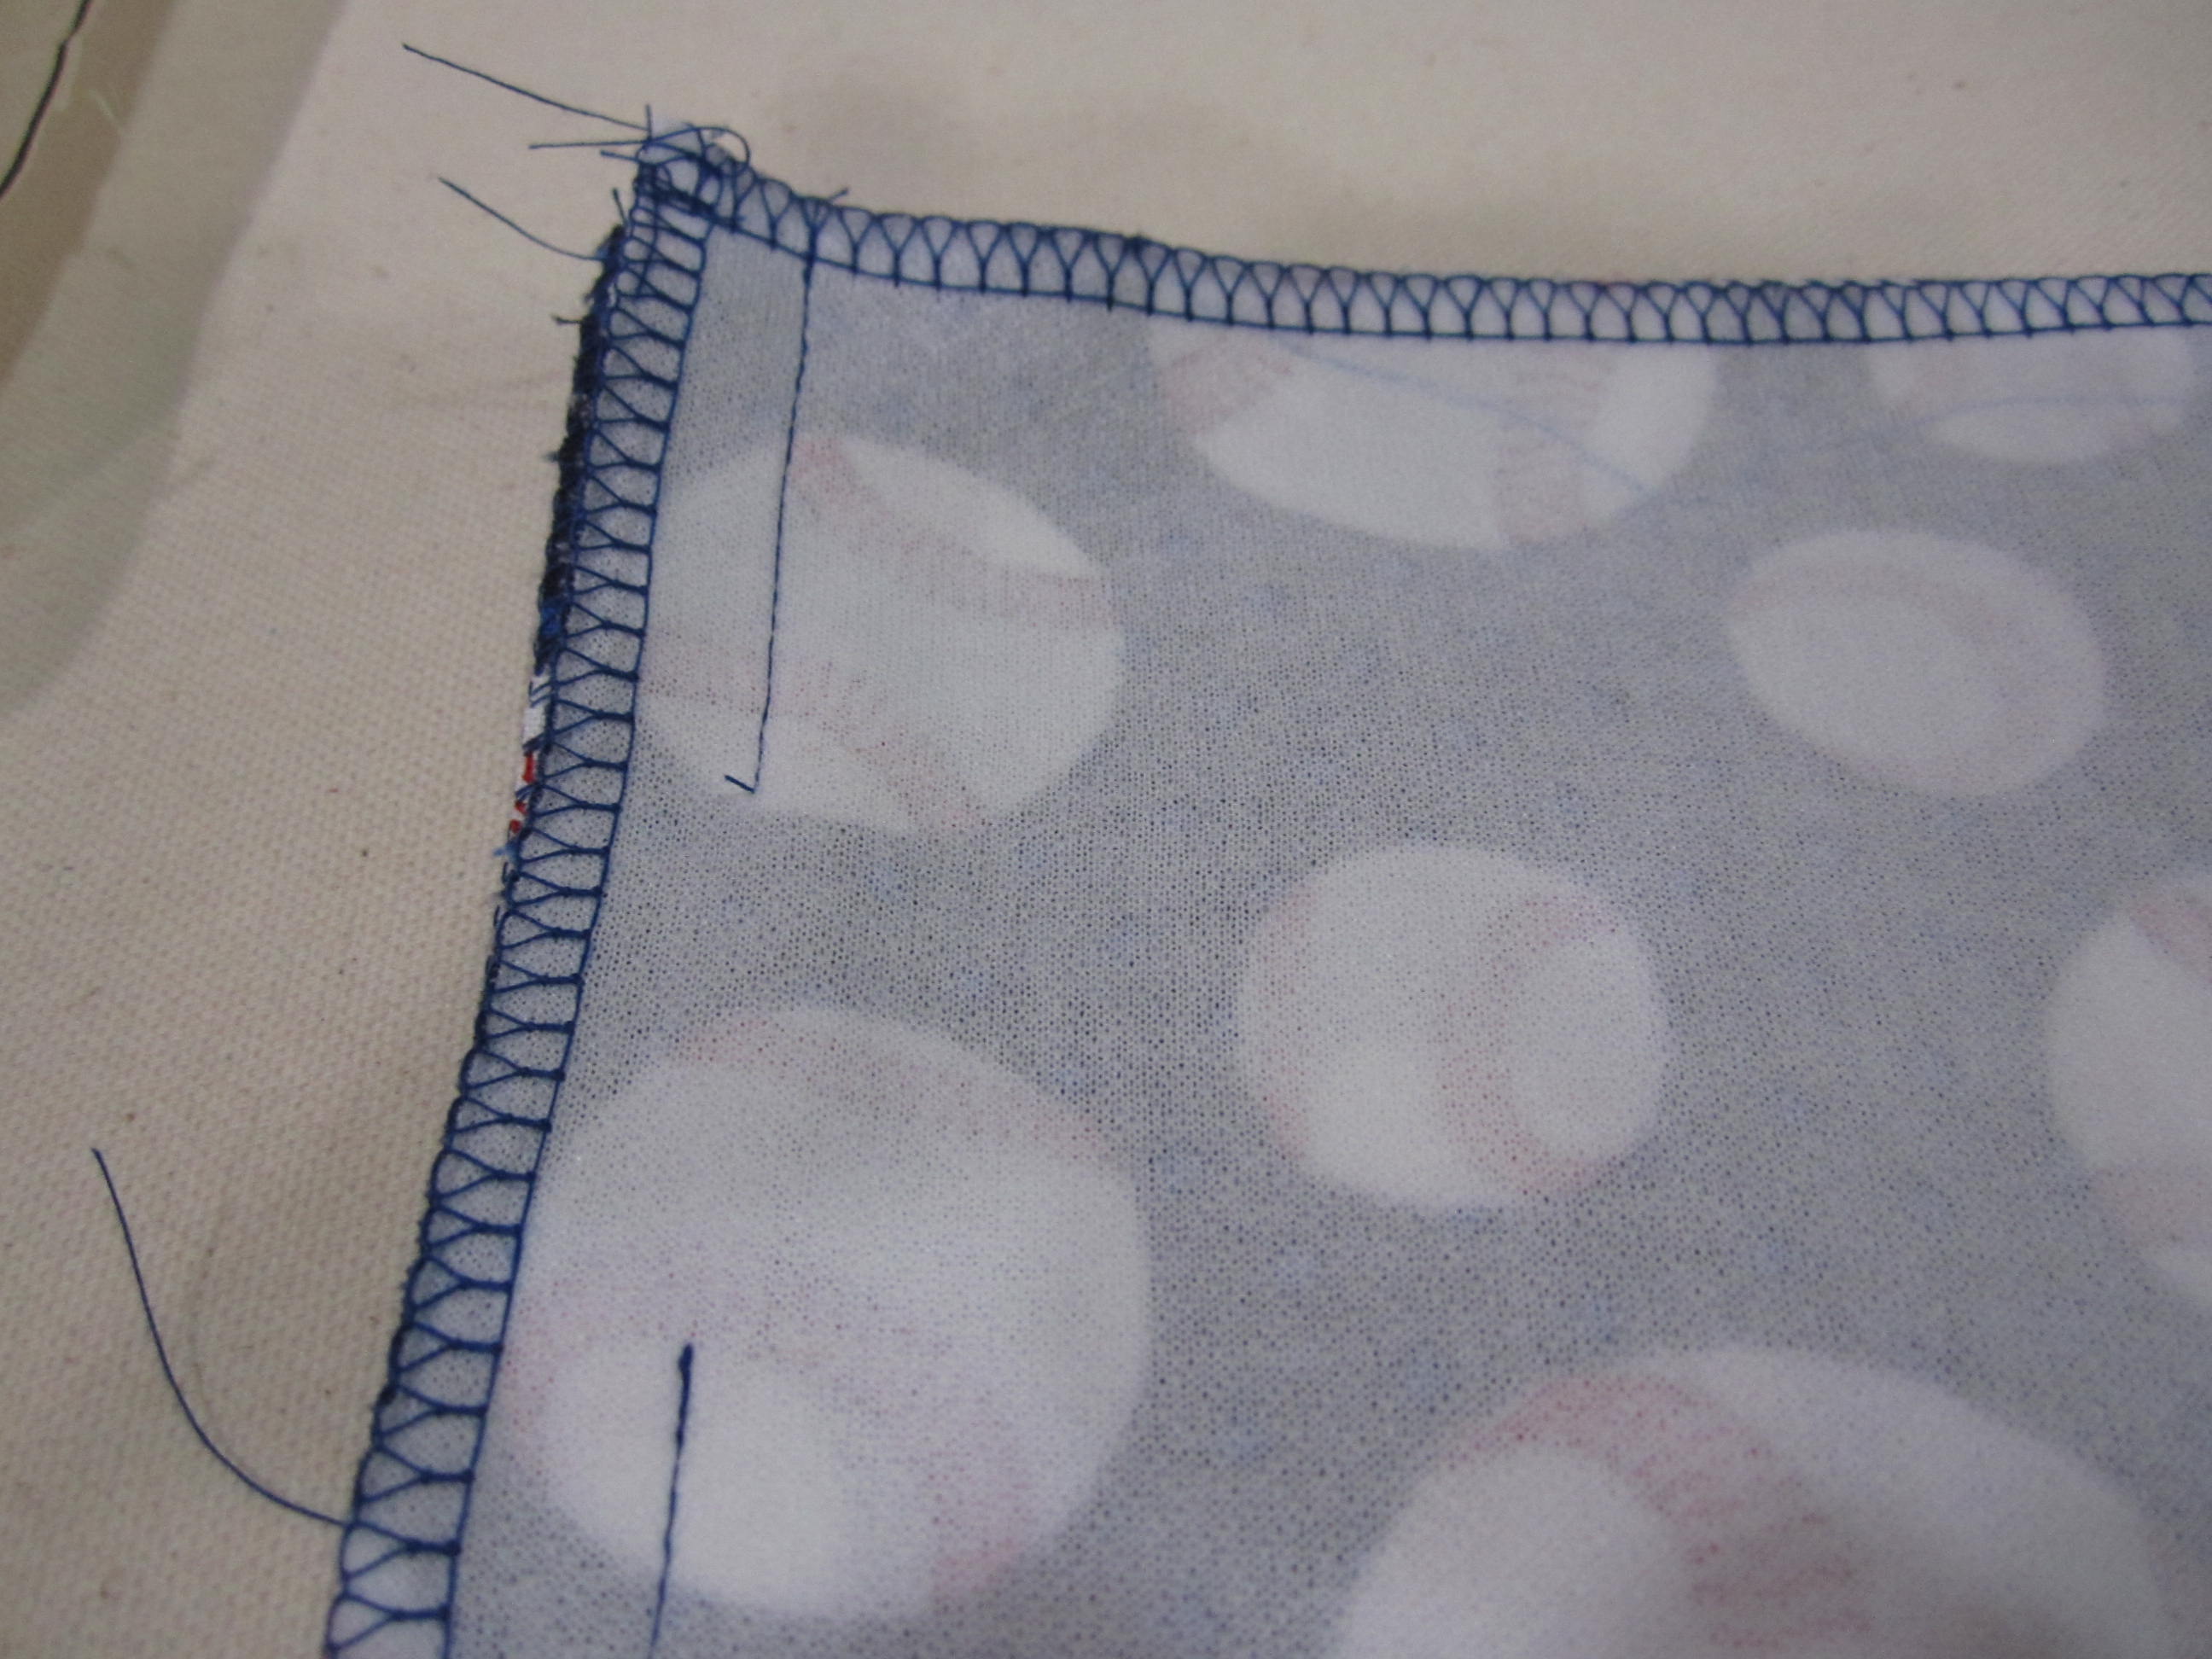
Sewing the side seam.

photo copy 35

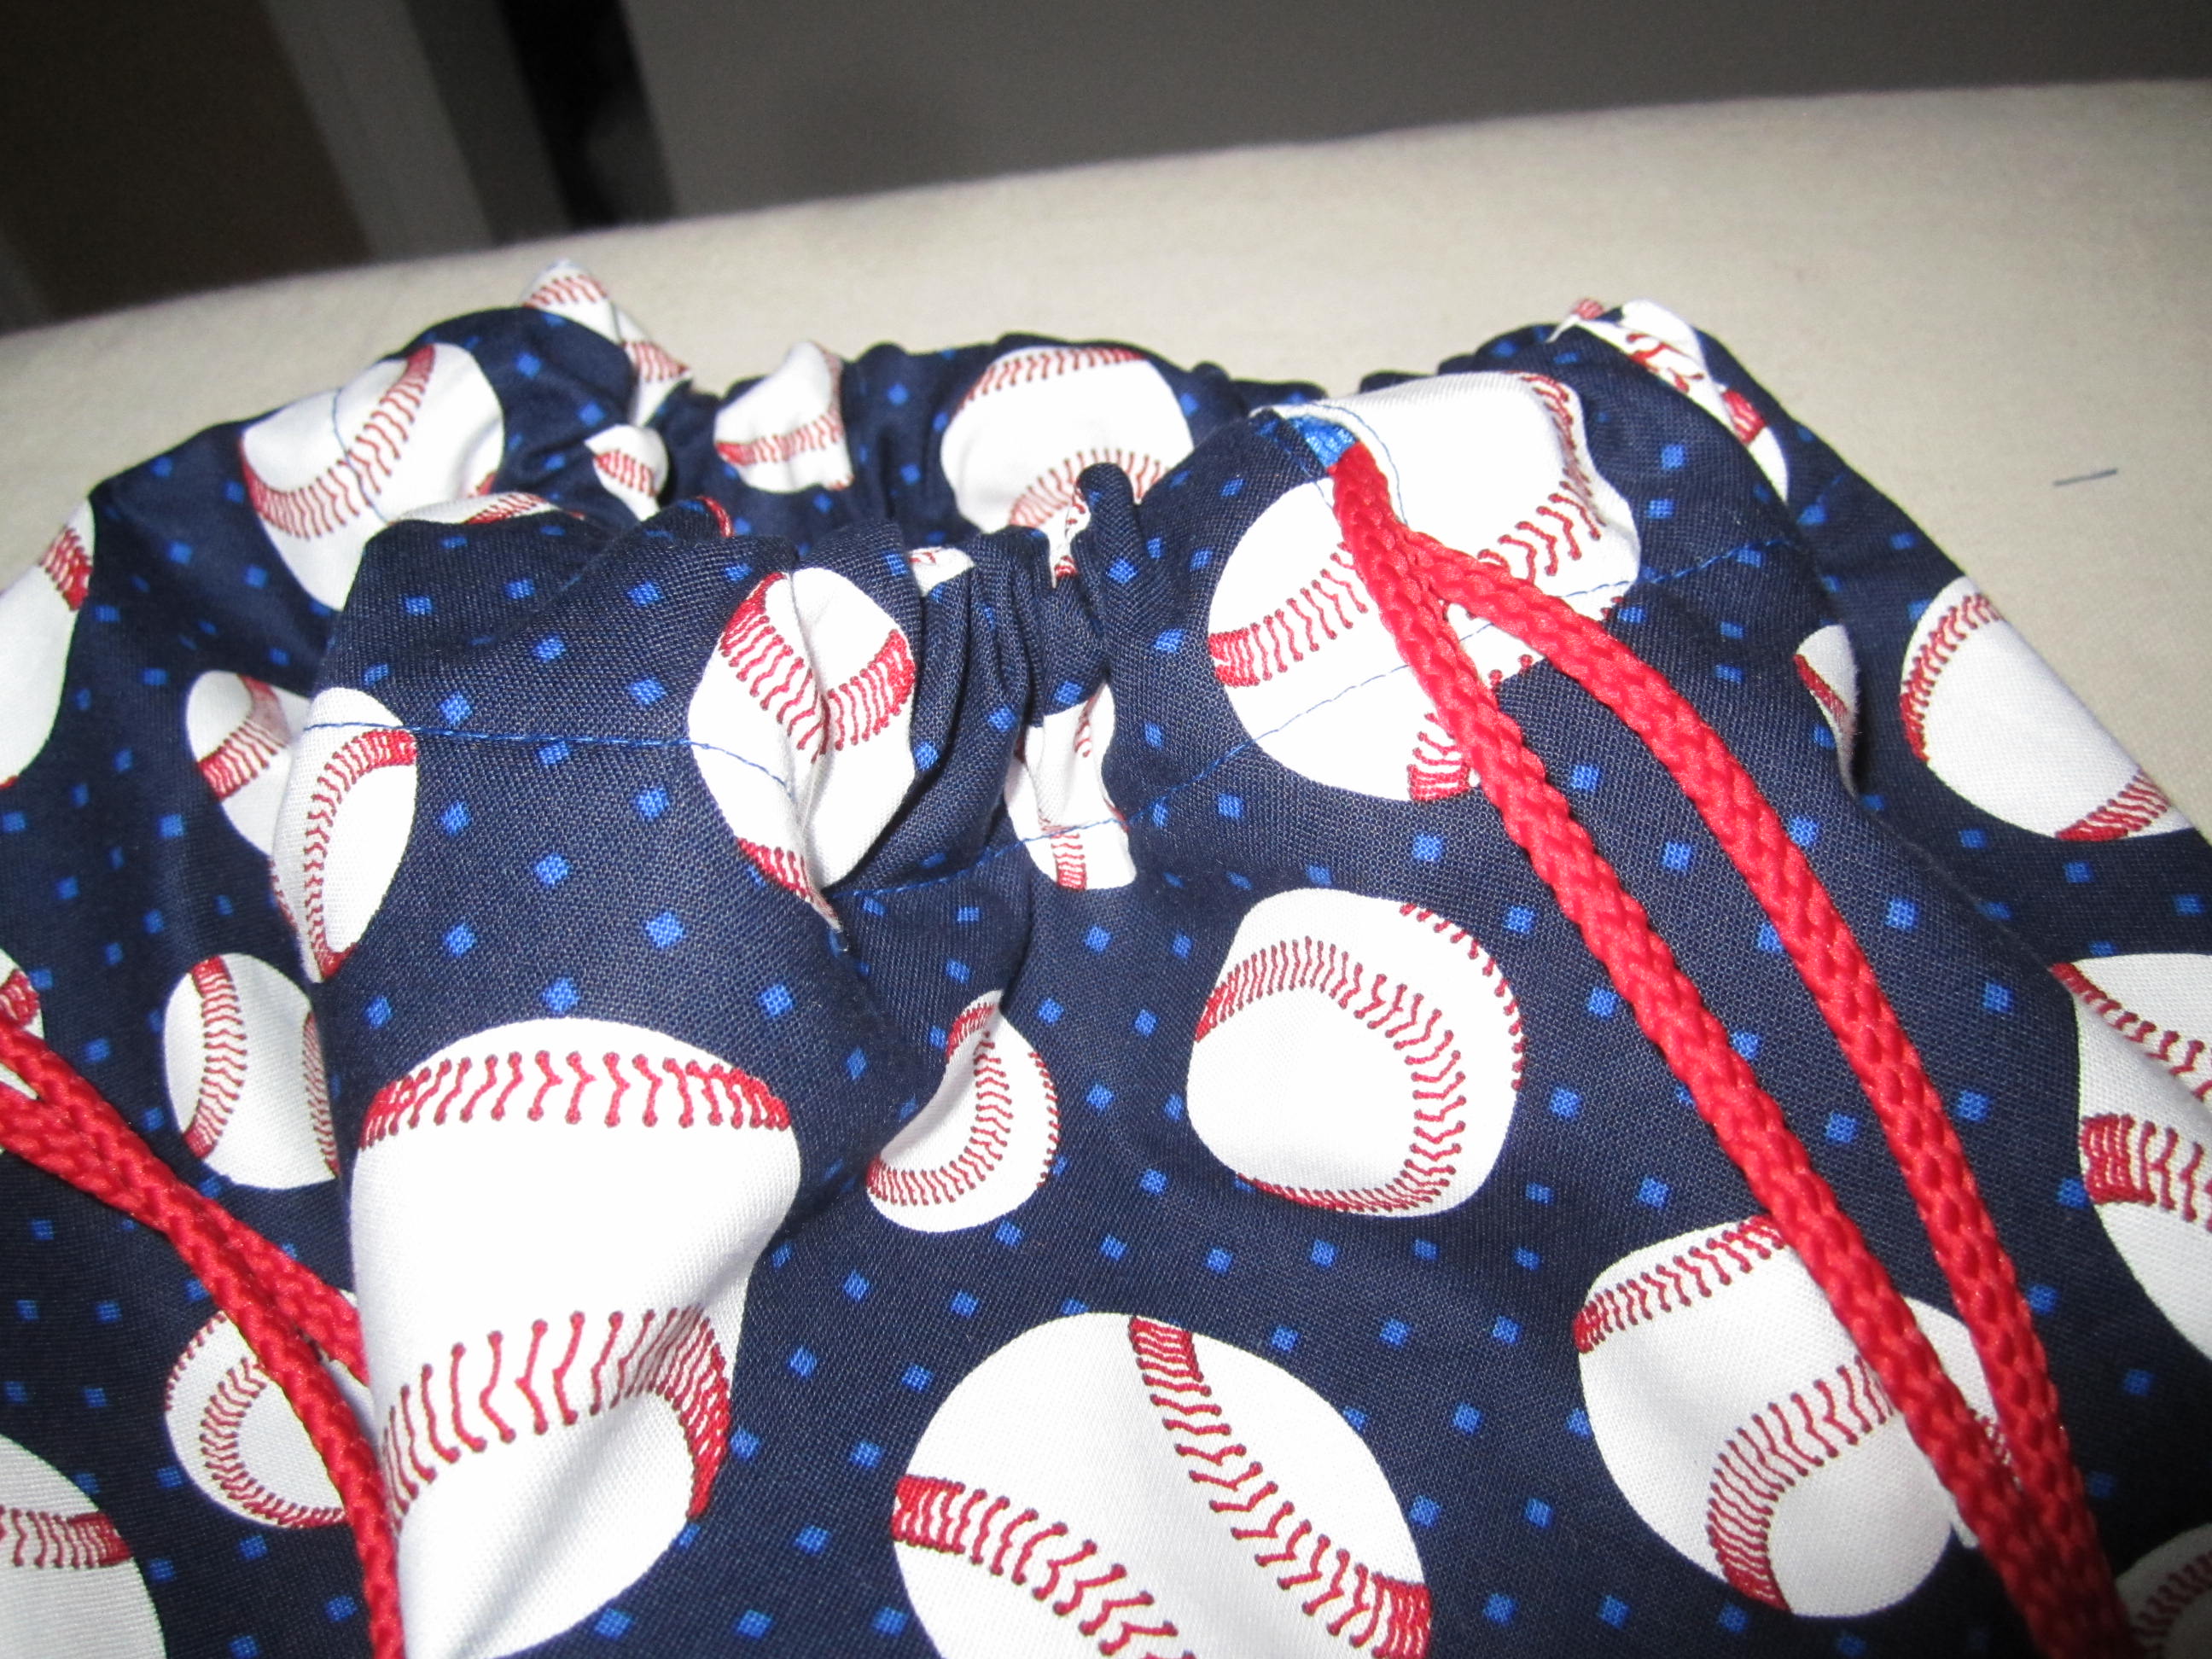
Drawstring pulled through.

photo copy 34

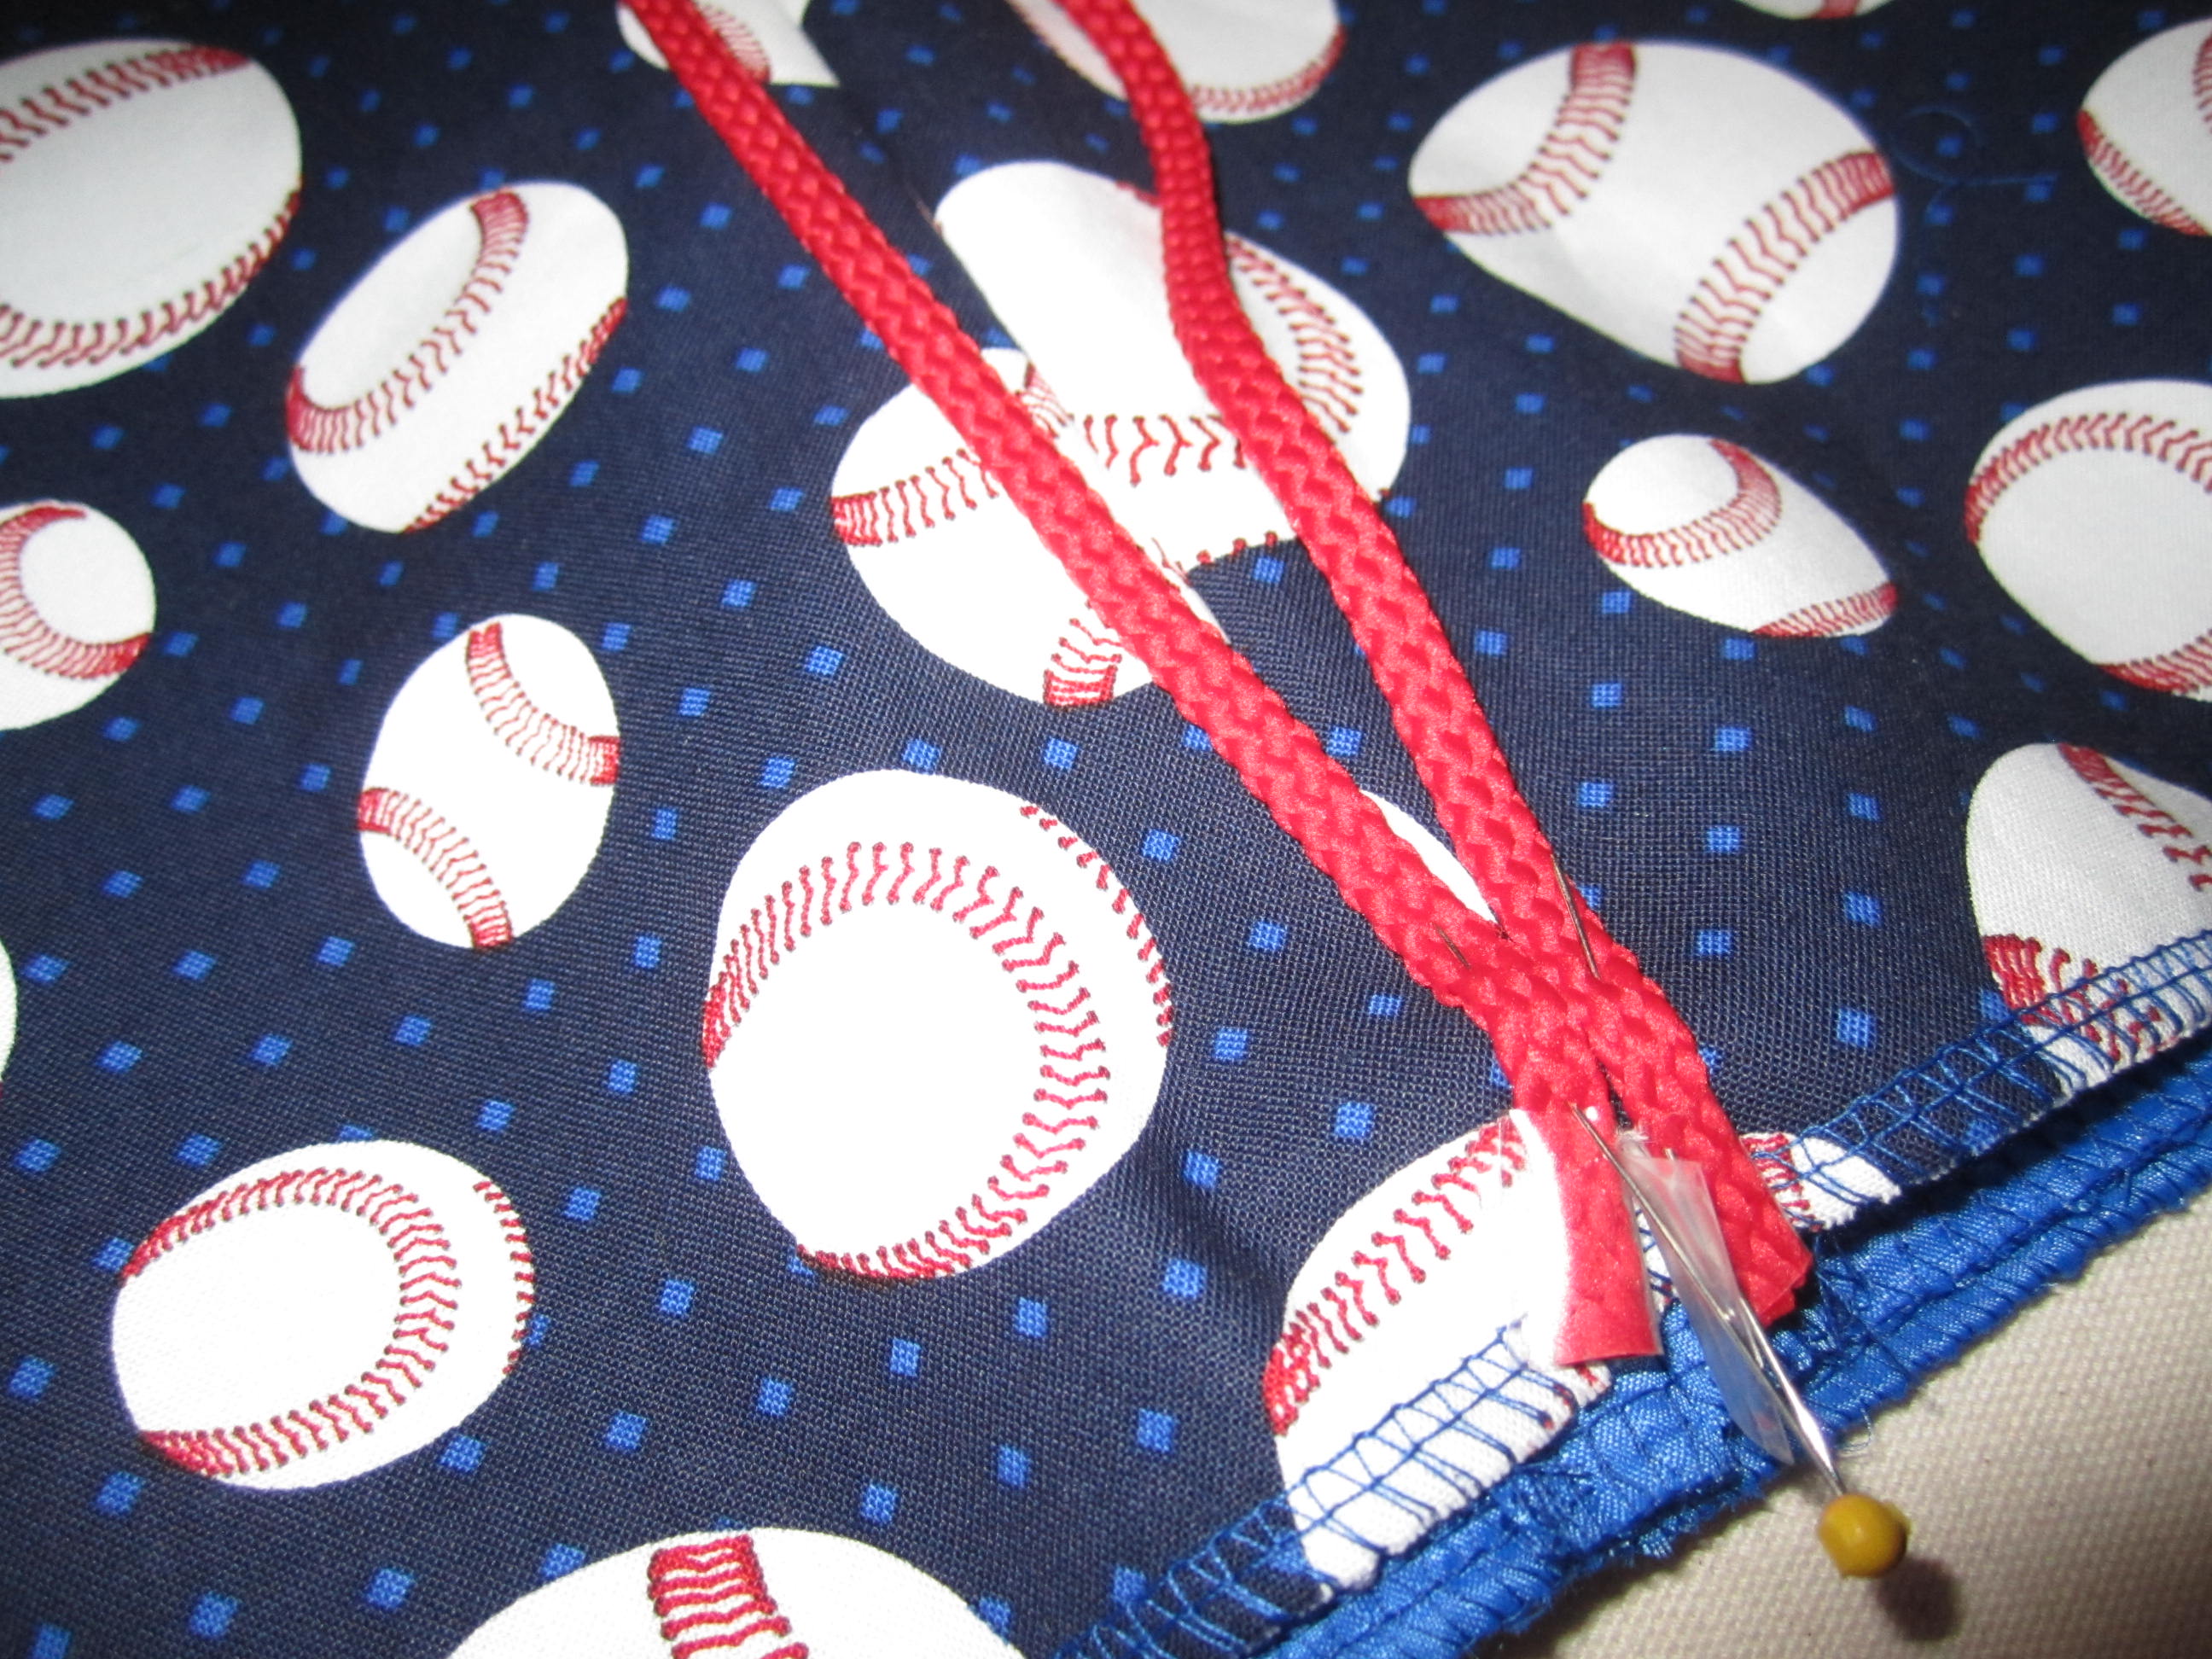
Drawstring pinned to the bottom of the pack. This is what makes the backpack straps.

photo copy 33

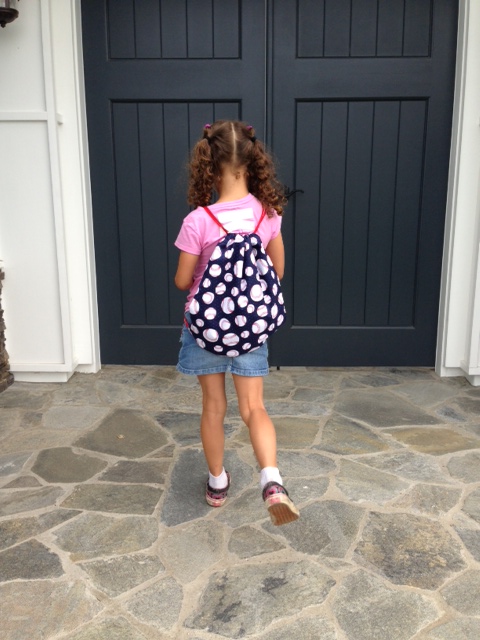
Finished product. One very happy six-year-old ready for a swim day!

photo copy 30Enjoy!

Tuesday, July 9, 2013

One dress done...

Hi there,

So the first dress is done. Well, really the second dress...keep reading and you will understand what I mean.  I have to share with you that this was not as quick of a project as I expected. Robin, the new addition to our blogging team, had to sew this dress twice. Yes, twice. We're going to call it a "learning experience". I picked out the fabric from one of my warehouse walk throughs. I loved the colors and the softness of the knit. It had not hit the floor yet, so I grabbed a roll for our online store and a piece for Robin to make a dress from. After looking at a few patterns, we decide on Simplicity 1804 . We felt this one was simple and versatile and would be flattering to many body types. The twist really helps define the smallest part of your body. Before I show you the final dress, I'm going to show you the first one Robin made.
photo copy 32

photo copy 31

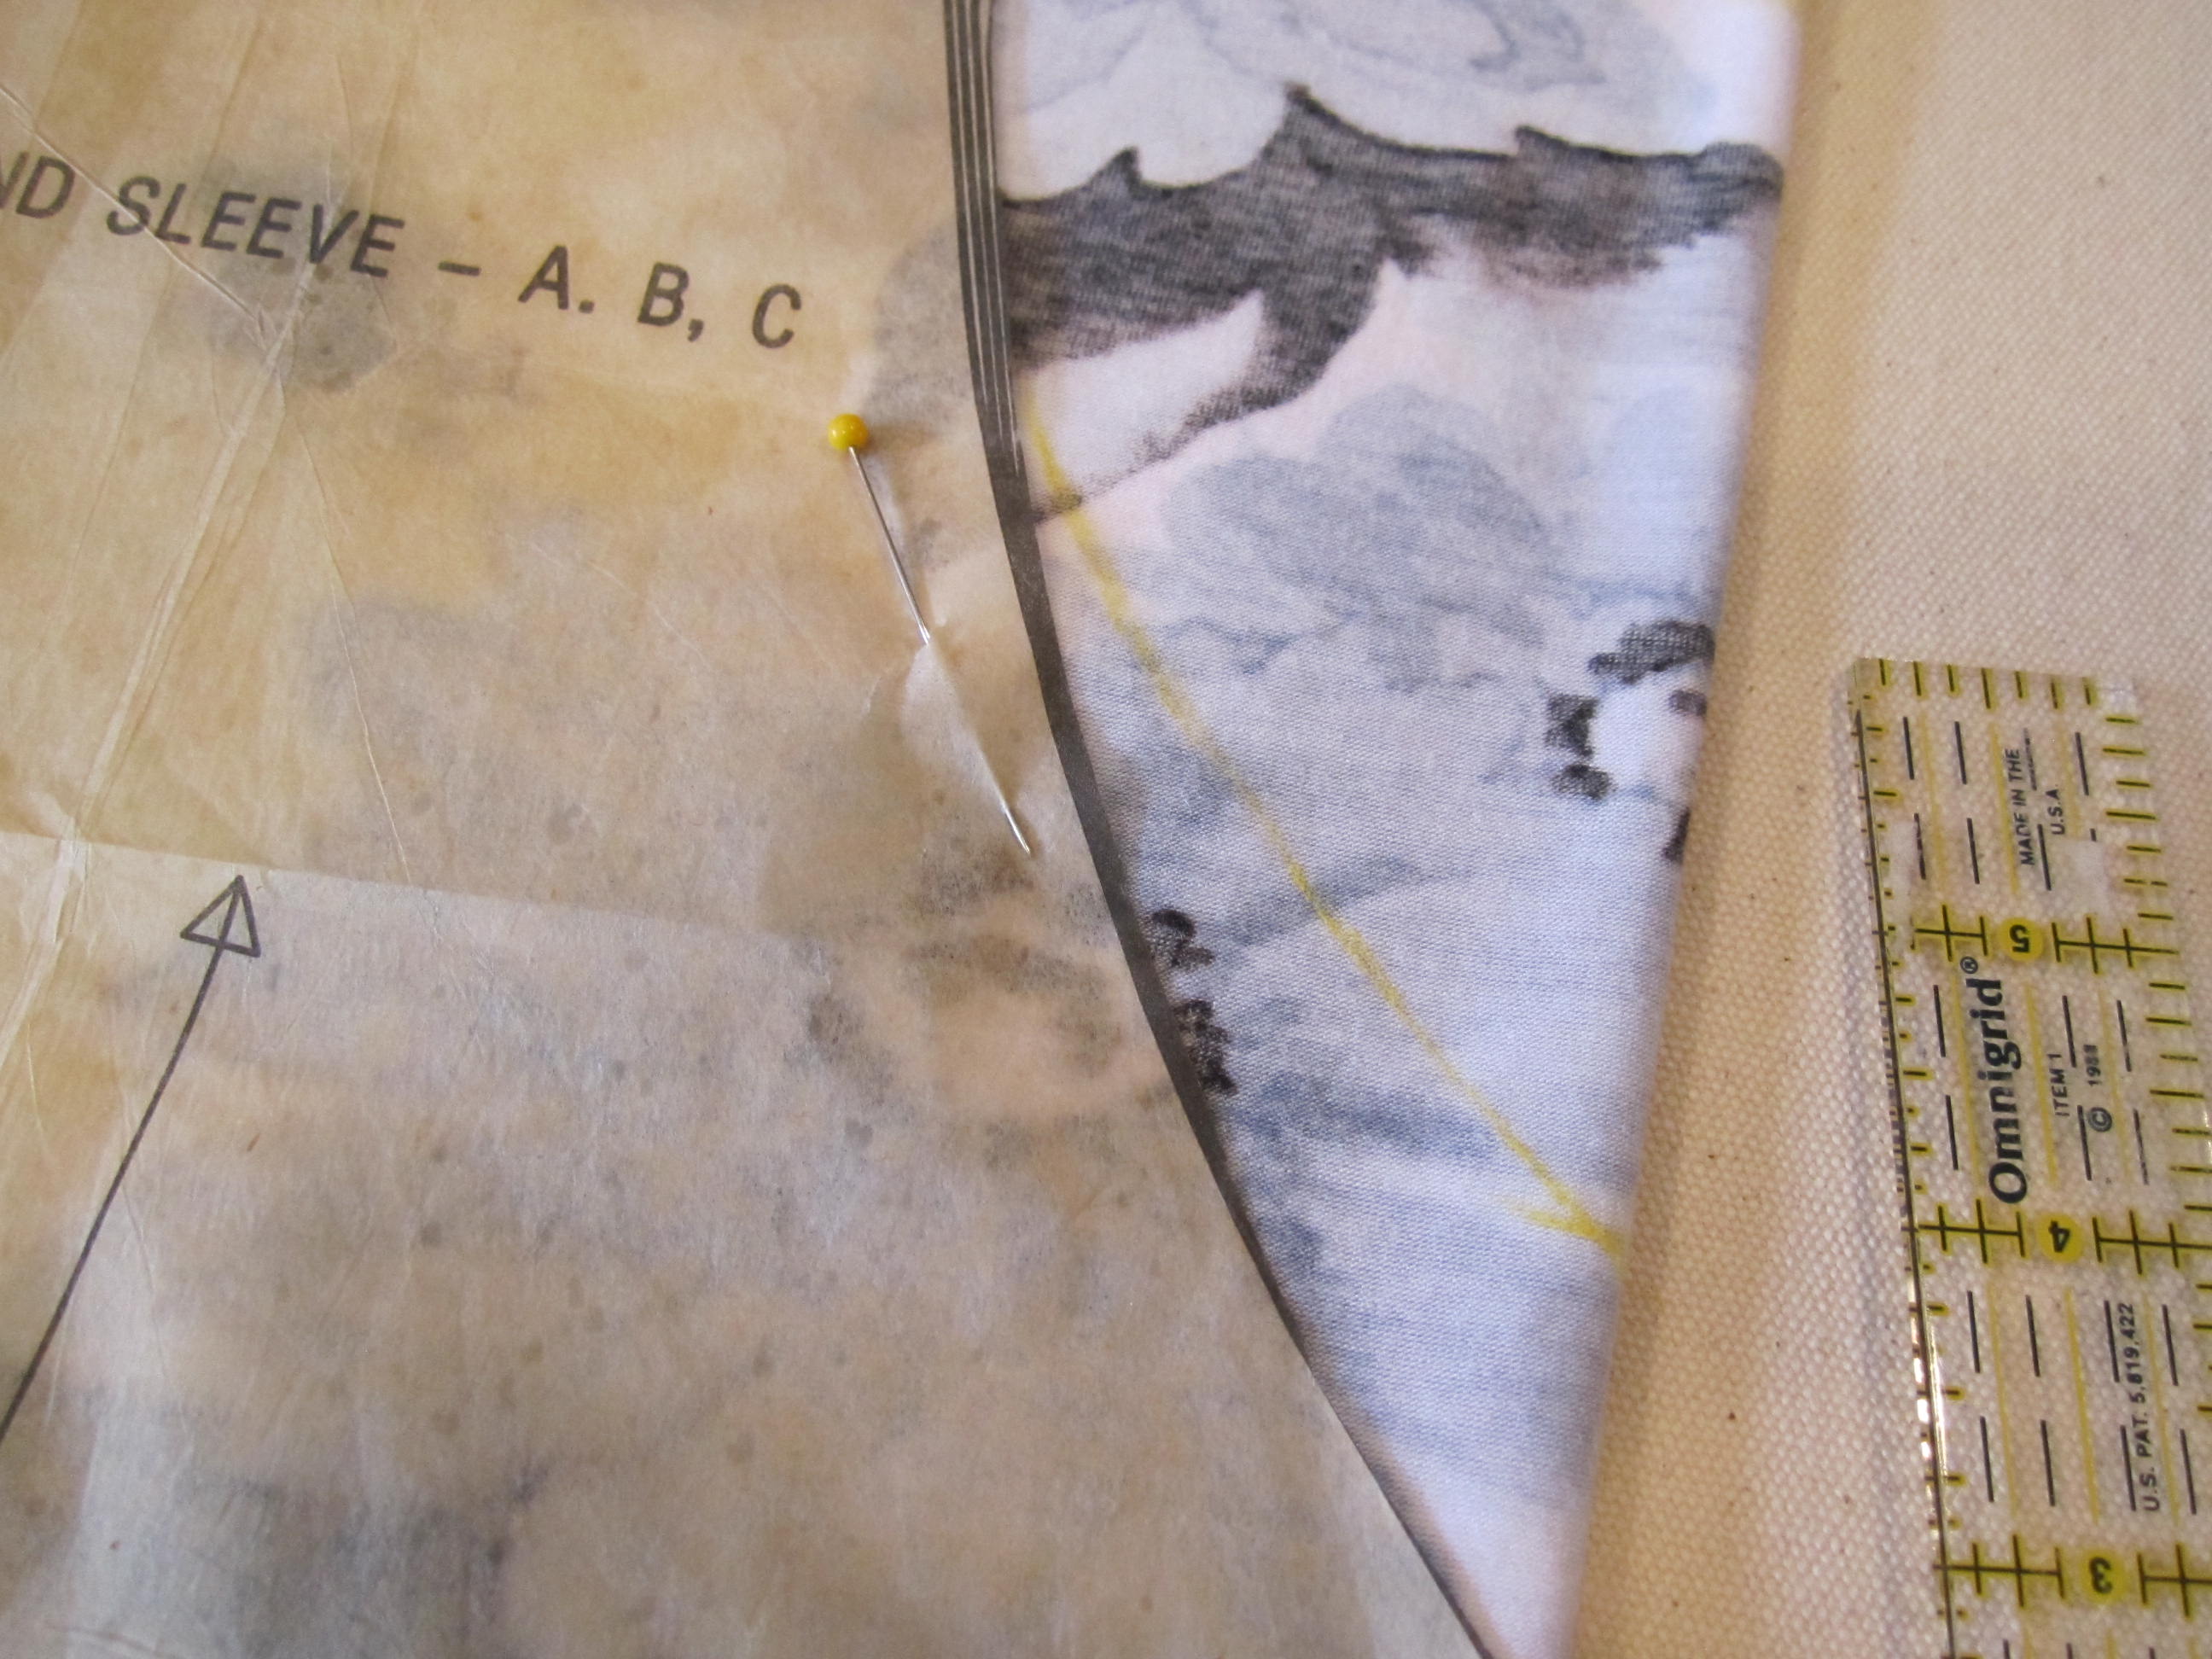
As soon as it came together Robin realized the fabric did not line up right in the front and that the seam there was just not flattering.  After I tried it on a few times, we decided to make it again but the second time Robin knew she would have to tweaked the pattern a bit. First, she adjusted the center front seam piece of the pattern to go on the fold which got rid of the seam right between my boobs. Really, who wants that?! Lol.
Image

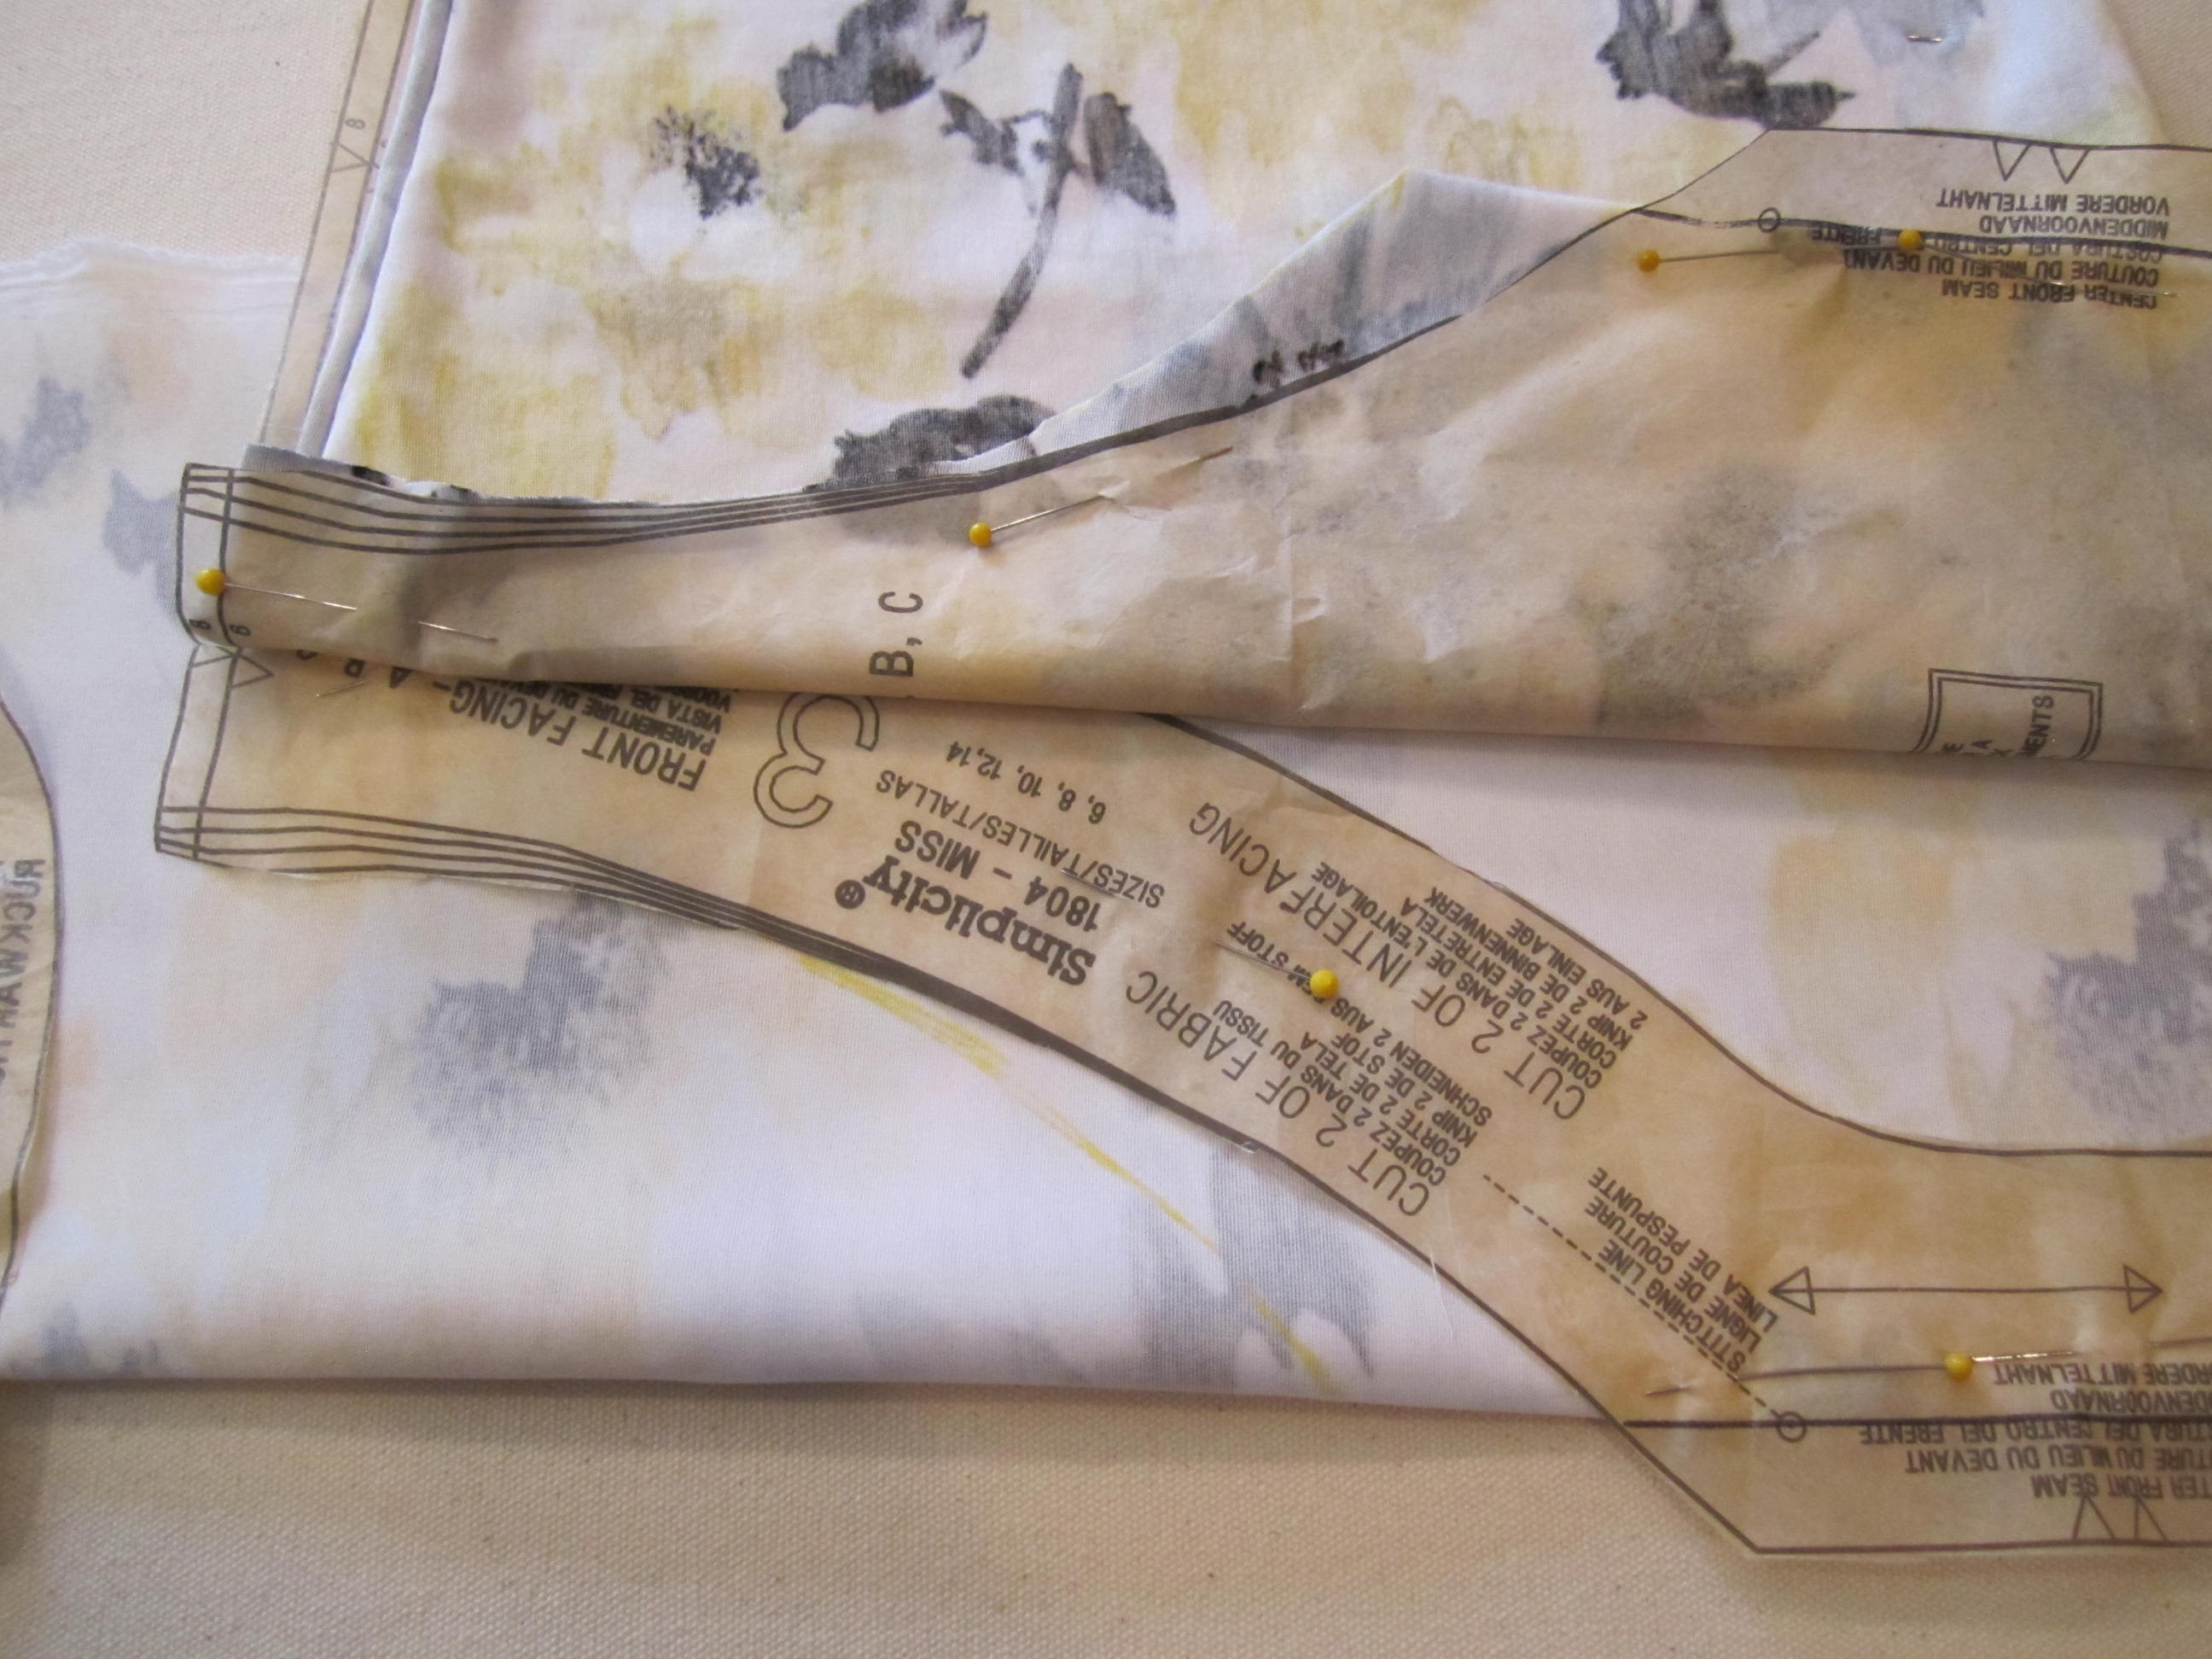
Here she is placing it on the fabric...
Image

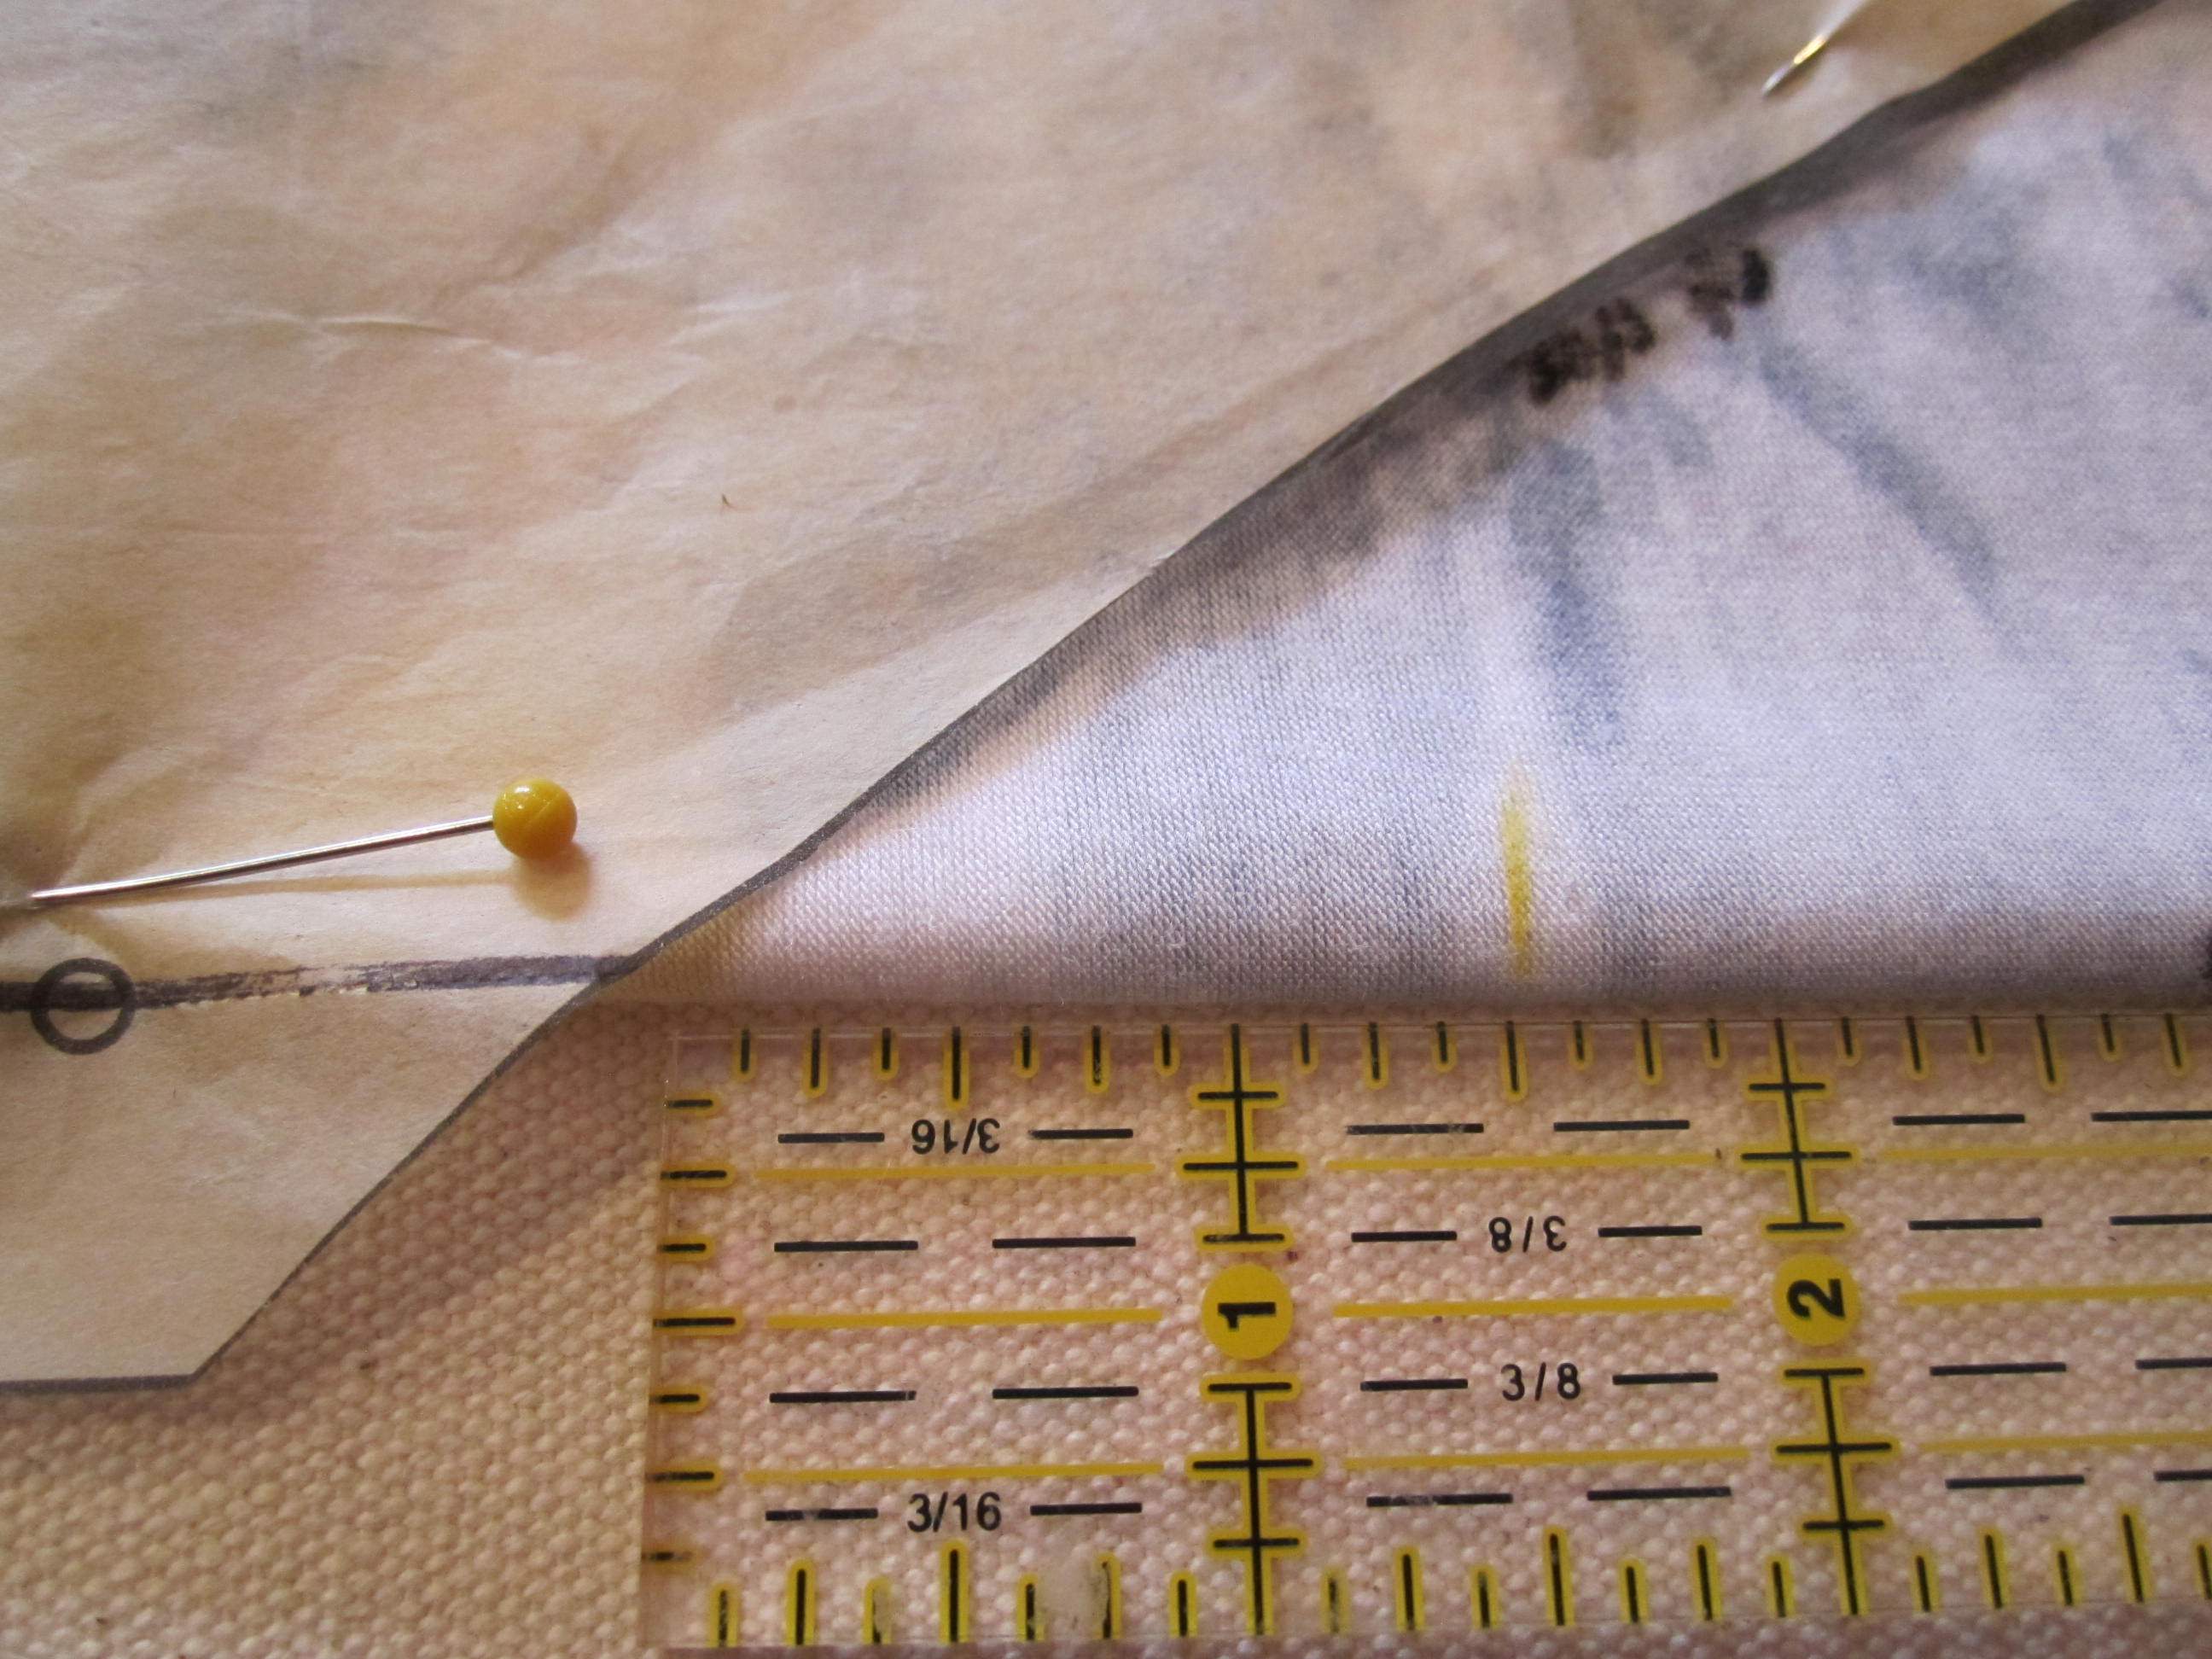
We also felt the neckline was too low. Here she is making the adjustment to the neckline...
photo

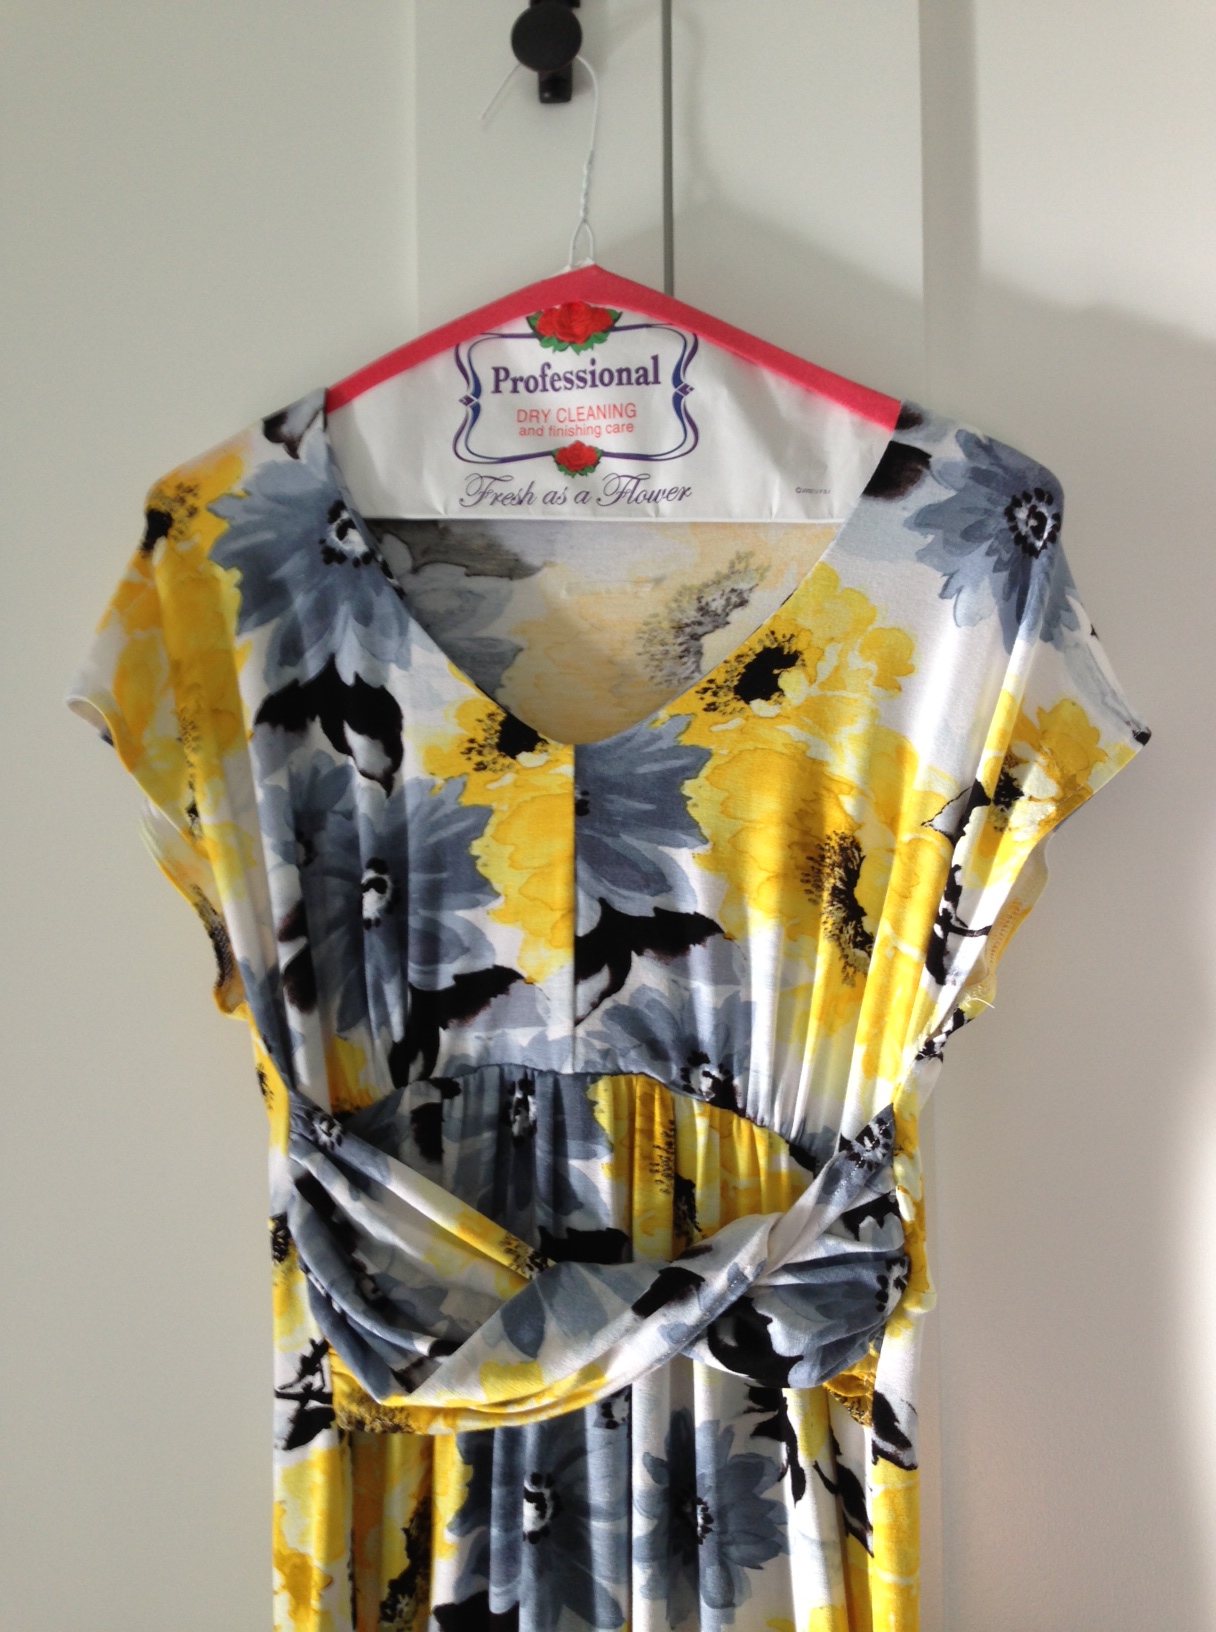
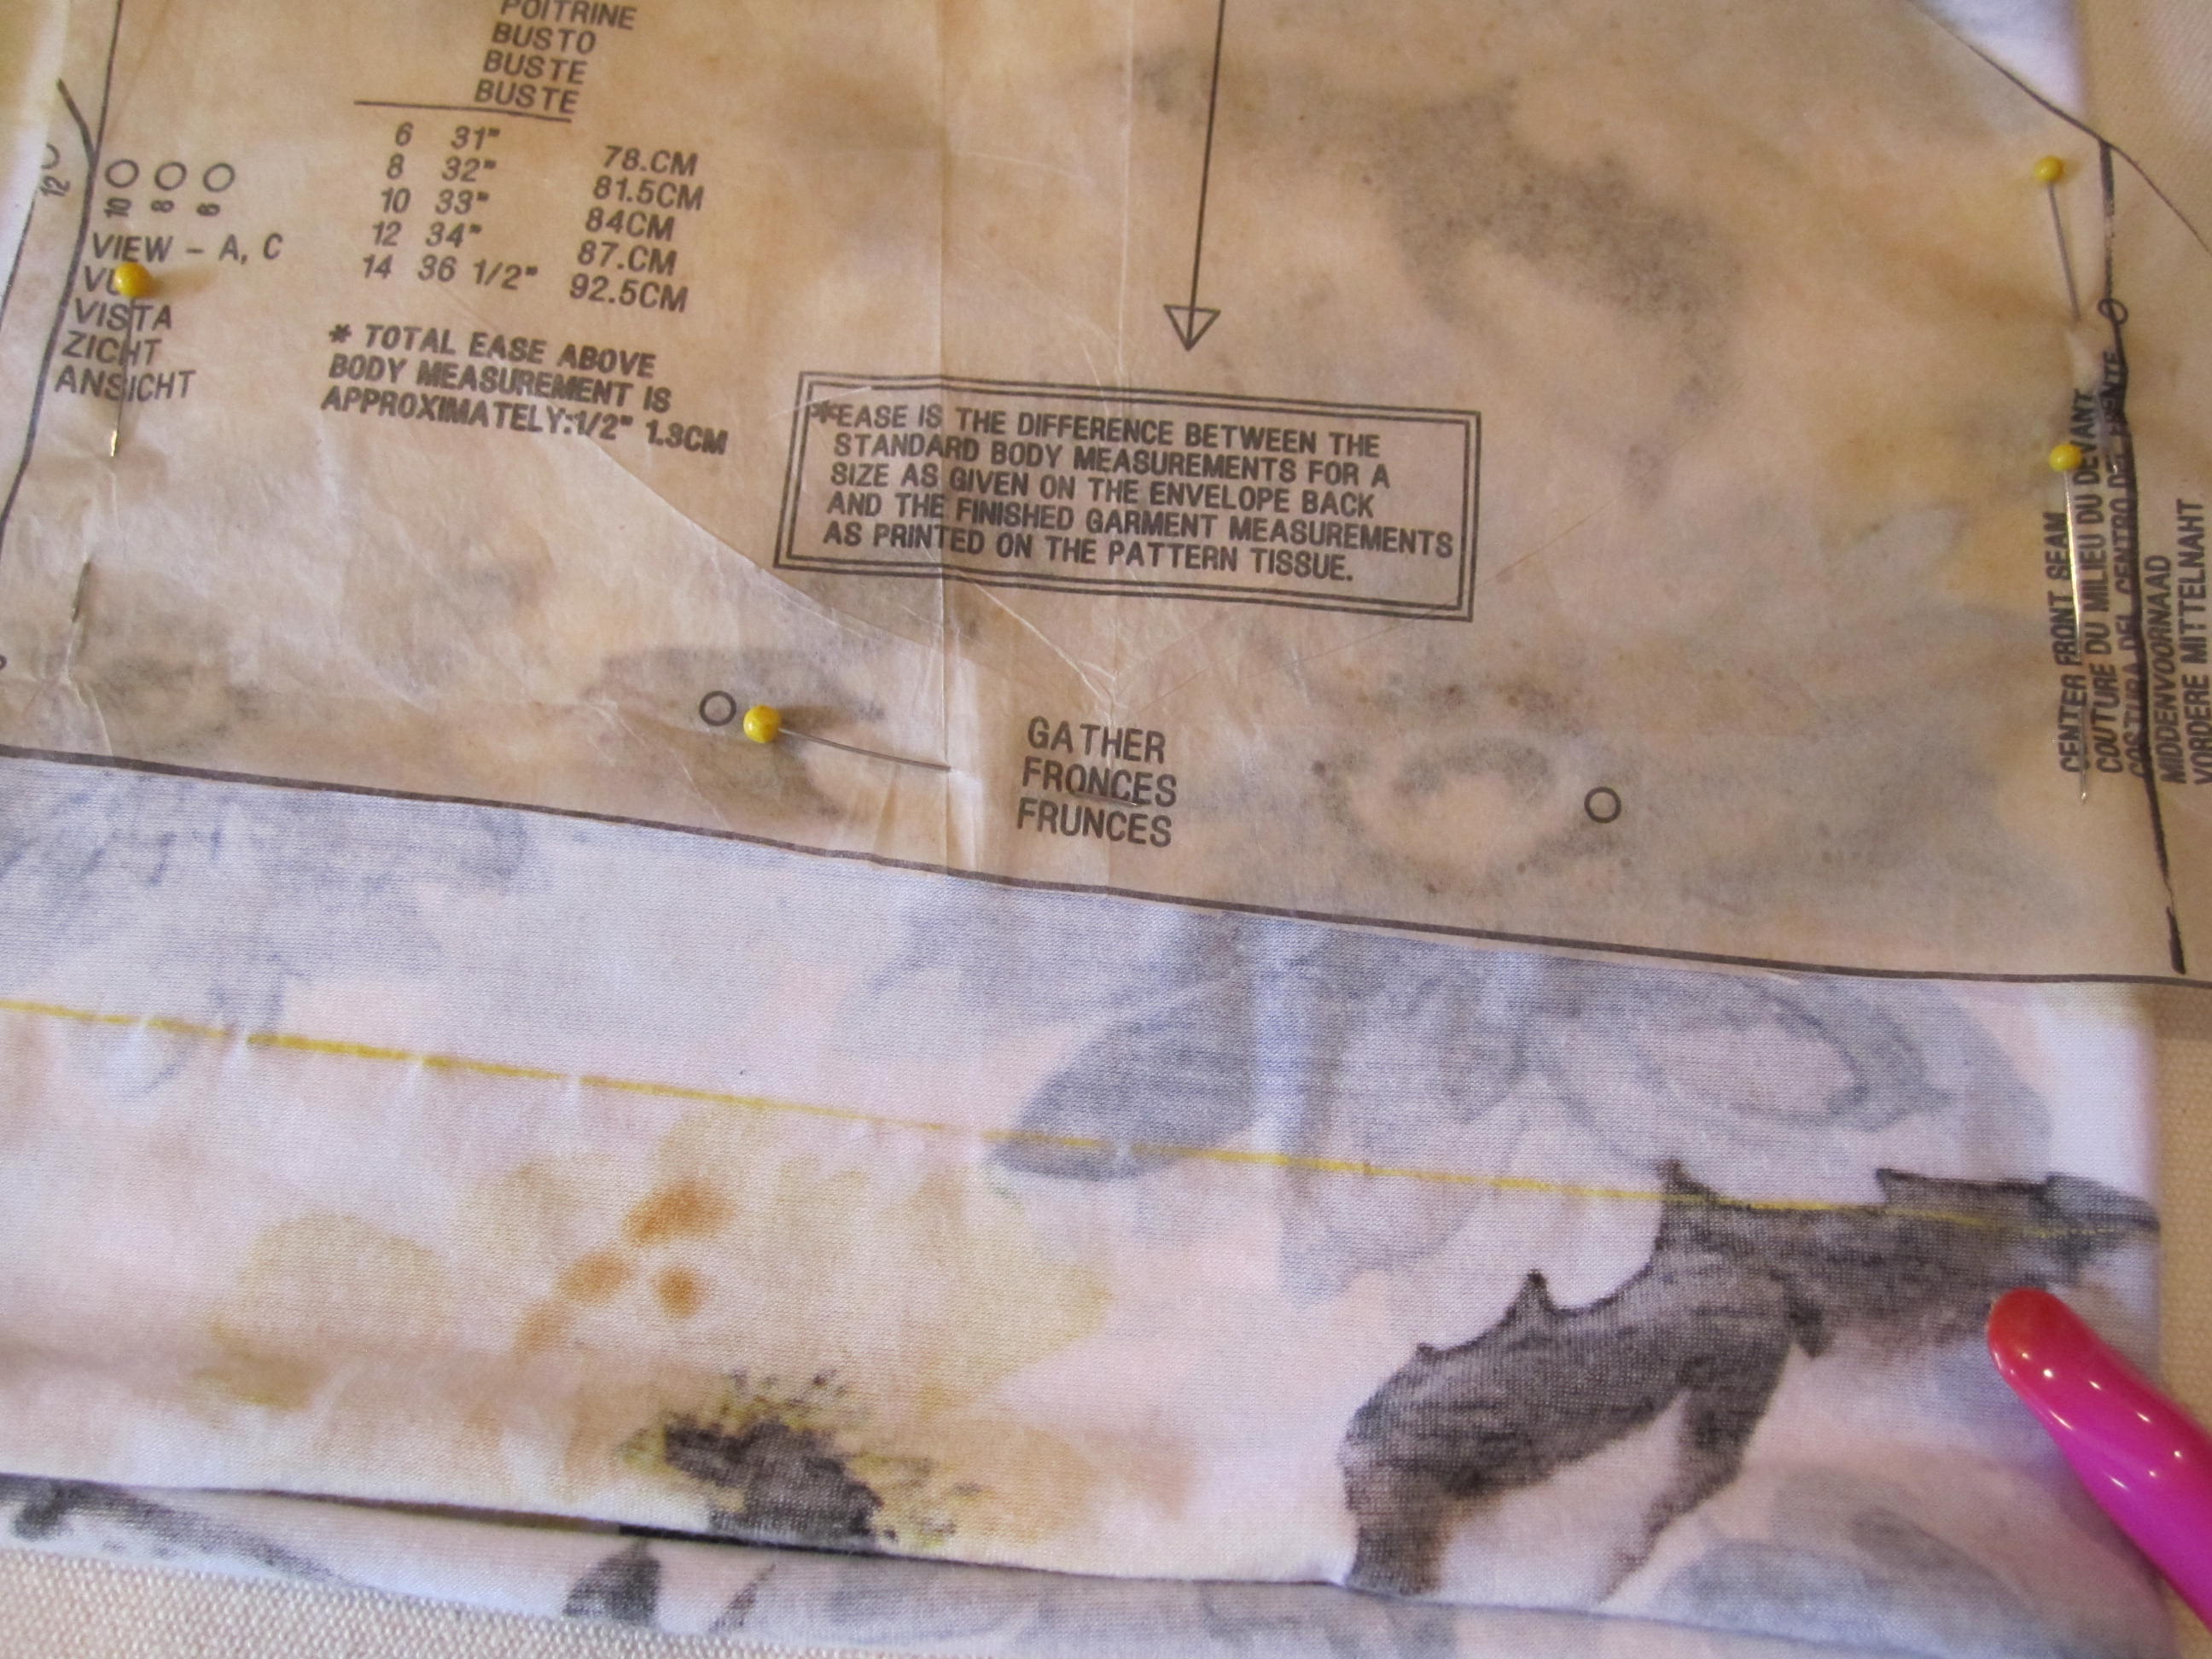
The last tweak was adding length to the bodice. The pattern called for the twist to be right below the breasts. Besides the fact that I have a long torso, it just felt too high to us so she dropped it down a bit. From looking at the finished dress you can see it is still pretty high. It really wouldn't have worked on my torso the way the pattern called for.
photo

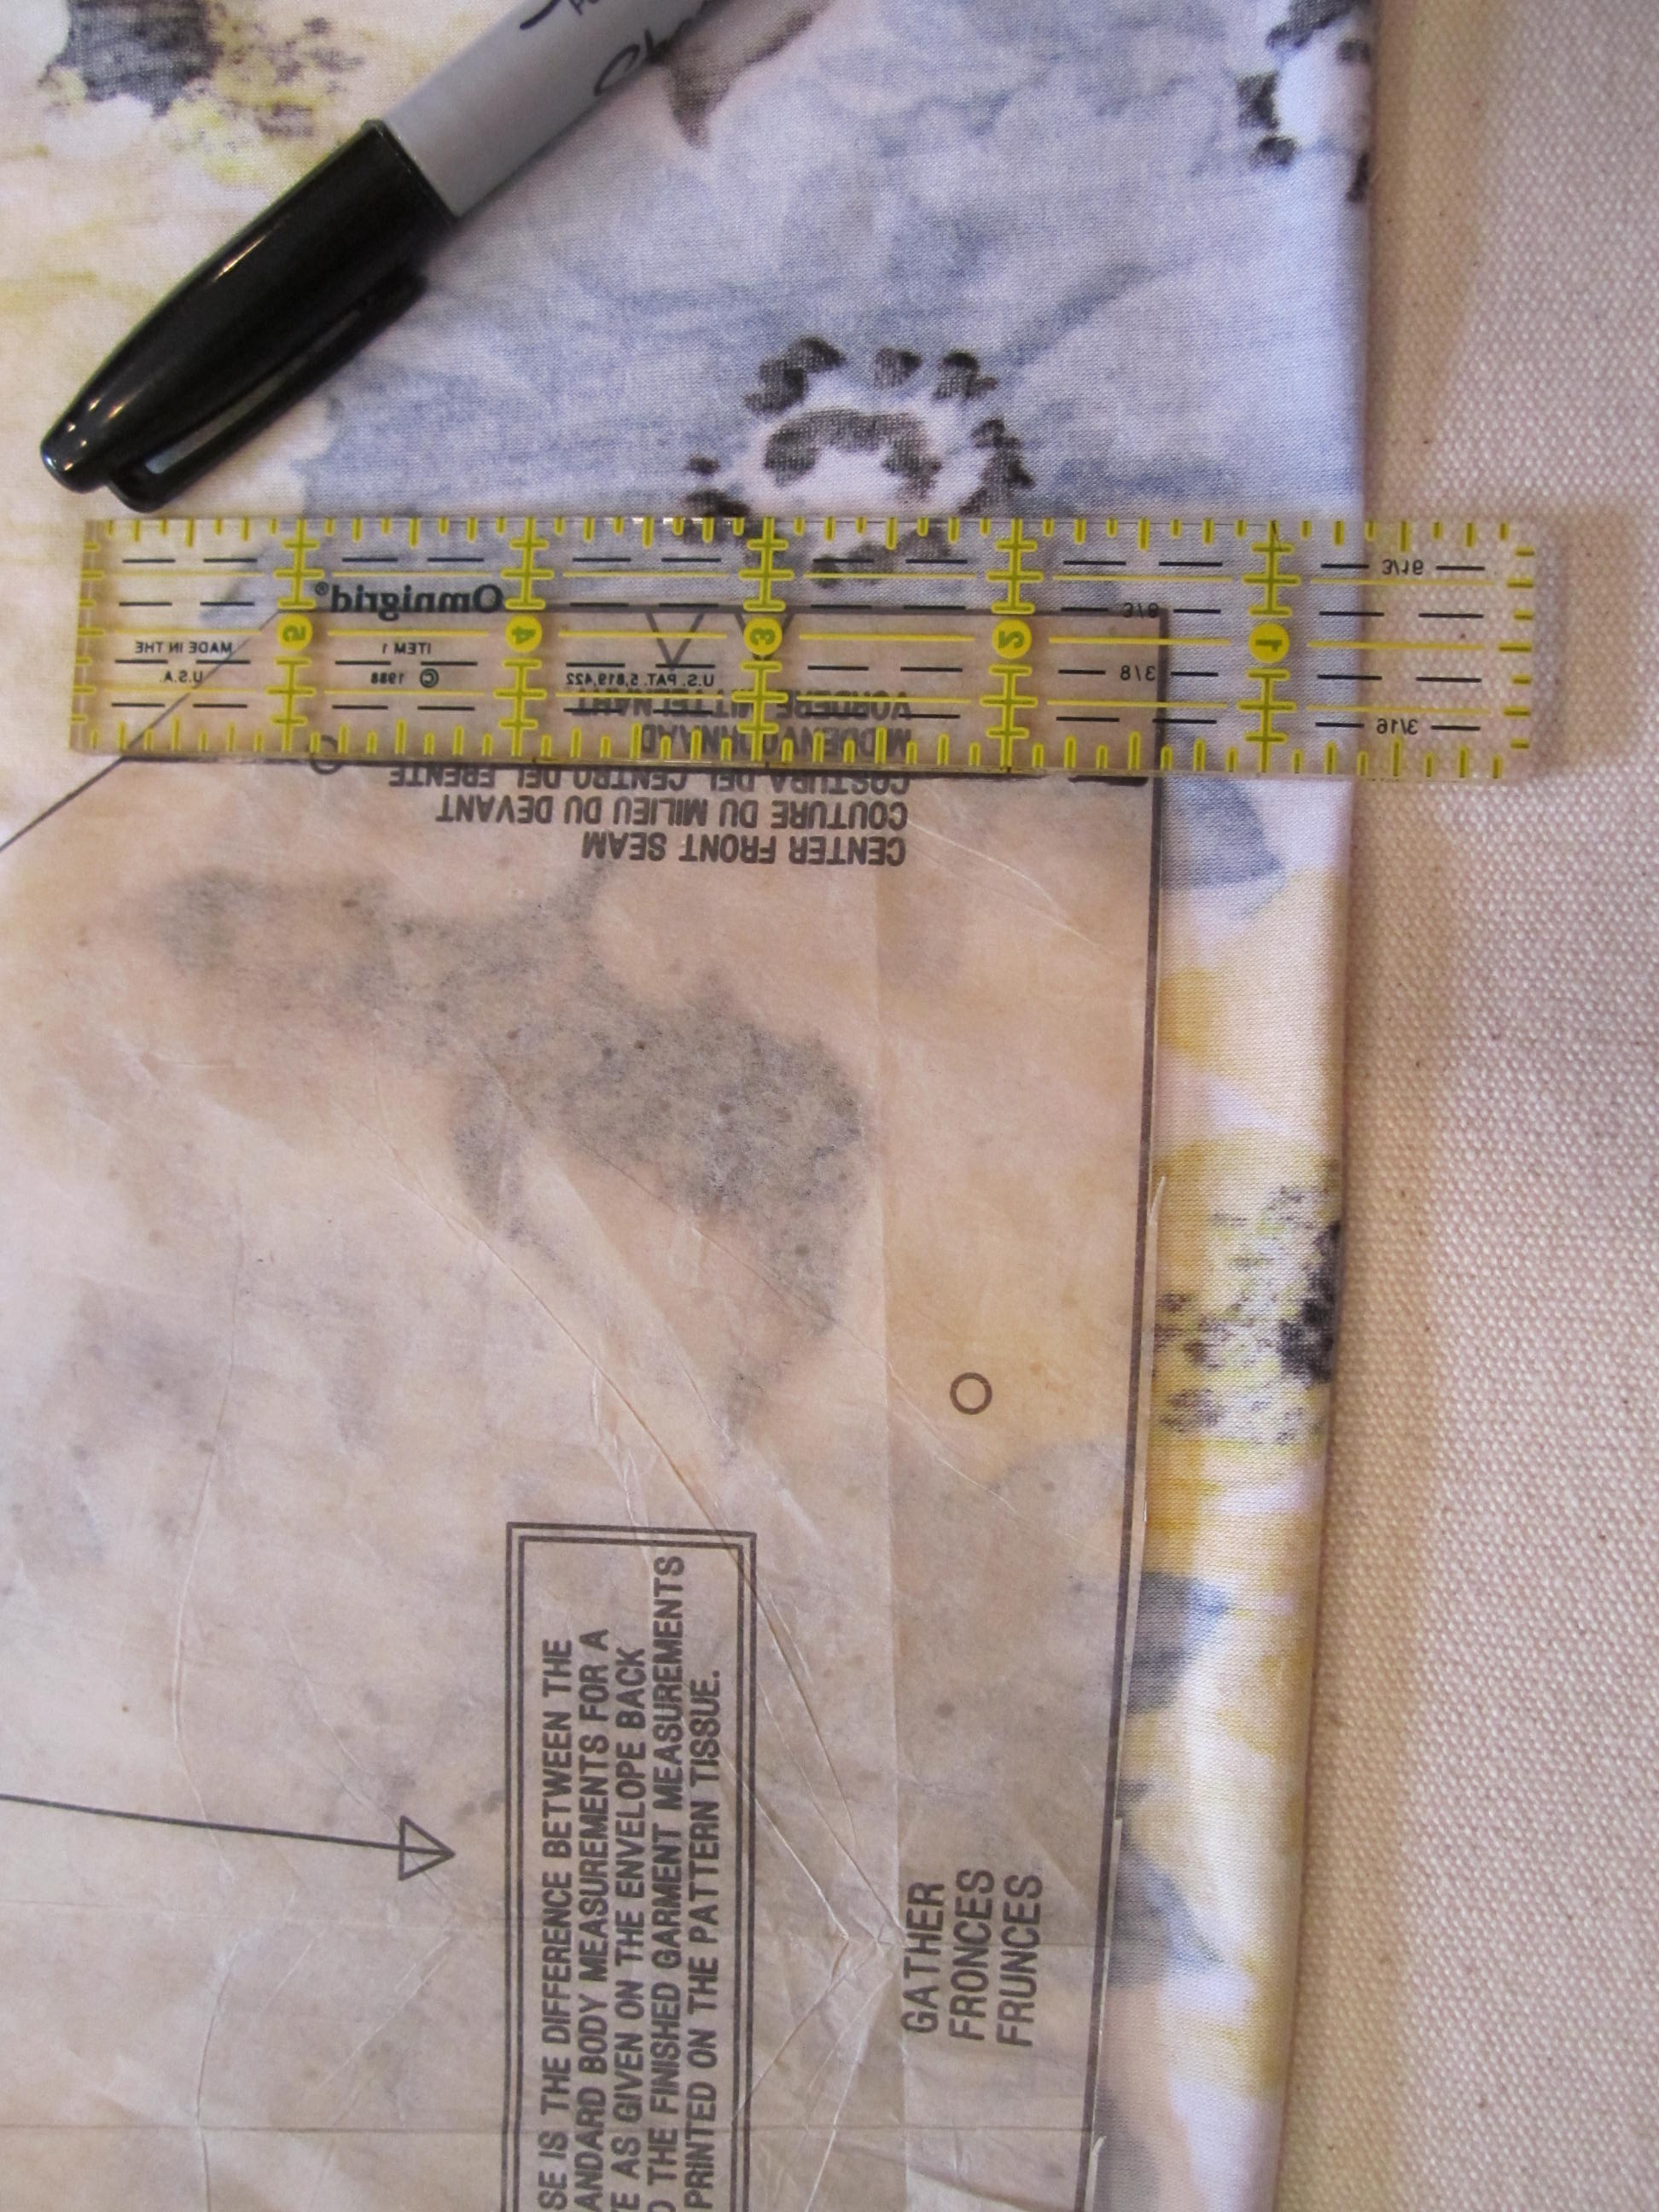
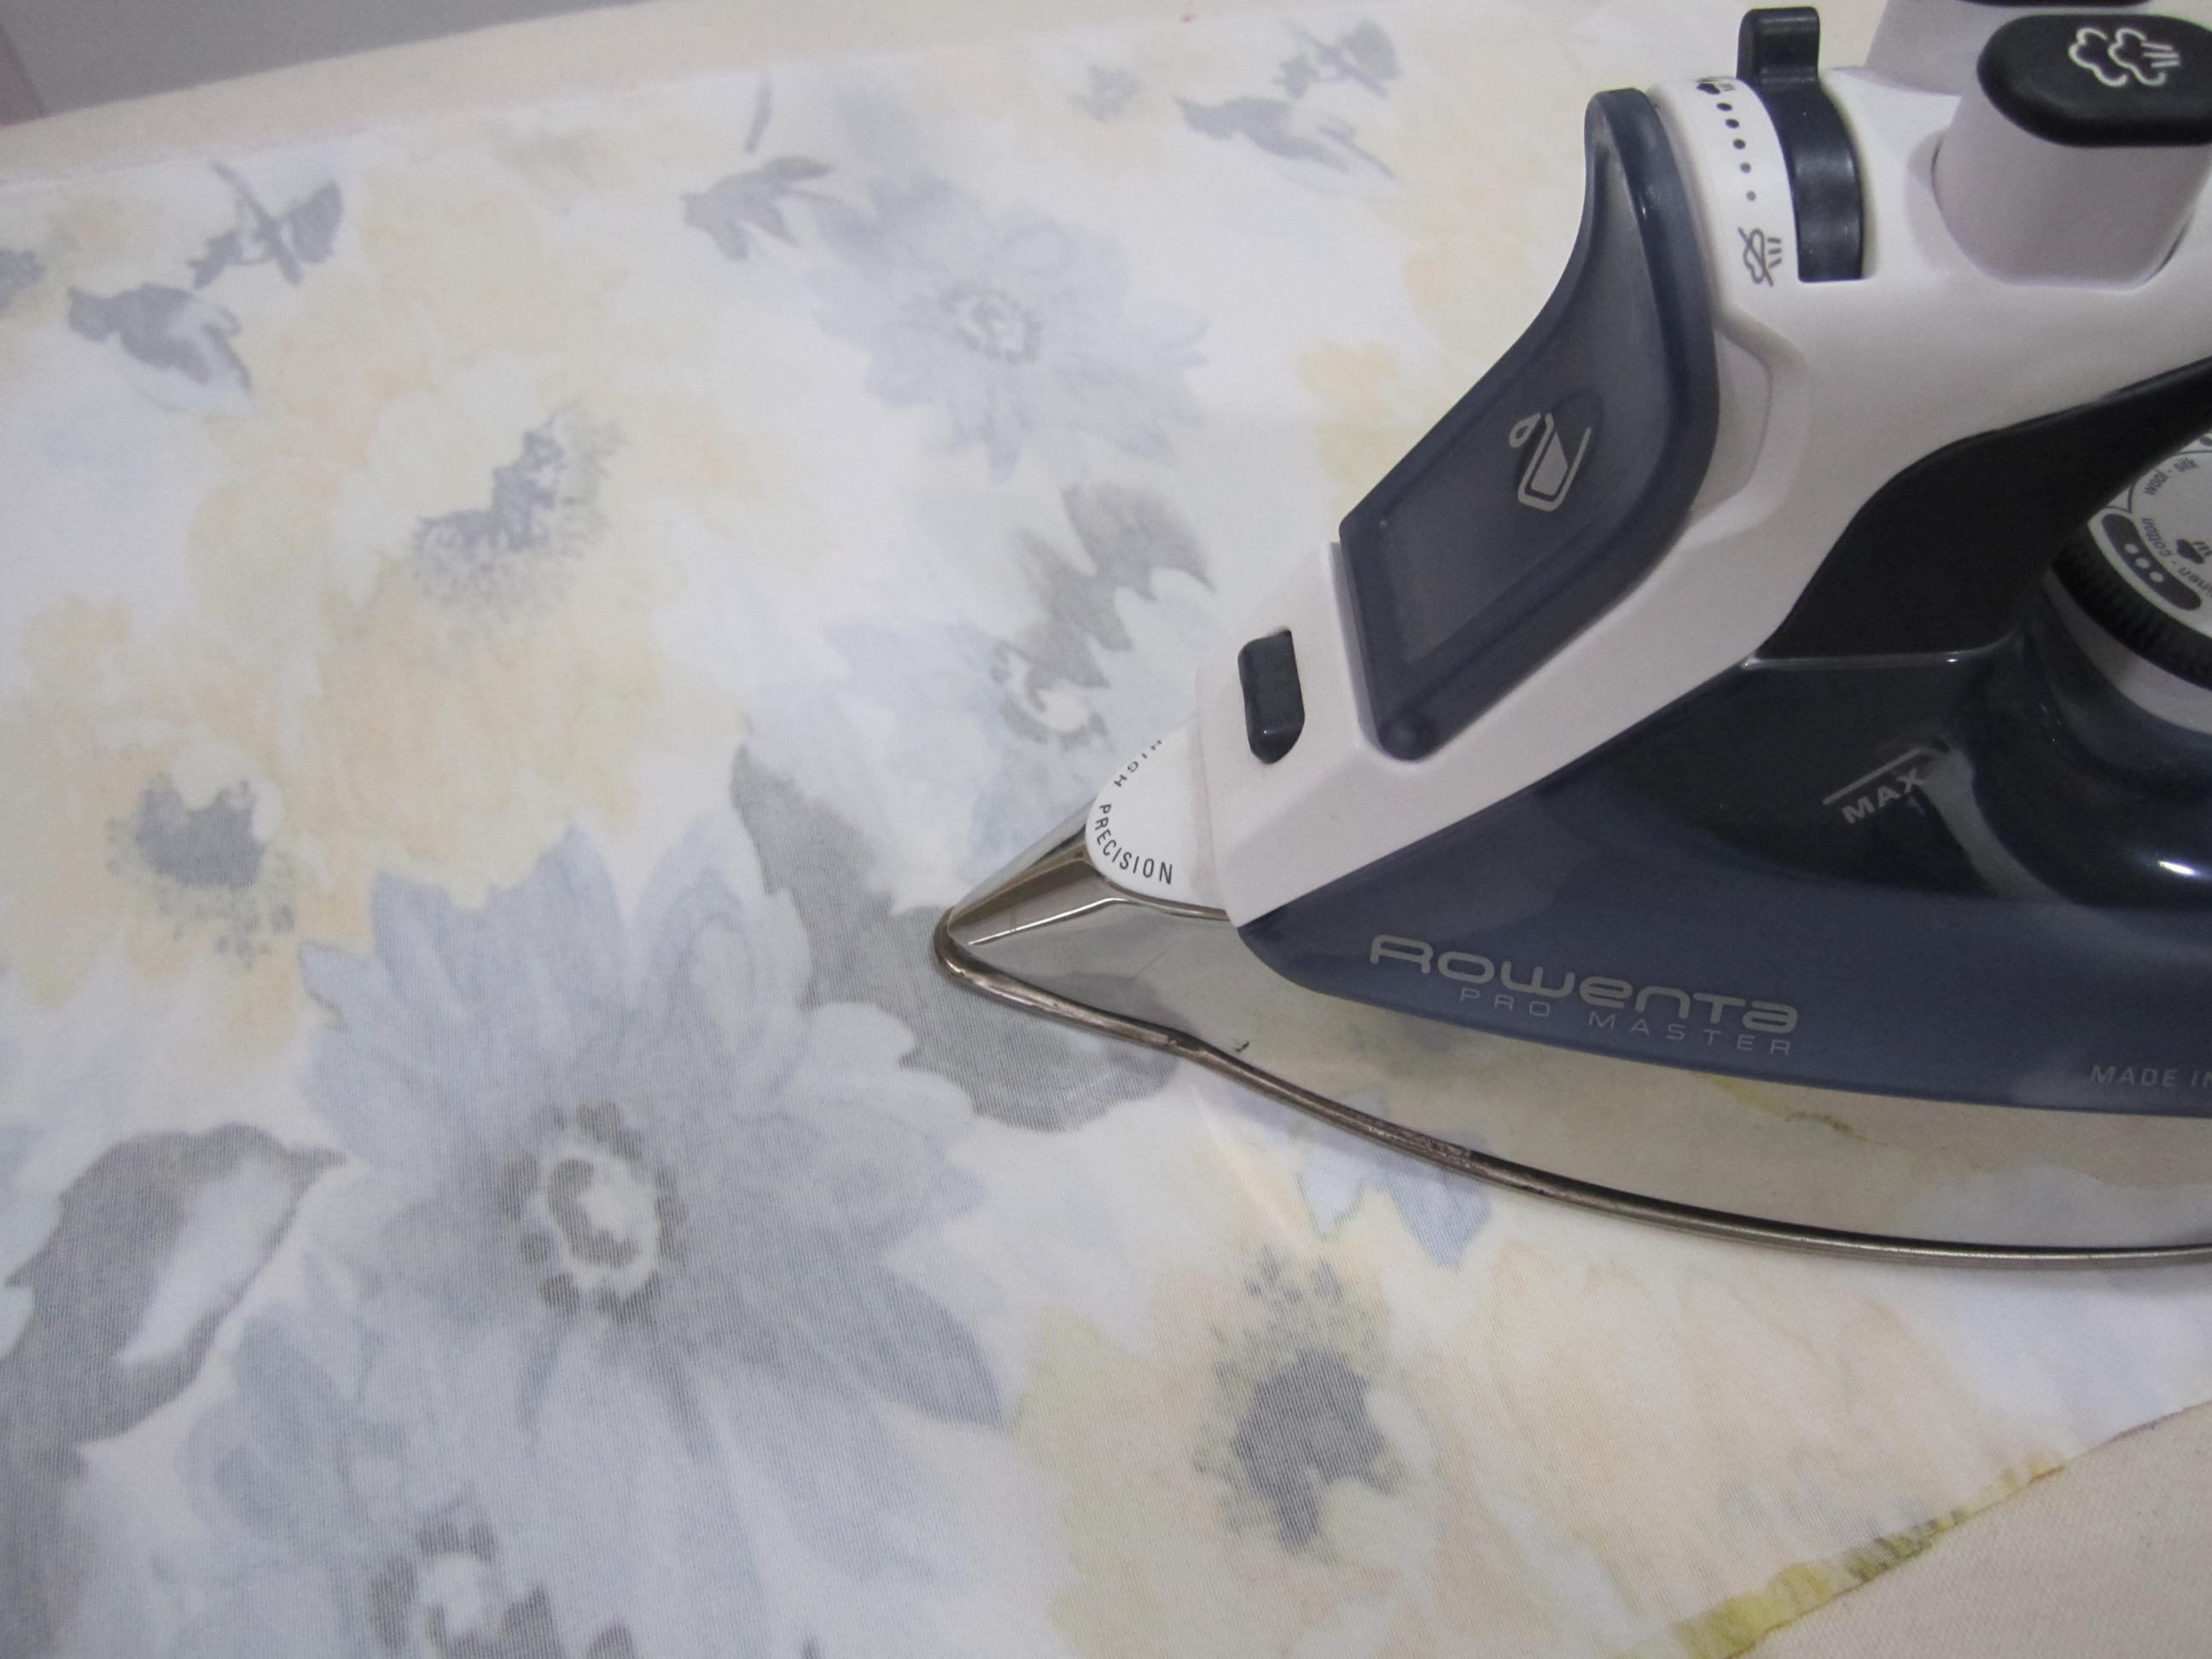
Next she ironed the interfacing onto the fabric before she cut the pattern out.  Doing this helps prevent any possible shrinkage to pattern piece.
photo copy 34

Lastly she had to make some adjustments as she was pinning to make sure everything lined up and then it was onto sewing.
photo copy 35

We decided to make the second dress shorter. Personally I like a little leg and I just thought it would be nice for our readers to see it both ways.

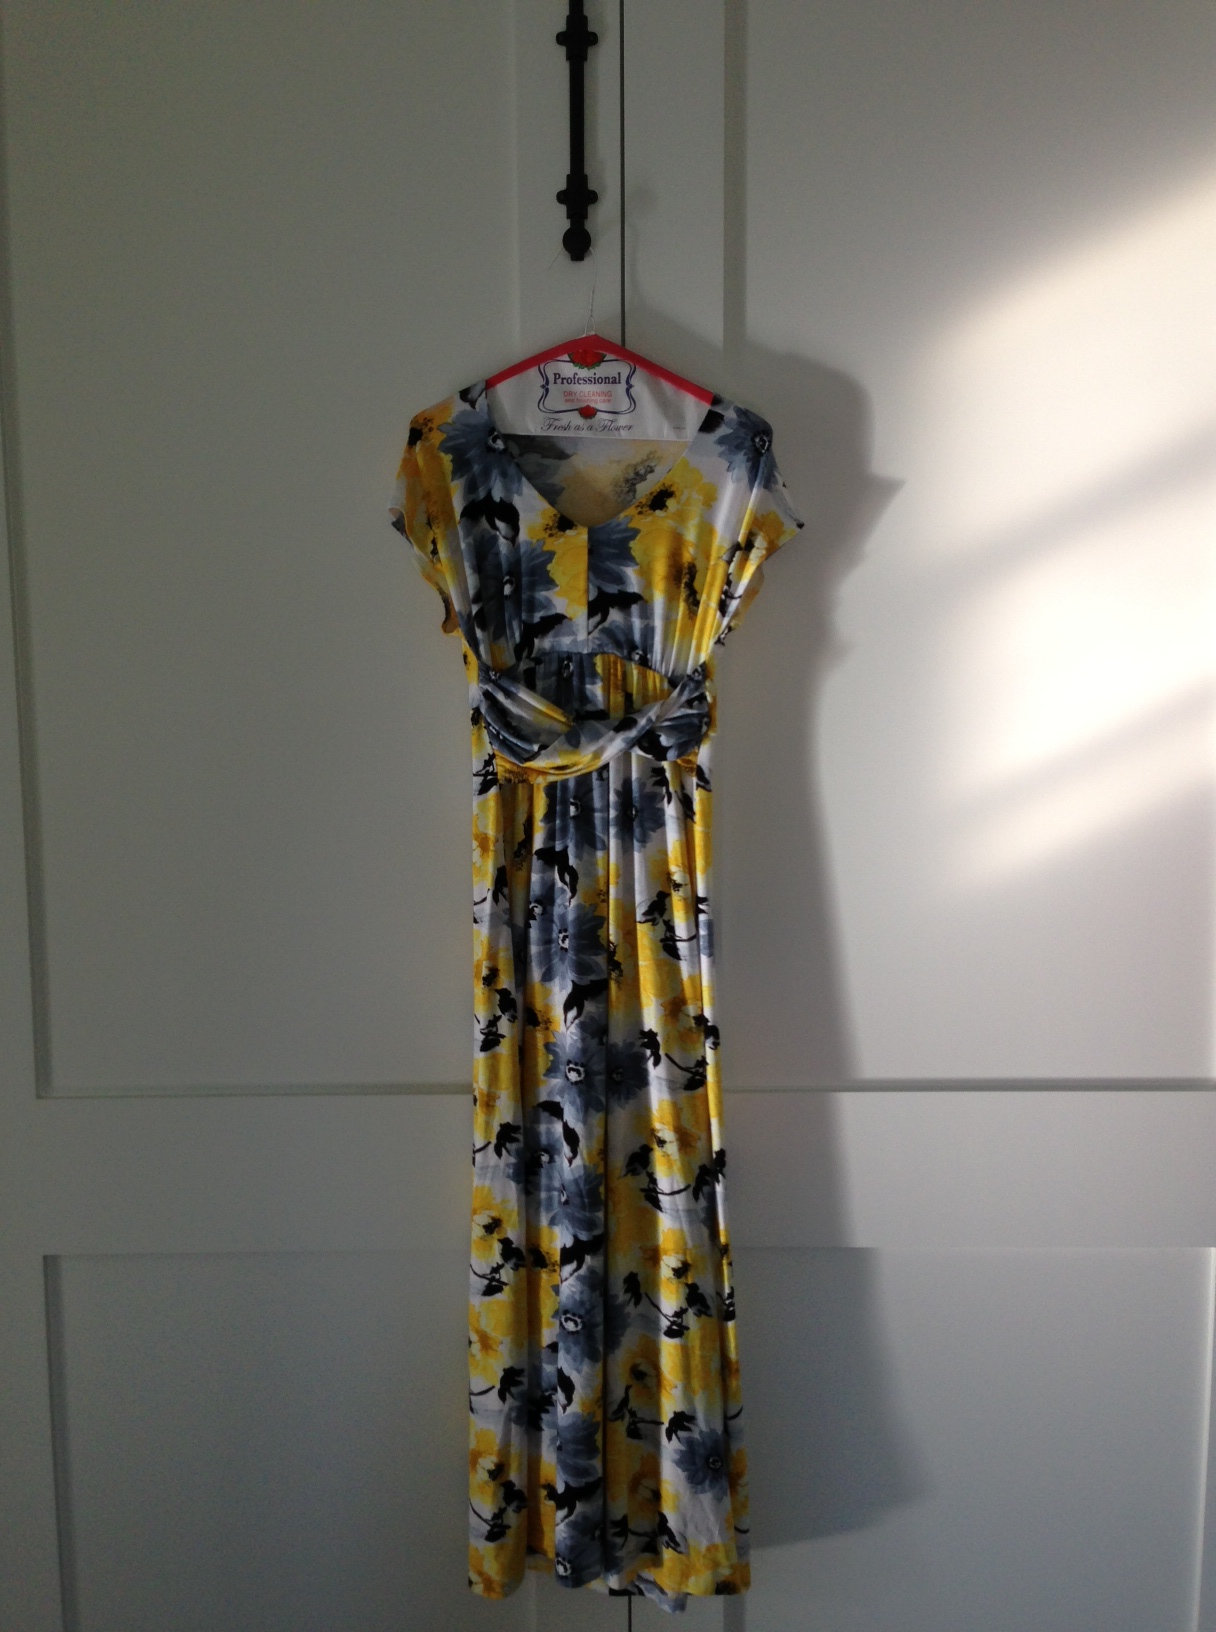
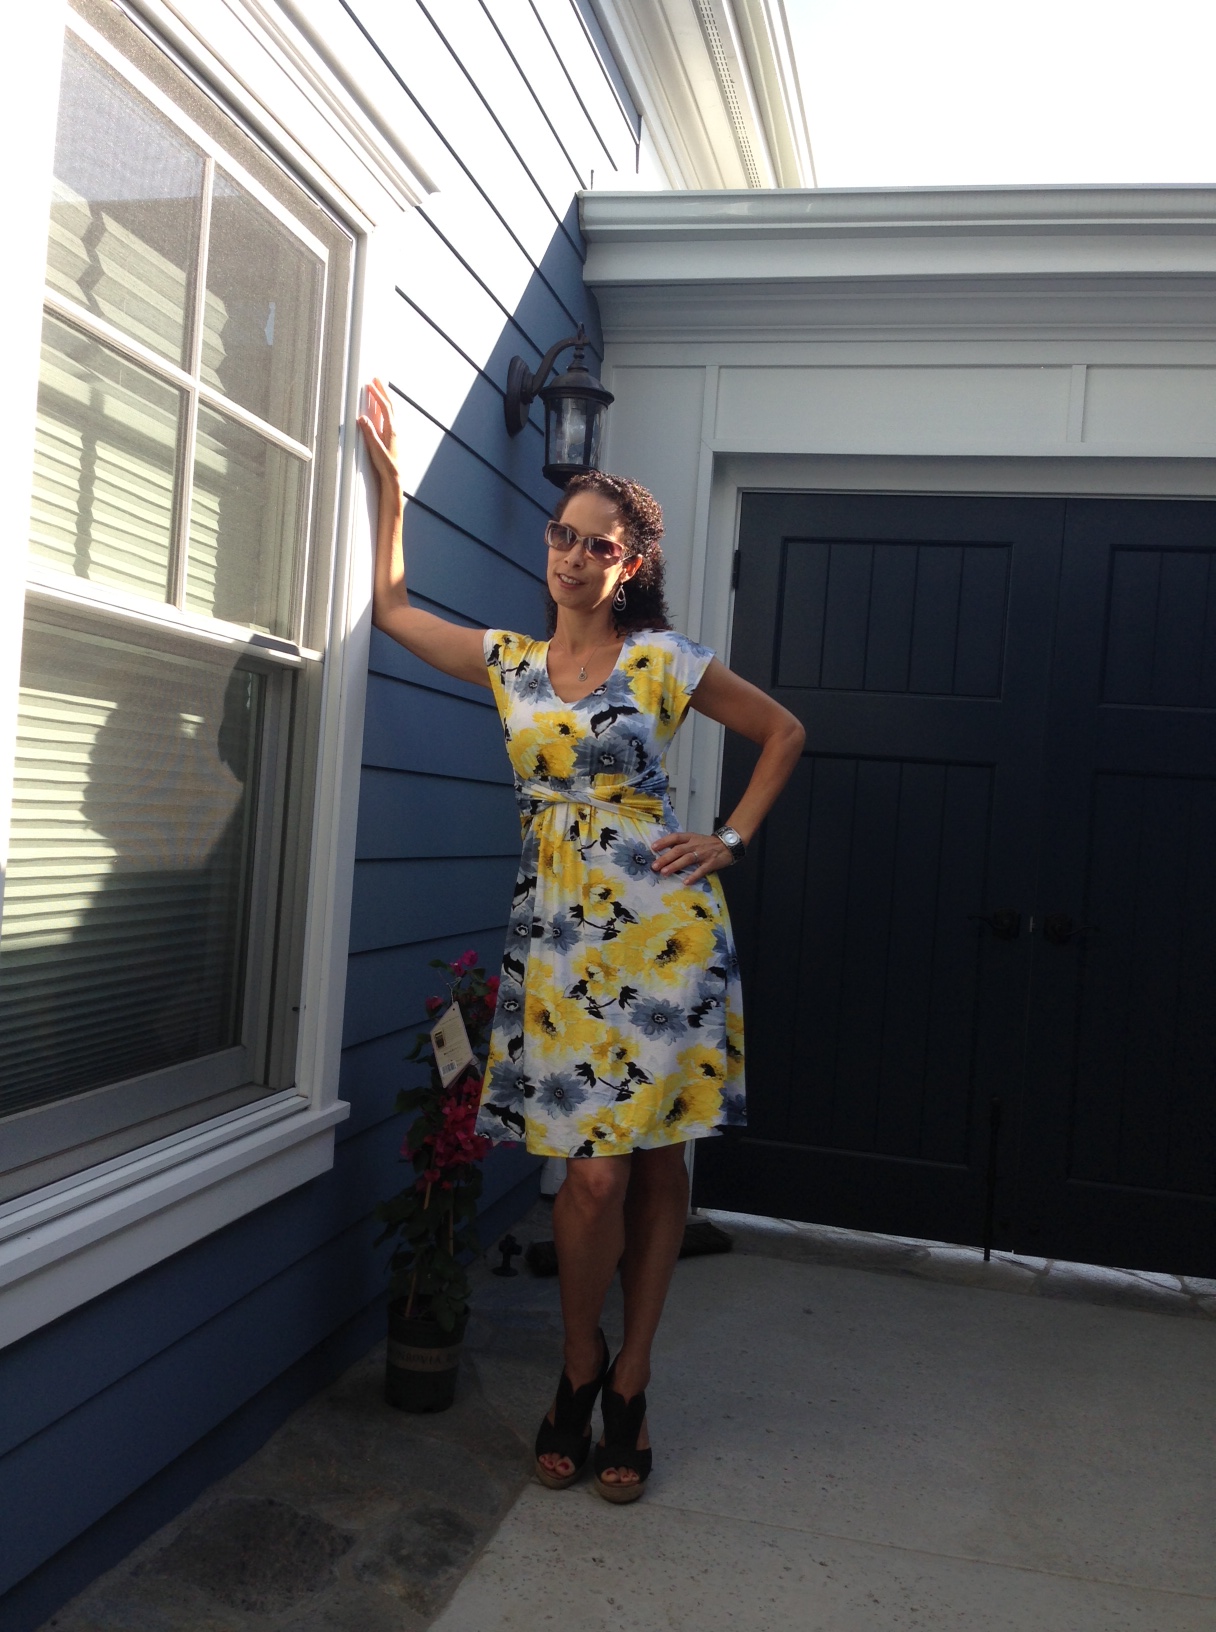
So here is the finished dress. I wore it to work today and had so many compliments. It is always fun, even for our employees, to see the fabric come to life.
photo copy 33

I really like the style and comfort of this dress, as it's perfect for work or going out to lunch on a weekend. Just be prepared you may have to tweak the pattern a bit to fit your individual body. Thank goodness Robin has a great eye and could make it work.

Any questions, please let us know.

Thanks & enjoy!

Regina & Robin

Tuesday, July 2, 2013

Dream House, Construction, Part II

So finally the worst was over. The major dust had settled and it was time to watch the pretty stuff roll in. This island, in Winter Cloud Quartzite, made me so happy. It gave me the loook of Carrera Marble, with all the durability one needs when you have three children. Especially one five year old who loves to paint and craft.
Image

During the building process I was always walking through the home decorating store and looking at fabric. I was just waiting for that one piece of fabric to jump out at me and finally it did.
Image

This Braemore fabric had everything I was looking for. The house has an East Coast feel, yet has many modern touches. I wanted to use various shades of turquoise throughtout the house and keep the walls pretty nuetral. It gave me a relaxed beach feel and reminded me of our travels to Hawaii, without being kitchy, yeIt it felt fresh and modern. It was perfect and I was so excited! I am so glad I found this so early in the process. It really influenced many of my choices. My wall color is the light taupe grey and the hardwood floor is the dark brown.
Image The backsplash behind the range and in the kitchen, laundry/mudroom, and the girls bathroom are all different shades and shapes of turquoise and green glass tile .

Image

Image

 The house is pretty open and only has one living space. It is anchored with a long firebox, book shelves, and a television. The stone I picked out, Silverwood Marble, is also a taupe grey/brown that works really well with the fabric.

Image

Honestly, for the first few months I wasn't sure when this fabric would show up, but I always knew I would use it. As the months went by and my piece traveled to every store with me, I finally had that ah-ha moment. It would be perfect for the drapes in the dining space. Now that we just got a couch, which sits ajacent to the dining space, I am planning on using it for a few of the decorative sofa cushions.

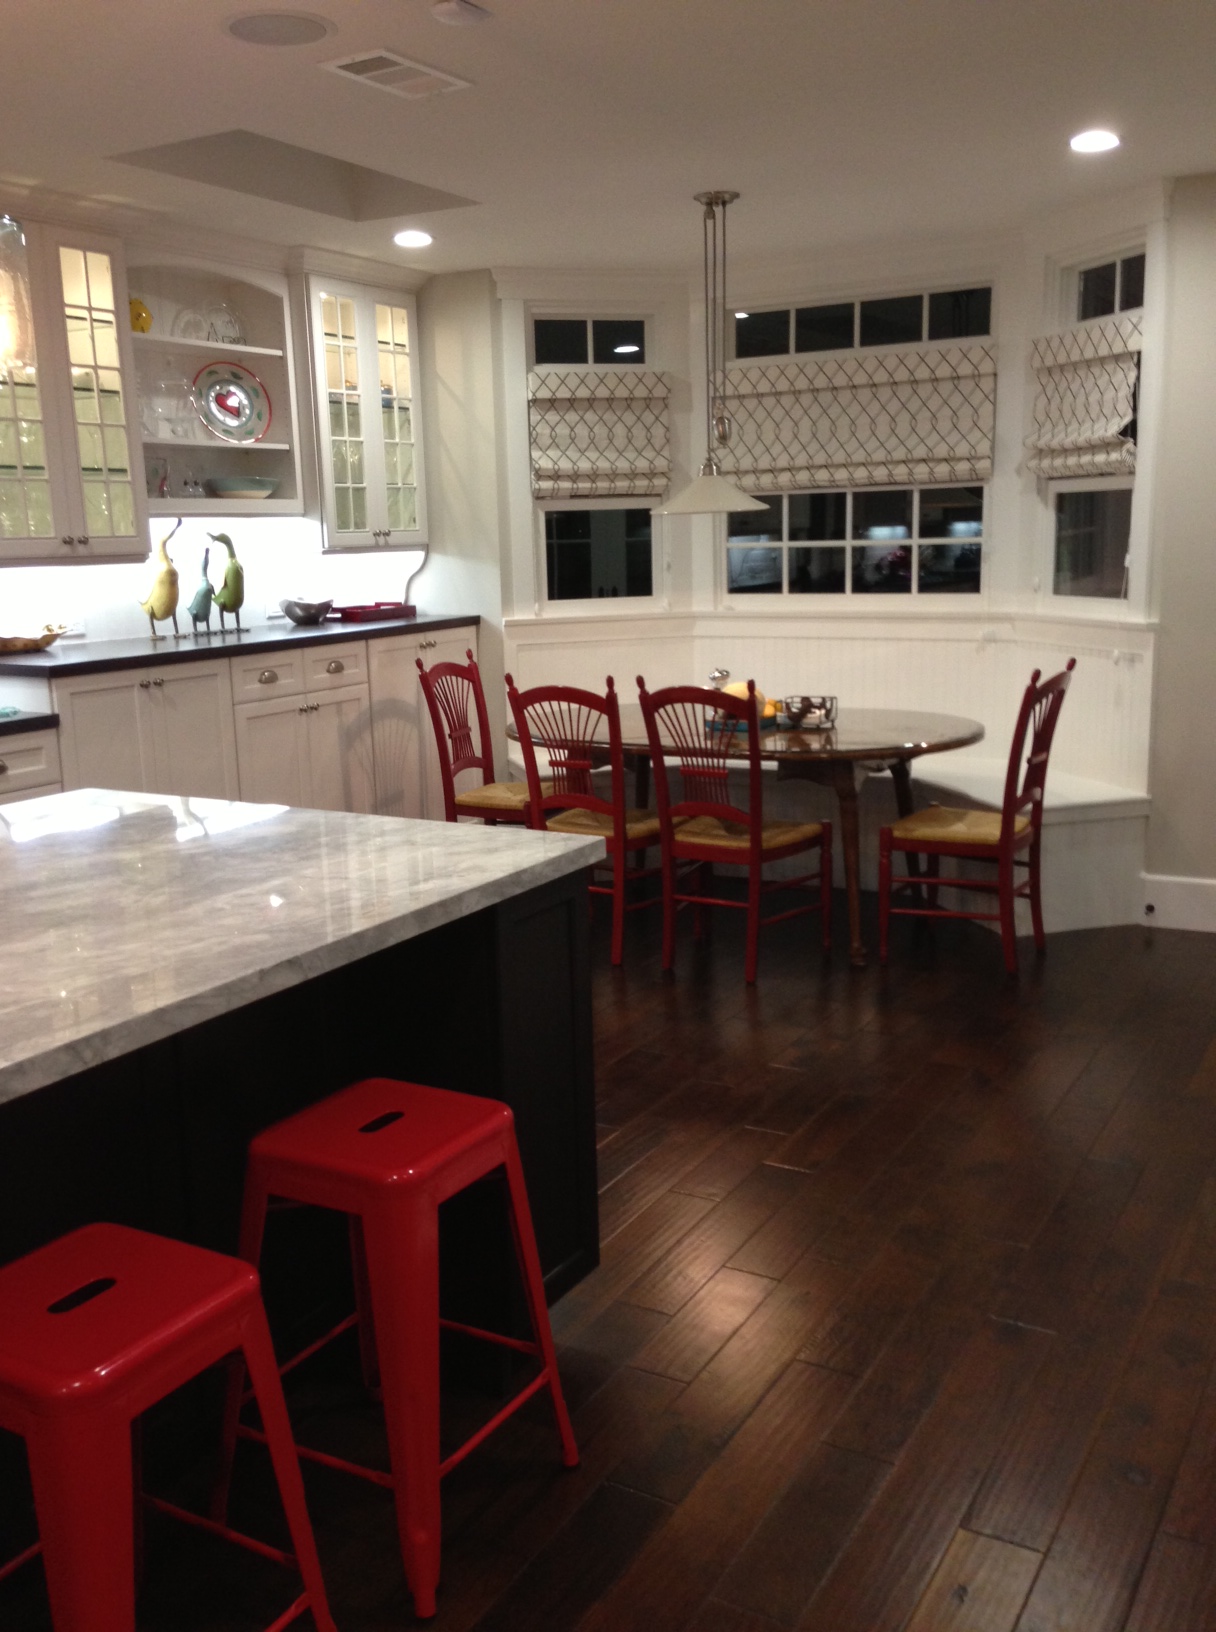
Next week we will be making the pillows for the kitchen banquet. From the kitchen you can see the living and dinning area, so I am still usng some turquoise, but will be adding a pop of red to go with the red bar stools abd banquet chairs.

photo copy 10

Check out our Instagram account to see the fabrics I finally decided on yesterday. I really love them and think they will bring this space to life.

Enjoy!

Monday, July 1, 2013

Progress....

Here are a few pics of the dress & romper that we're working on. Both these fabrics are brand new and caught my eye as I was doing one of my weekly "walk-throughs" through the warehouse. Both projects are well under way & should be done by the end of this week.

DressPattern: Simplicity 1804 (ML244255)
Fabric: ML244085
Supplies: Scissors or rotary cutter, tape measure, elastic, pins, wonder tape, fusible tricot (ML244260)Image

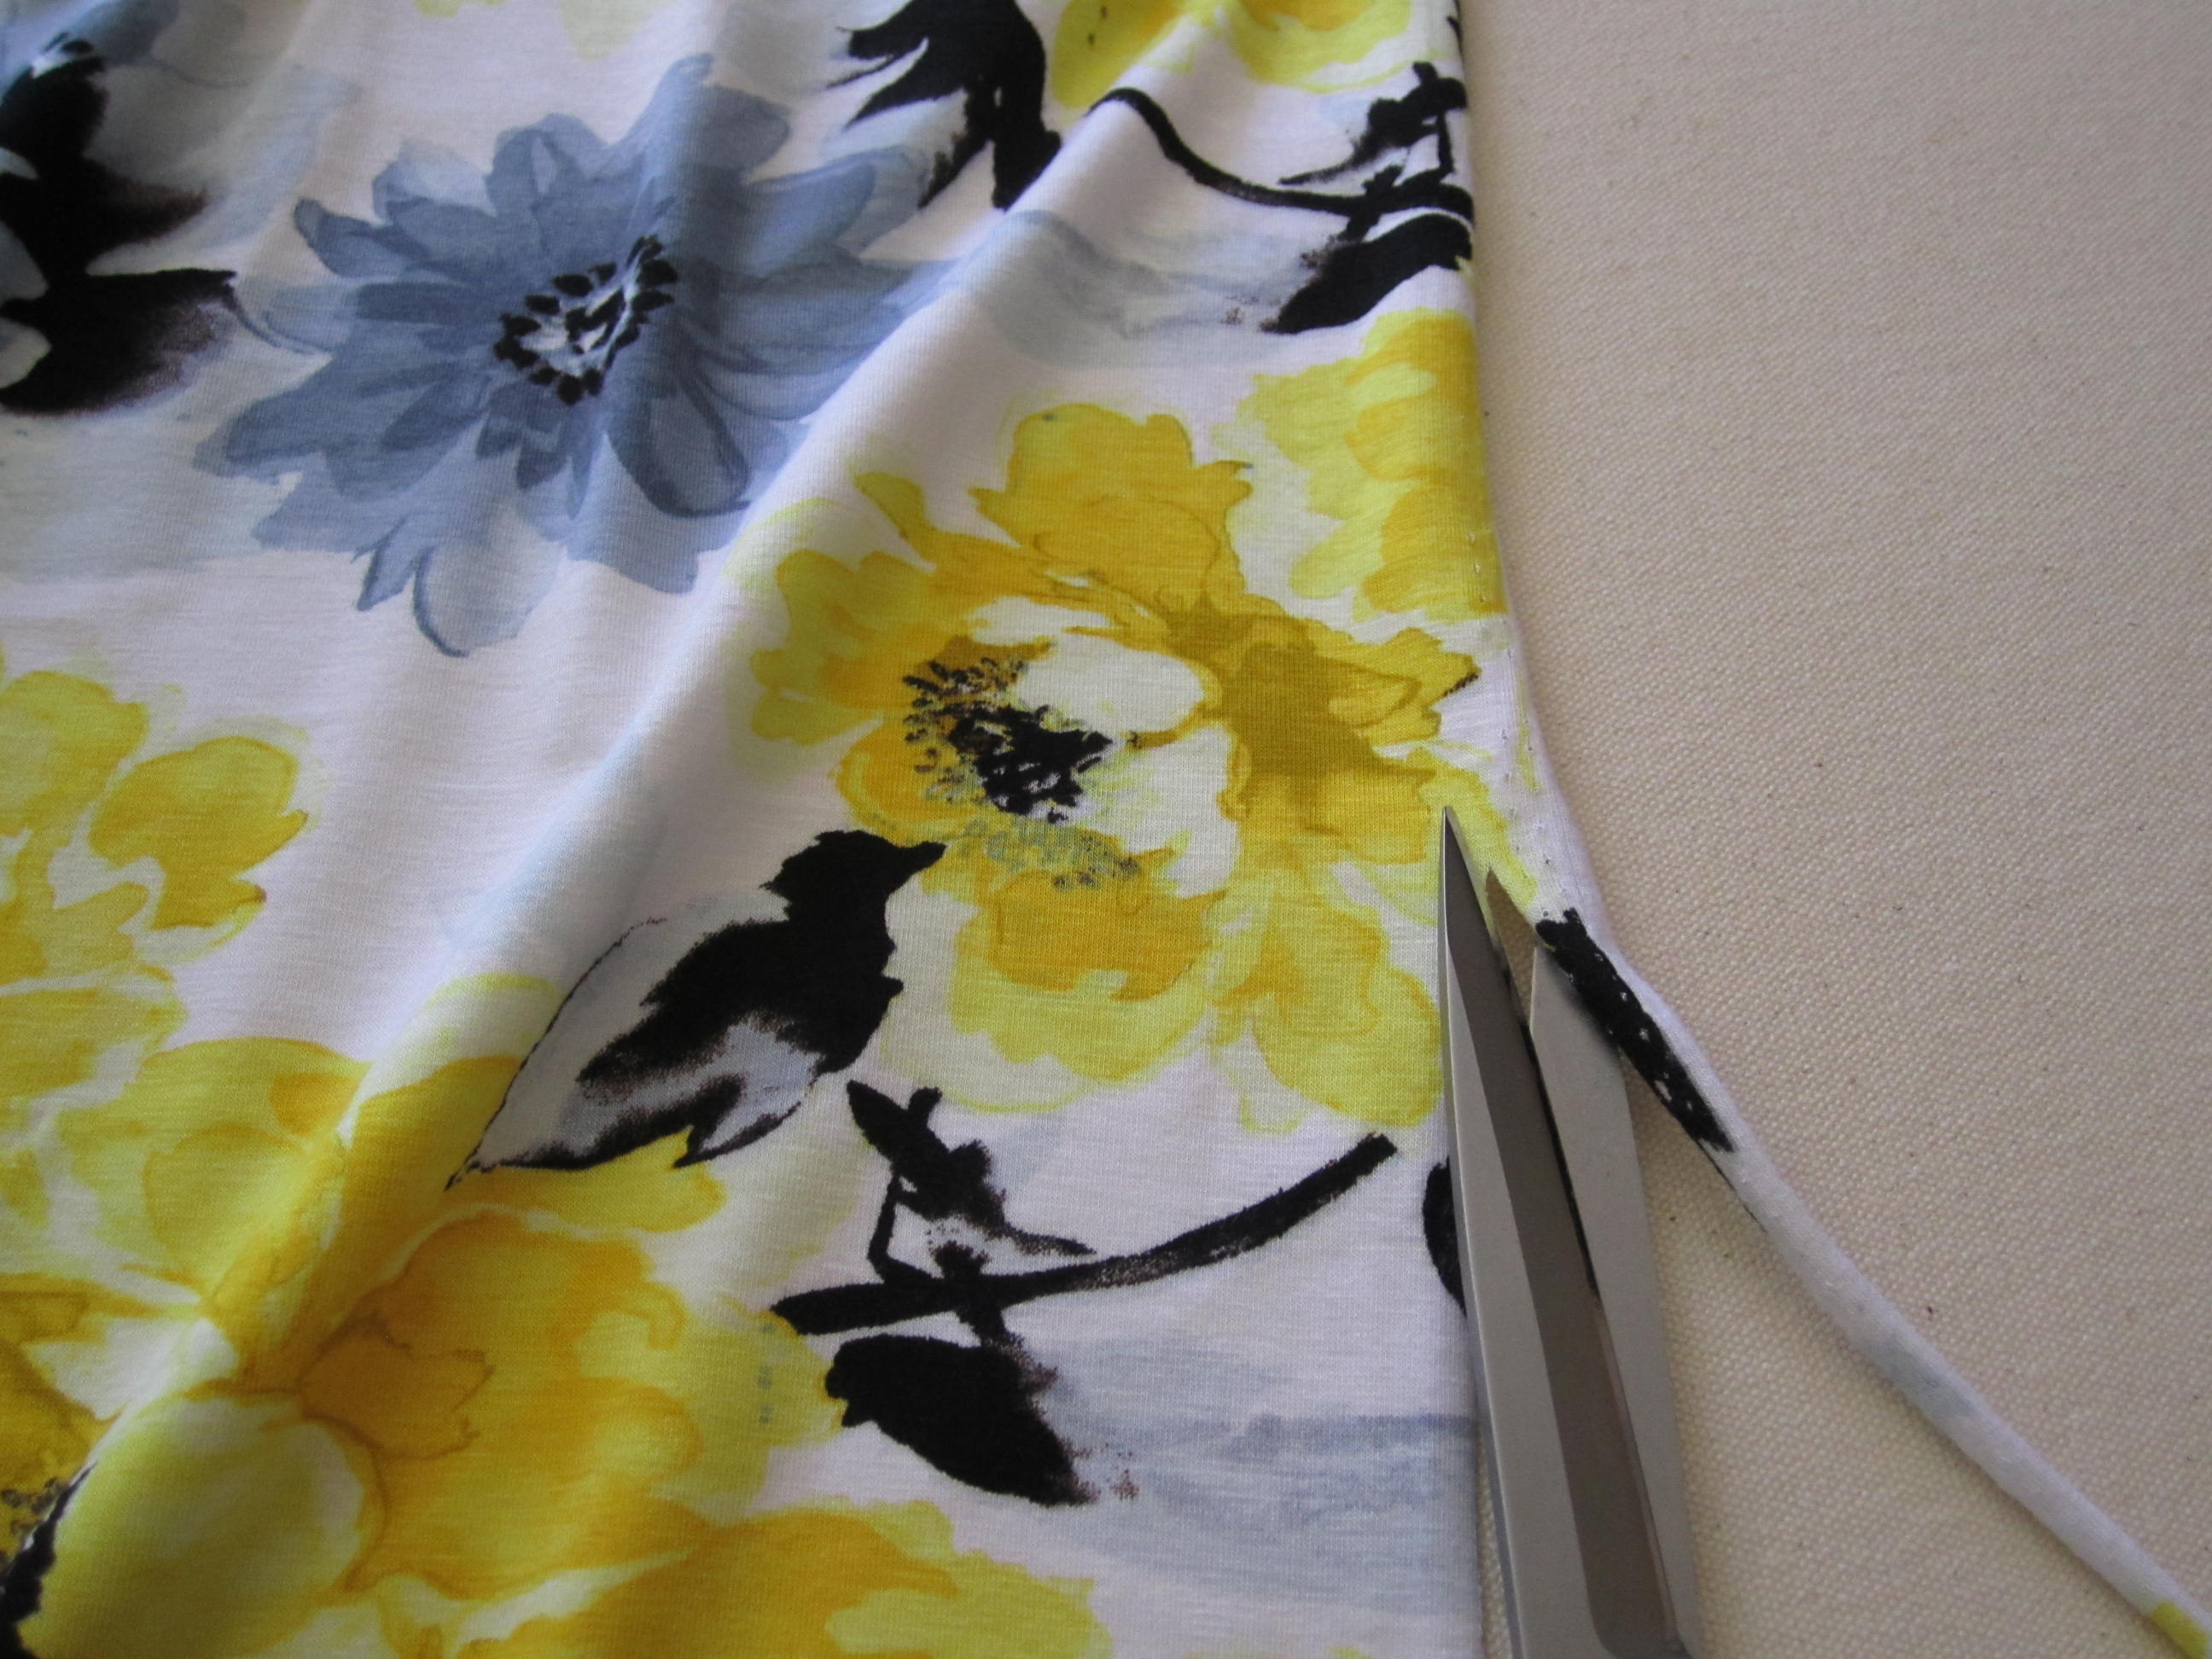
Since the salvage rolled, it had to be trimmed off.Image

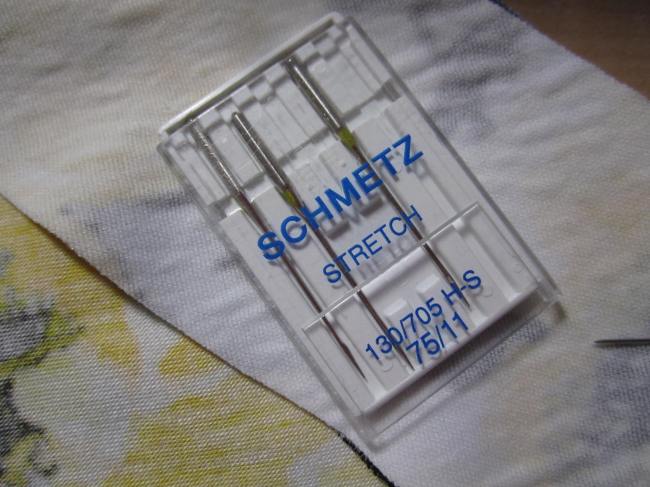
The proper needles make all the difference.Image

Don't forget to iron the pattern before you put it on the fabric. This will make the pattern easier to work with. Image

Tricot knit fusible interfacing & elasticphoto copy 18

Pinning bodice to skirt.photo copy 9

Pinning interfacing to neckline.photo copy 10

RomperPattern: Marcy Tilton V8813
Fabric: ML243985 (cut  yards for a size 6)
Supplies: Scissors or rotary cutter, tape measure, pins

Image

Measure the grain line to salvage to make sure it is straight.

Image

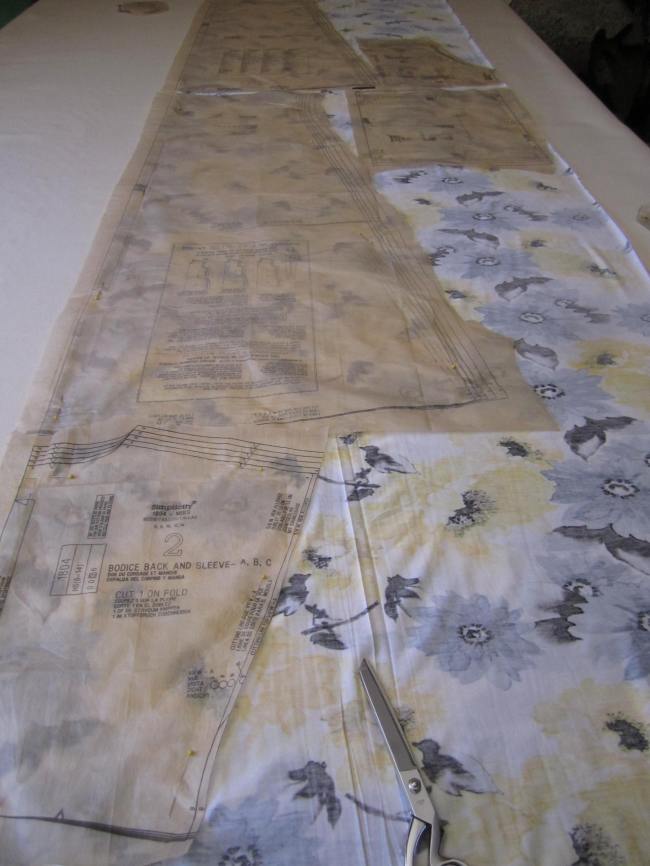
Again, iron the pattern to make sure it lays flat on the fabric.

Image

By the end of the week we will have the finished product ready.

Enjoy!

Friday, June 28, 2013

Dream house, the construction starts...

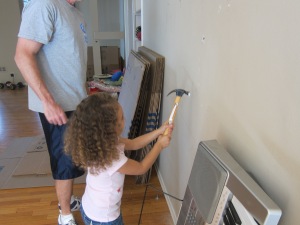
So after 2 years of talking to loan officers, working with the architect and pulling magazine pictures it was time to start construction. I remember feeling surprised and shocked that they actually had a date to start demo. I think on some level I didn't think it would ever happen. Once we moved most of our stuff out we let the kids do a little demo of their own. They had a great time writing on and putting holes in the wall.
IMG_0768

IMG_0769

IMG_0771

The week before demo started we had  a garage sale where we let people bring their own tools and basically buy whatever they could remove. While it was nice to make a few bucks, I was just so happy to recycle things that other people could use, like our wall ovens, hardware, doors, and light fixtures. When they came to demo a few days later it felt so good that these items were not going into the huge trash dumpster.

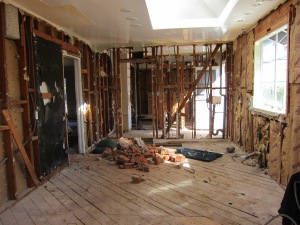
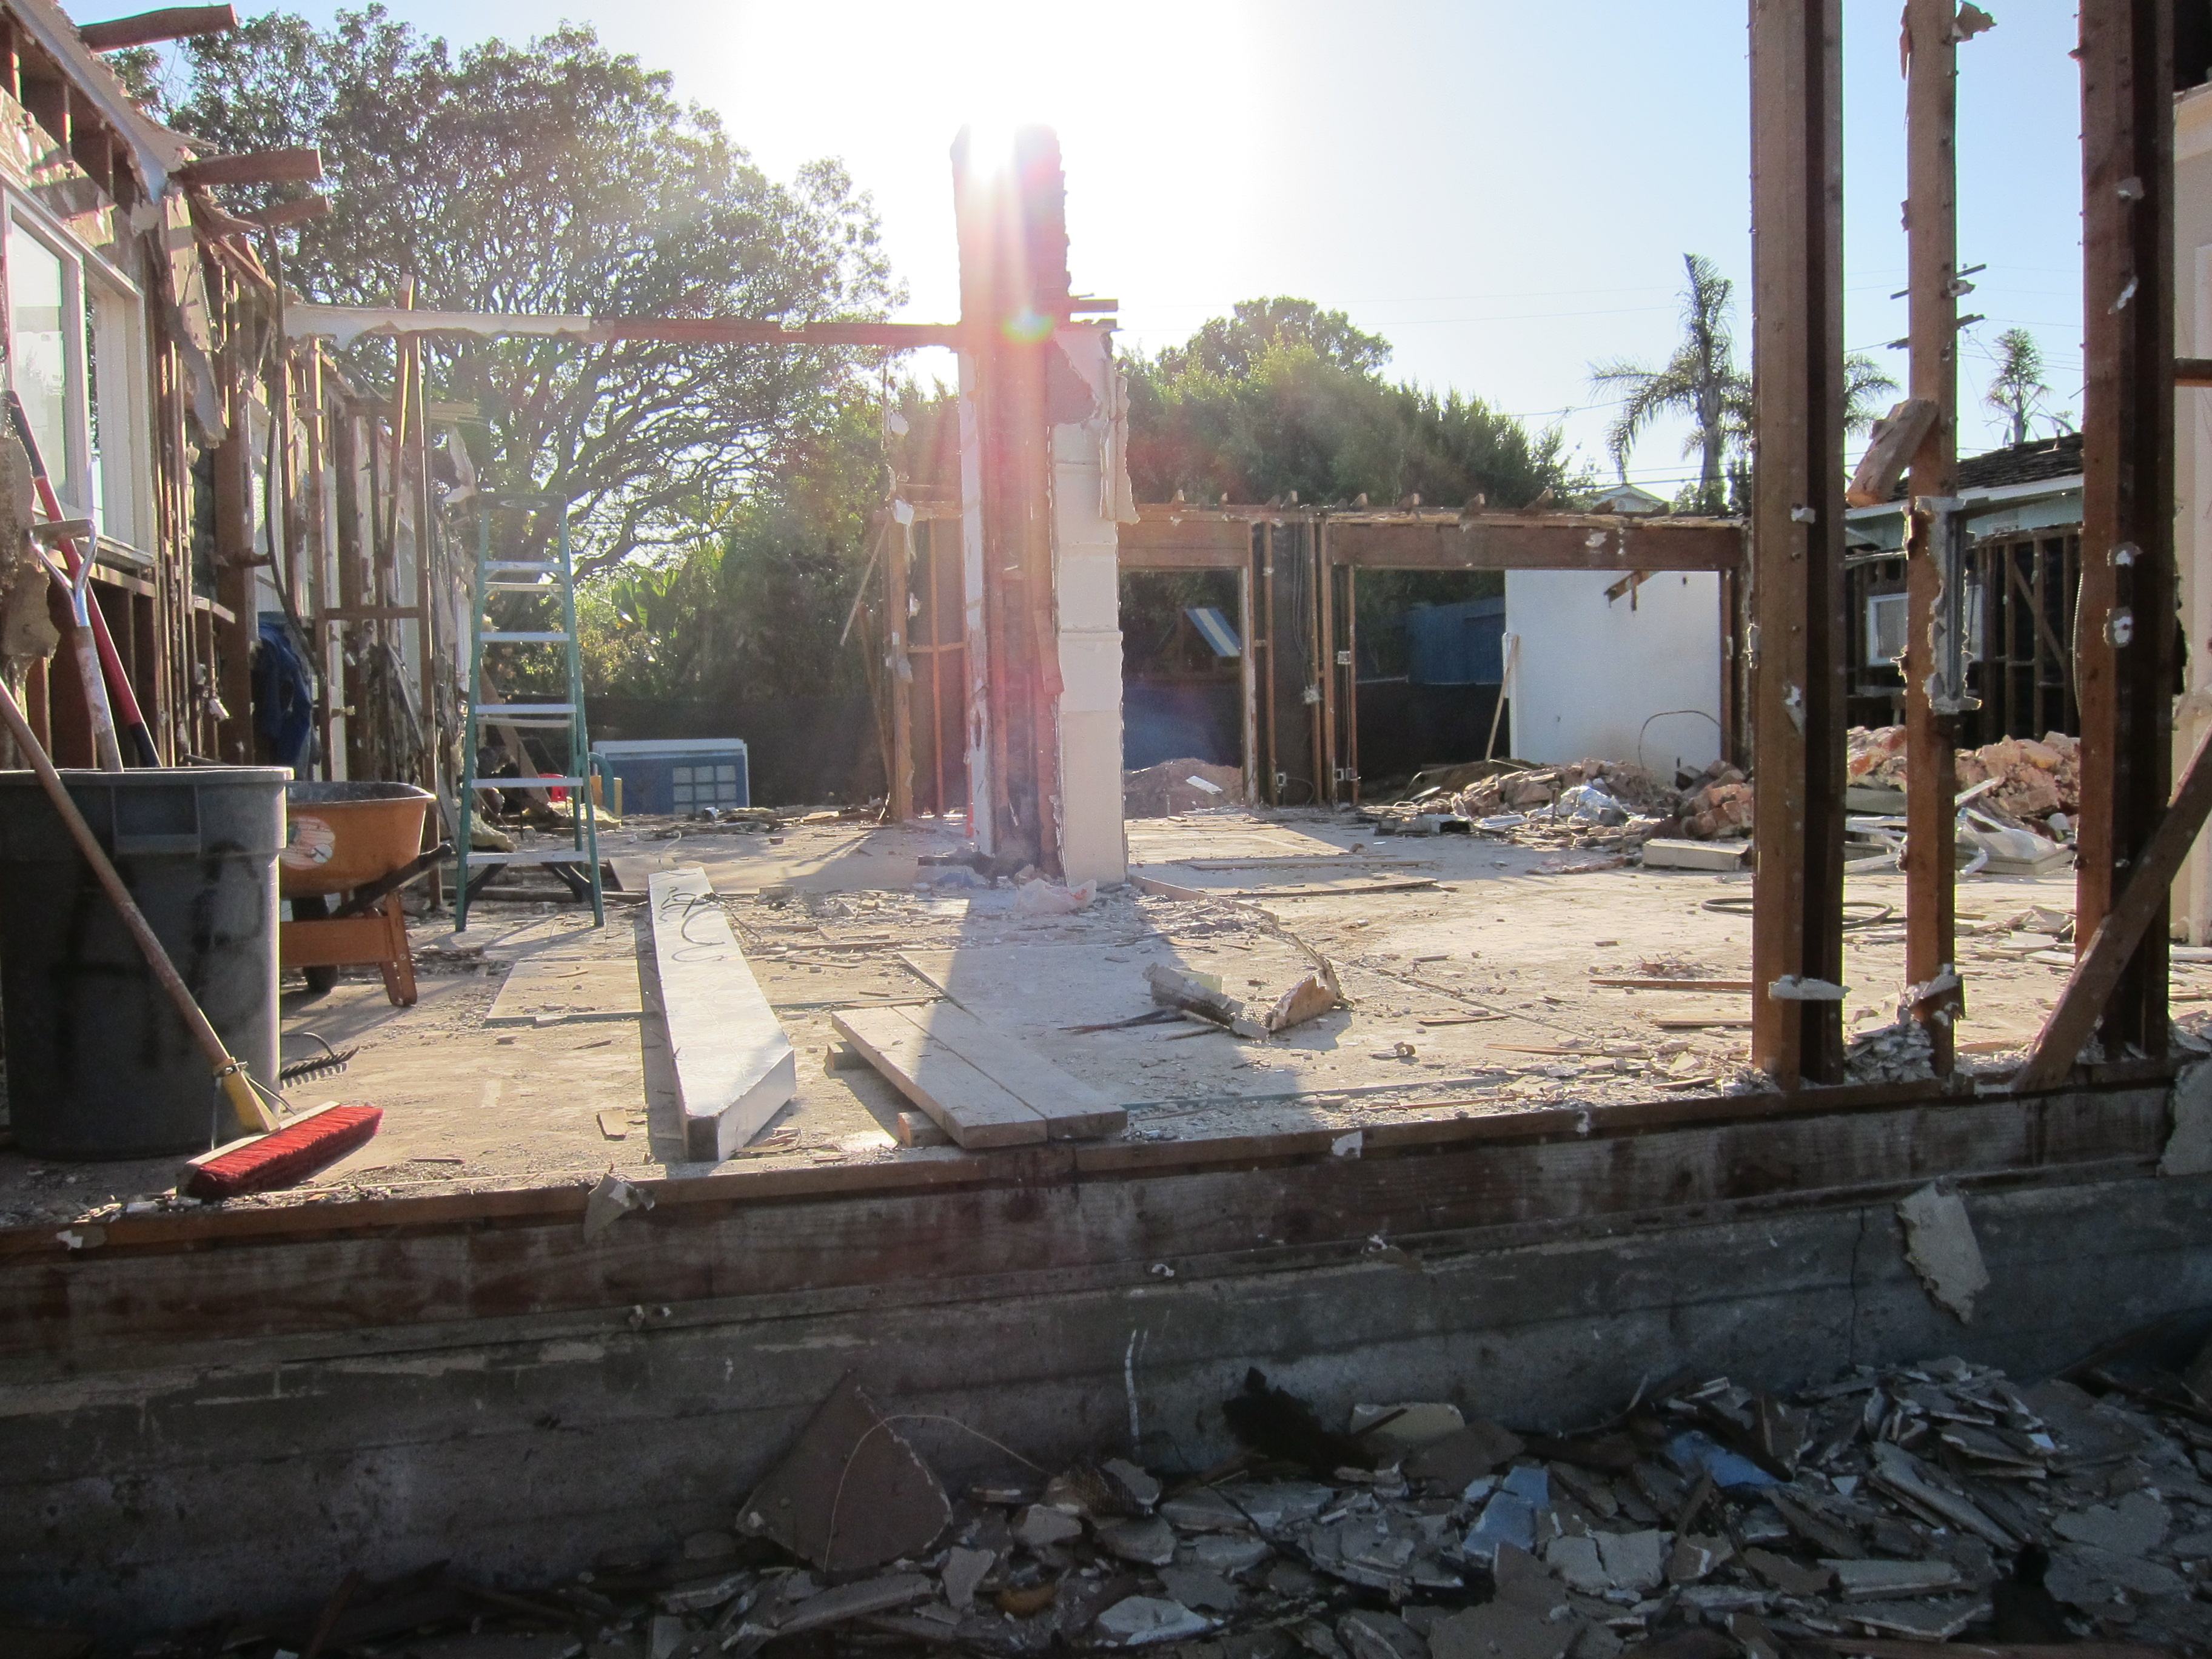
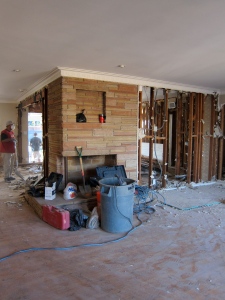
Finally the first day of demo was upon us. We were all so excited. Within a few days the cabinets, floors, and drywall were gone. Let me tell you it is so much faster tearing it down than building it up.
IMG_0813

IMG_0800

IMG_0815

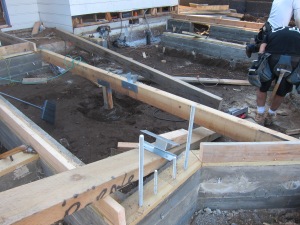
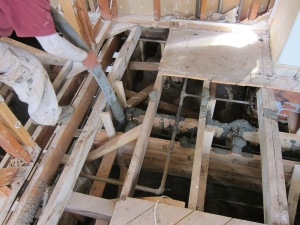
Since we started demo in November, they basically worked from the inside out. Our contractor wanted to leave the roof on just in case we got rain. Once a good chunk of demo was done they poured the foundation for the front addition. Once that was done they opened the sub floor and poured the footings for the second story.
IMG_0956

IMG_0933

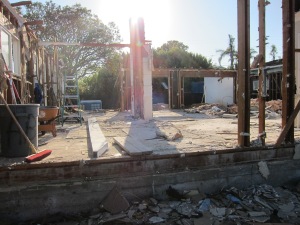
After that they demoed whatever was left. Within a few weeks my house was no more. It was a little scary. Everyday I would go by and hope they had started re-building it.
IMG_1032

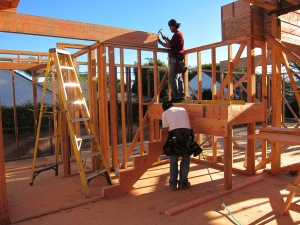
By mid December the re-build had started. We were very lucky. We only had a few rainy days and the work moved along quickly. By Christmas the new beam had gone in,which would help us achieve the open feel we wanted and the first story was almost framed. Next the stairs were getting built.
IMG_1224

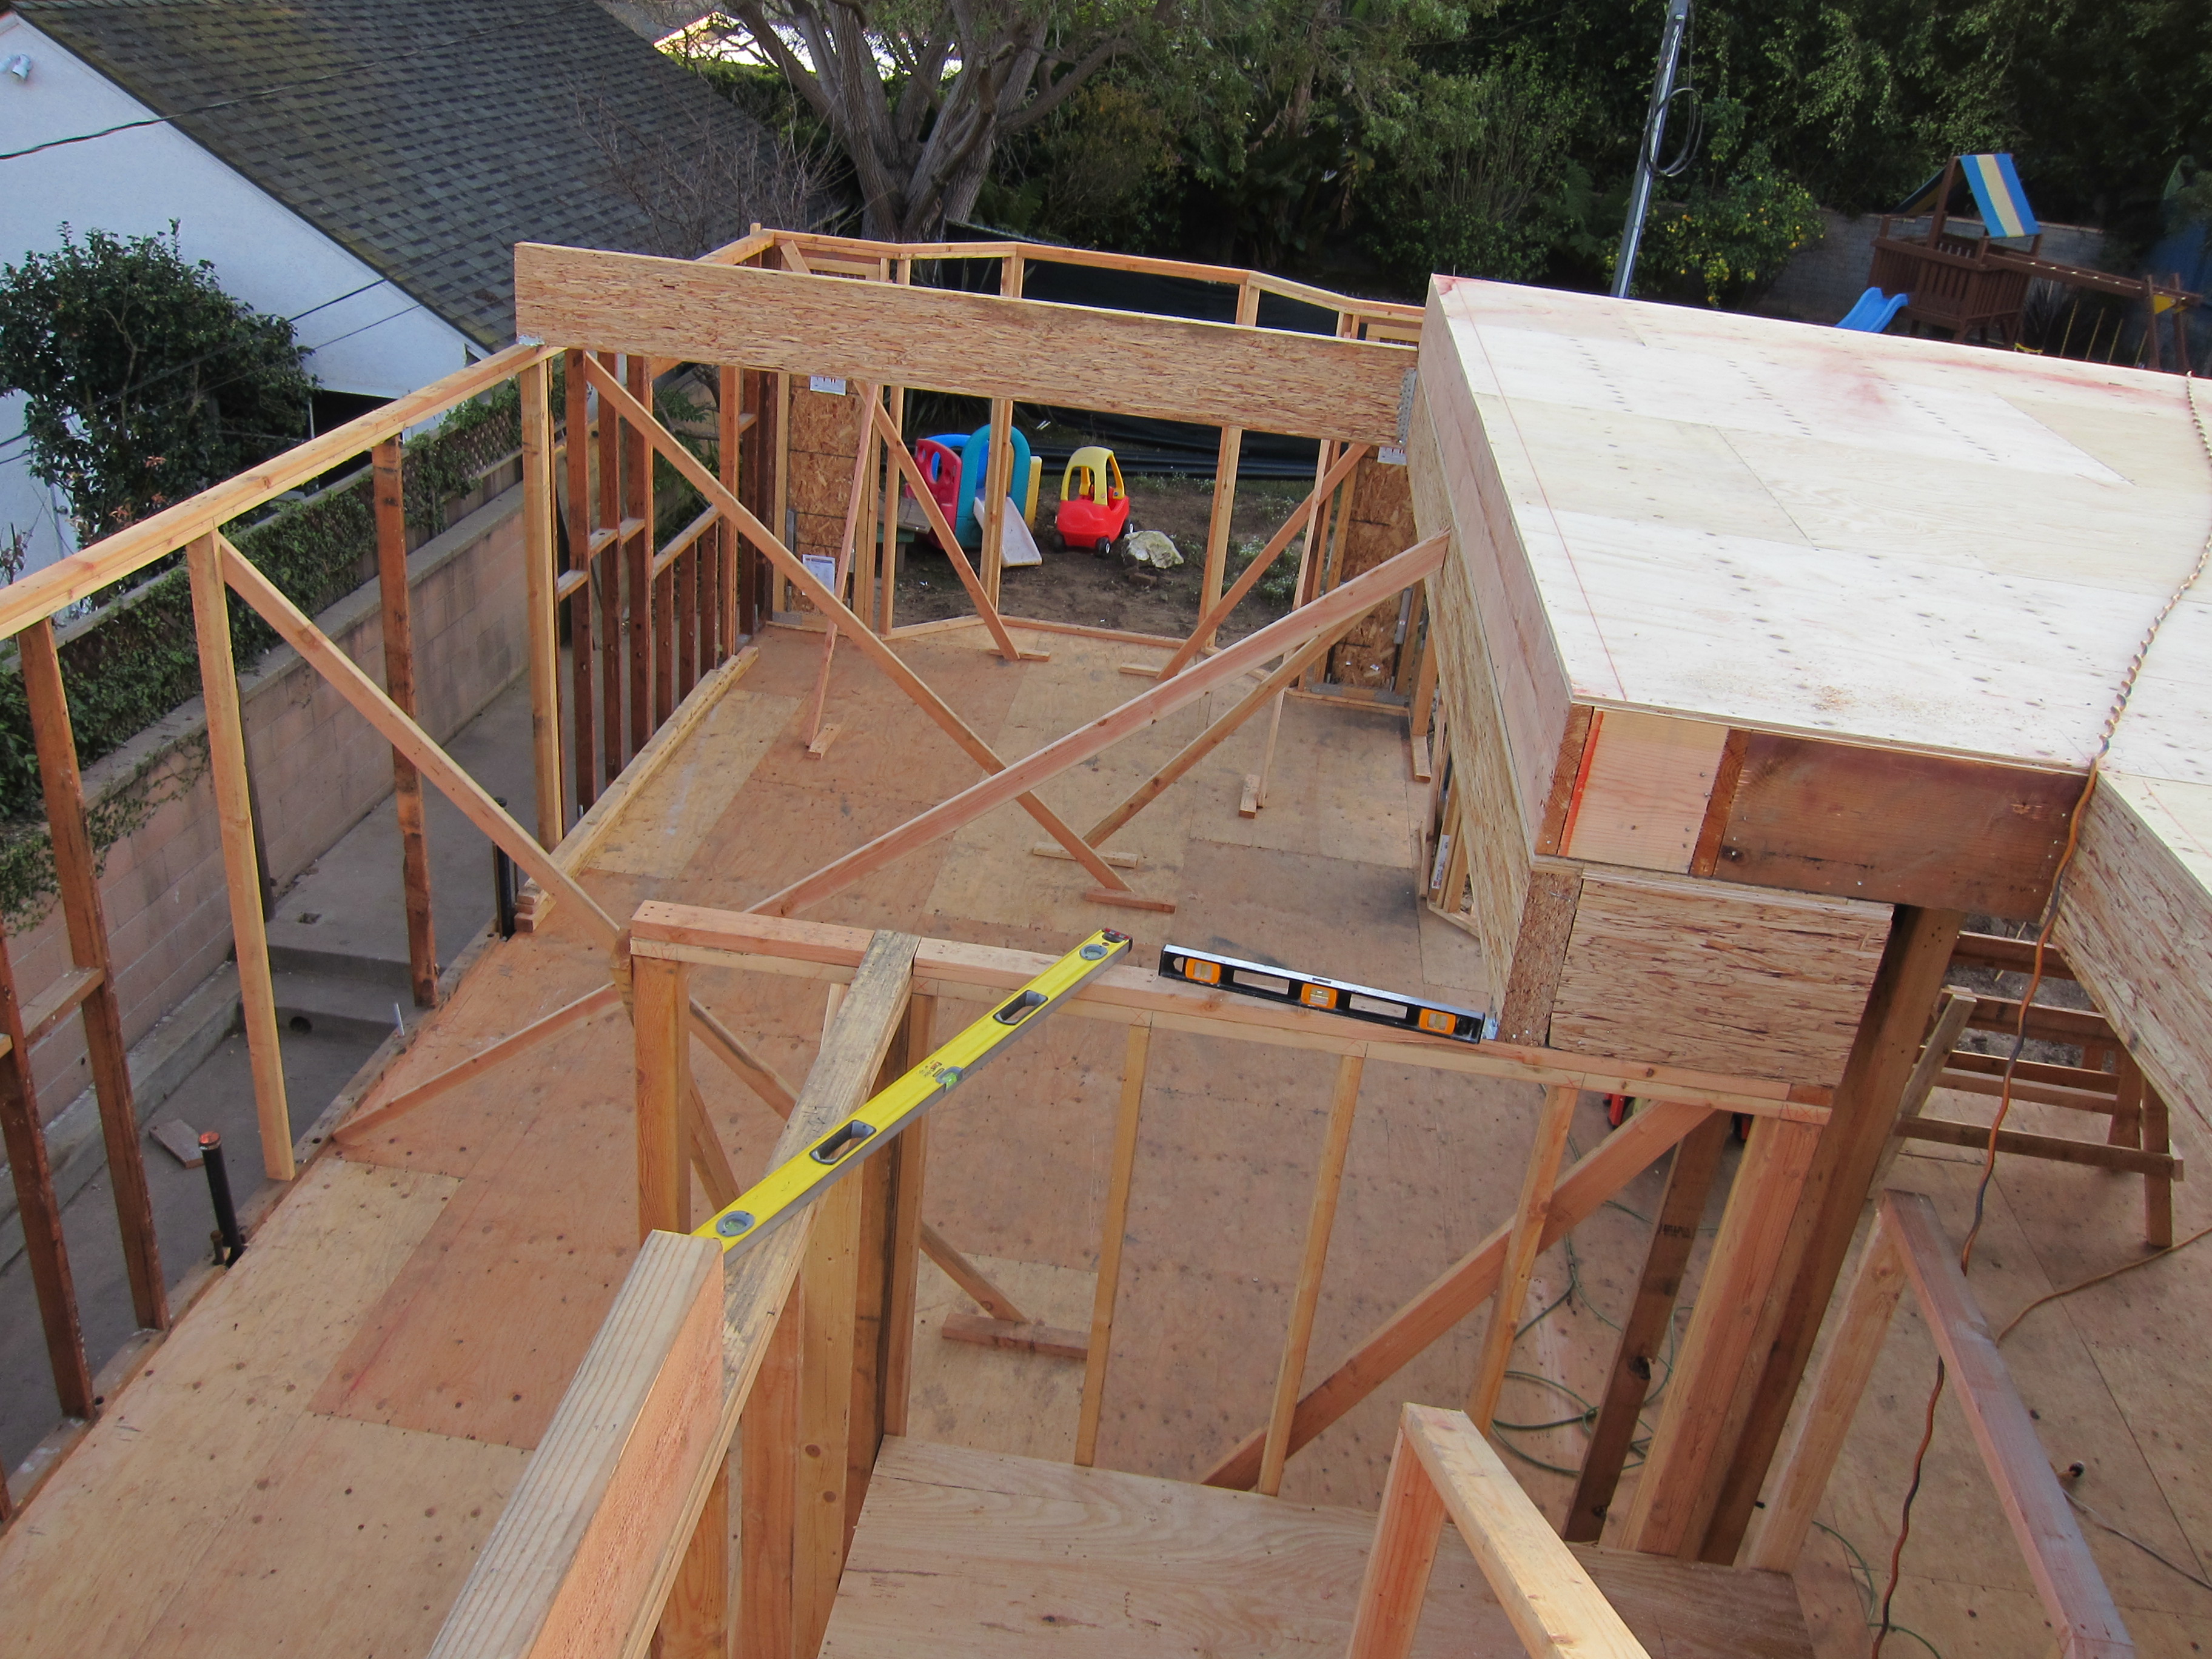
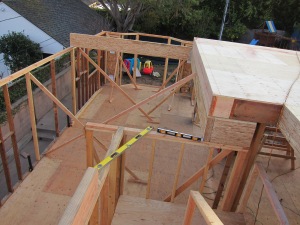
In January they started on the second story. I remember the first time they let us walk up there. There were no walls, just the sub floor. It was our first glimpse into our master retreat. We were so excited.
IMG_1228

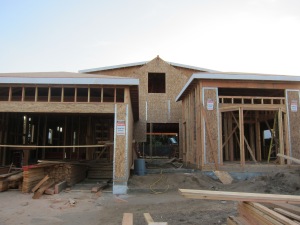
By the end of January, we had what appeared to be a new house. It was amazing how much work happened in less than 12 weeks. IMG_1295
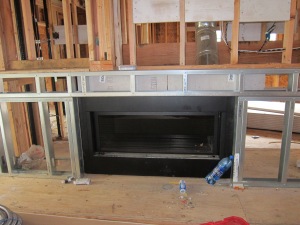
Next came the inner working of the house. HVAC, electrical, and plumbing all had a lot of work to do before the walls were closed up. There were days where I swore no work was being done, but then I would go in & see wires running in the open walls. Now when people come over and look at our house I always tell them all our money is in the walls. I know the inner workings are very important, but I was ready to get to the stuff I could see; fixtures, hardwood, tile, and maybe even cabinets. I learned I still had a way to go. Slowly over the next three months the windows went in, they wrapped the outside of the house to protect it from moisture, and they worked inside. They did more work on the HVAC, plumbing, and electrical, as well as, installing shower pans and bath tubs, built-in cabinets got framed, and the fireplace went in. Slowly it was coming together.
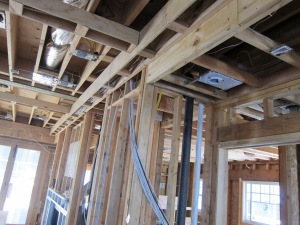
IMG_1390

IMG_1376

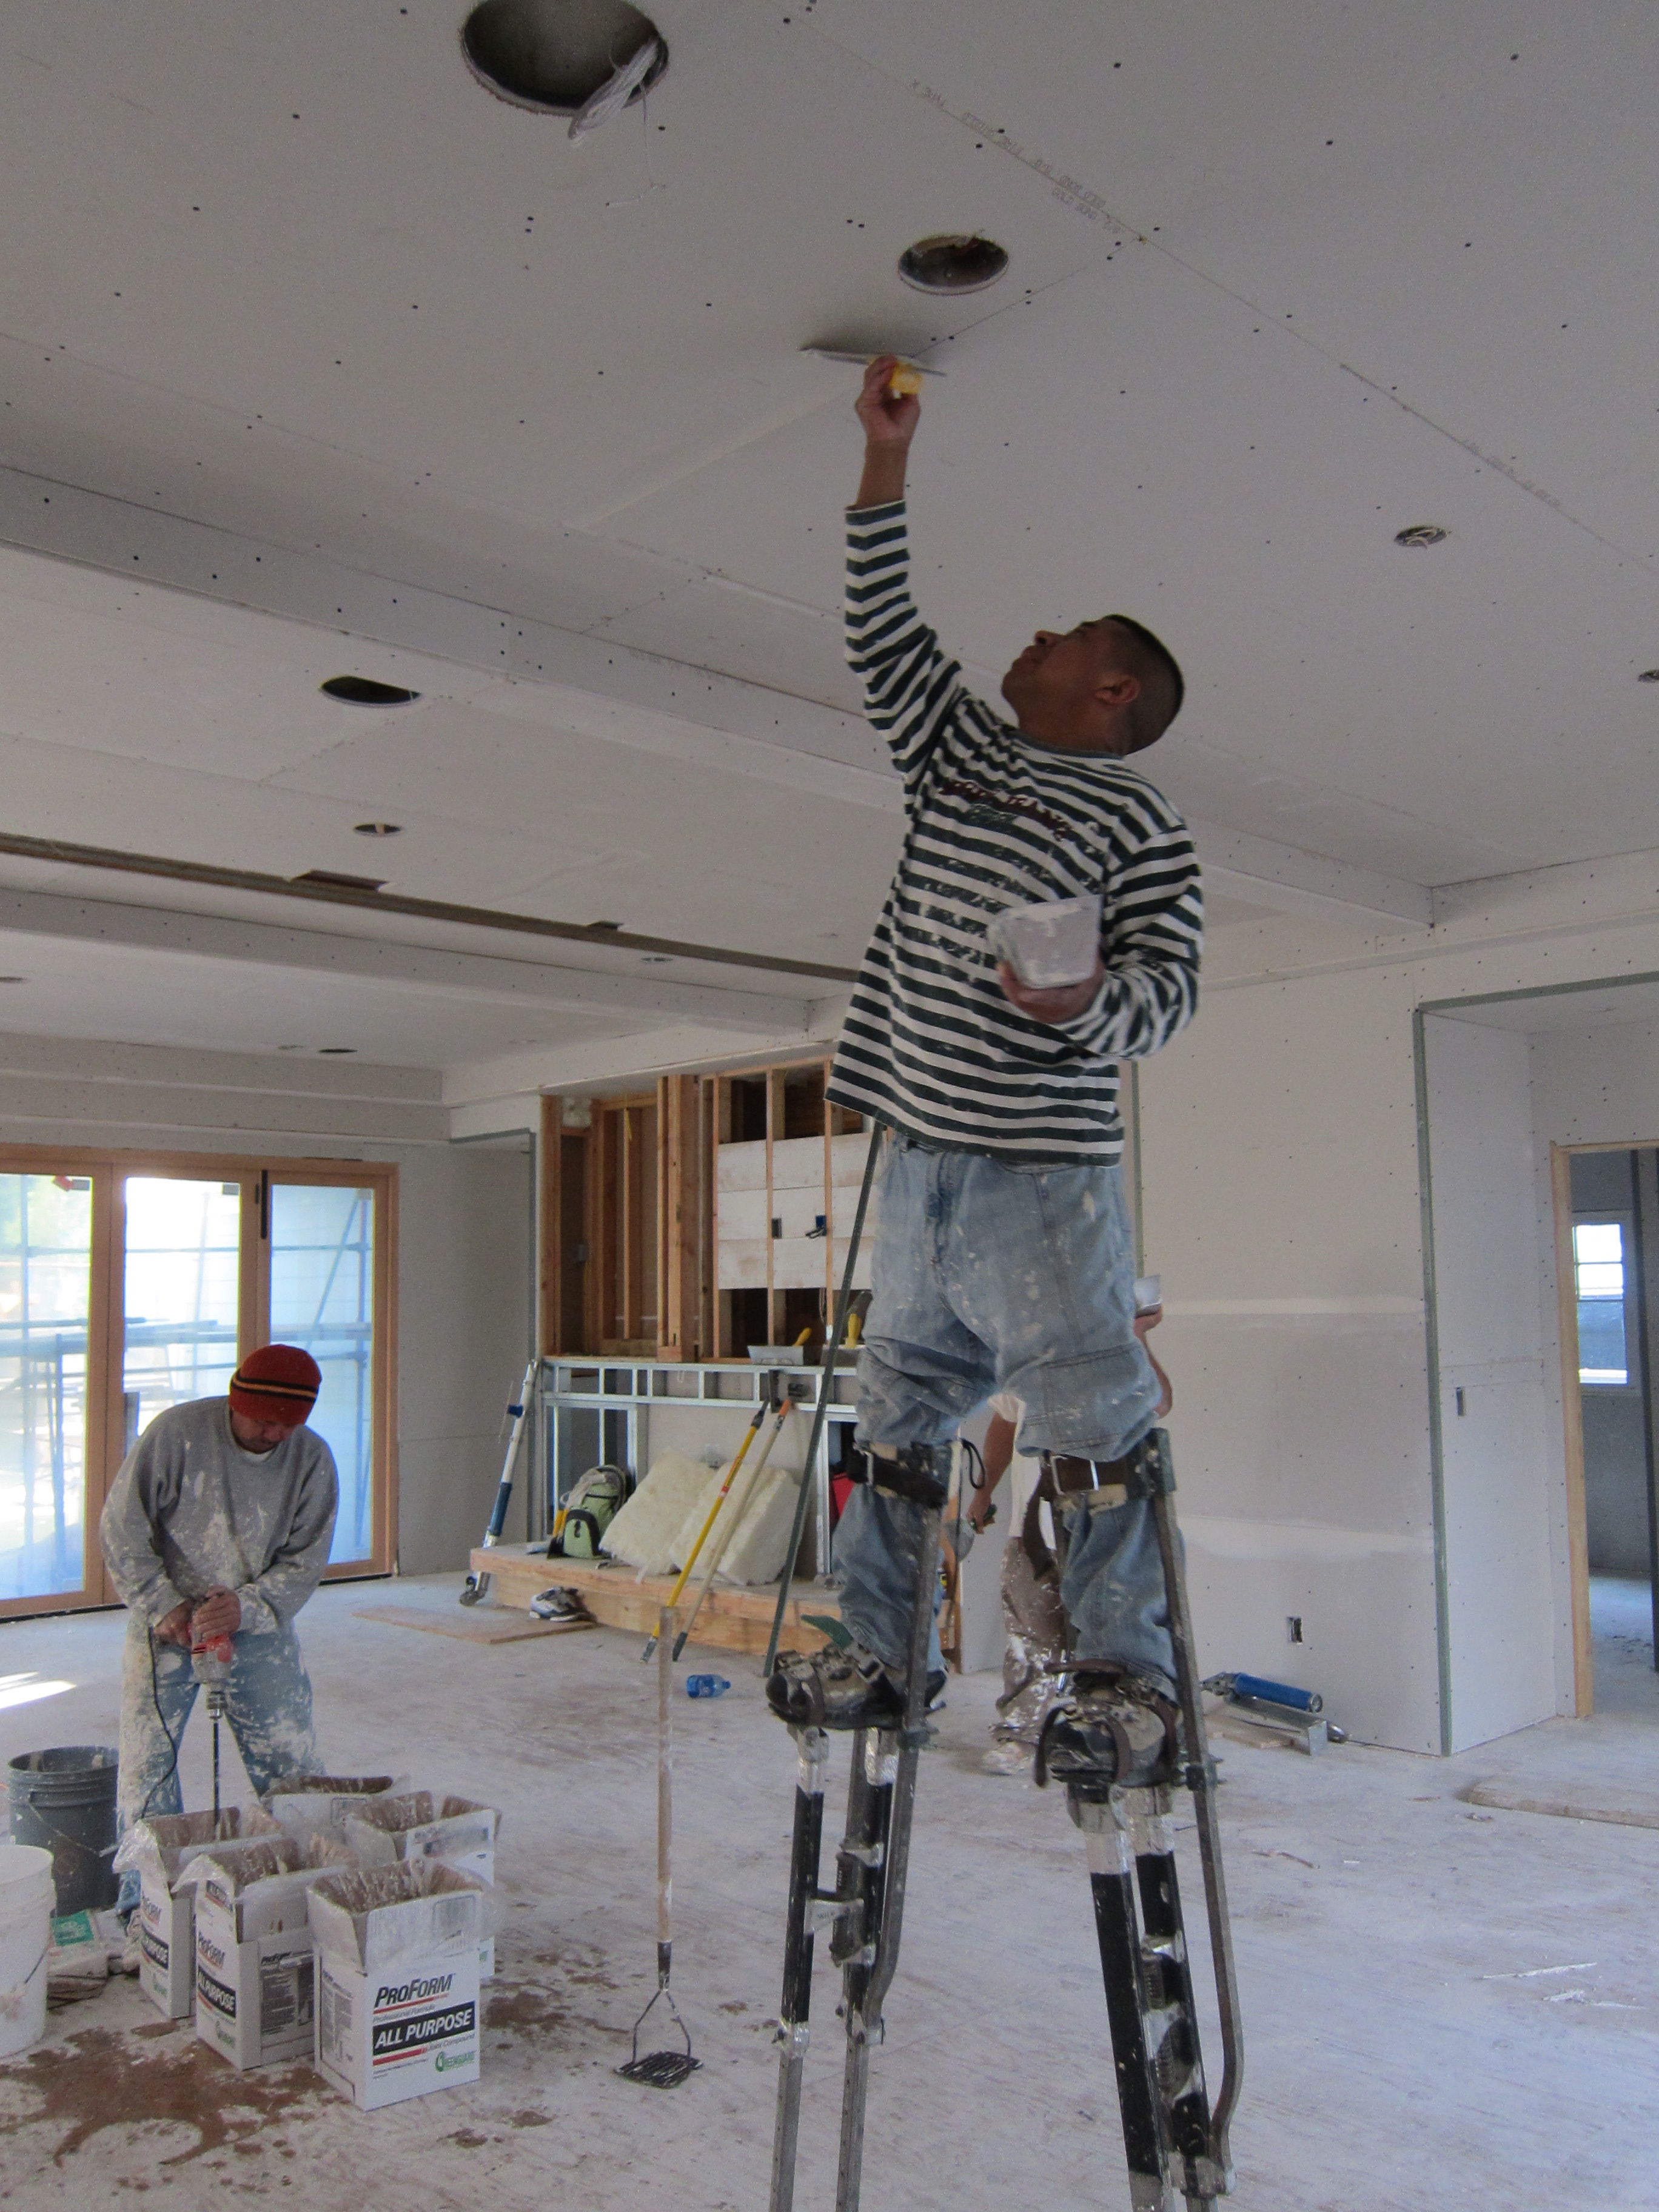
Finally in March they insulated and put the dry wall up. All of a sudden I had a house!
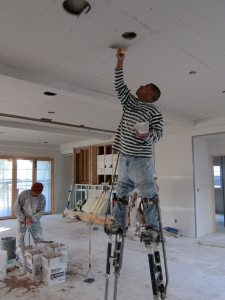
IMG_1425

Check back next week for Construction, Part 2, the stuff you can see!

Enjoy!