Showing posts with label Sewing Techniques. Show all posts

Tuesday, July 9, 2013

One dress done...

Hi there,

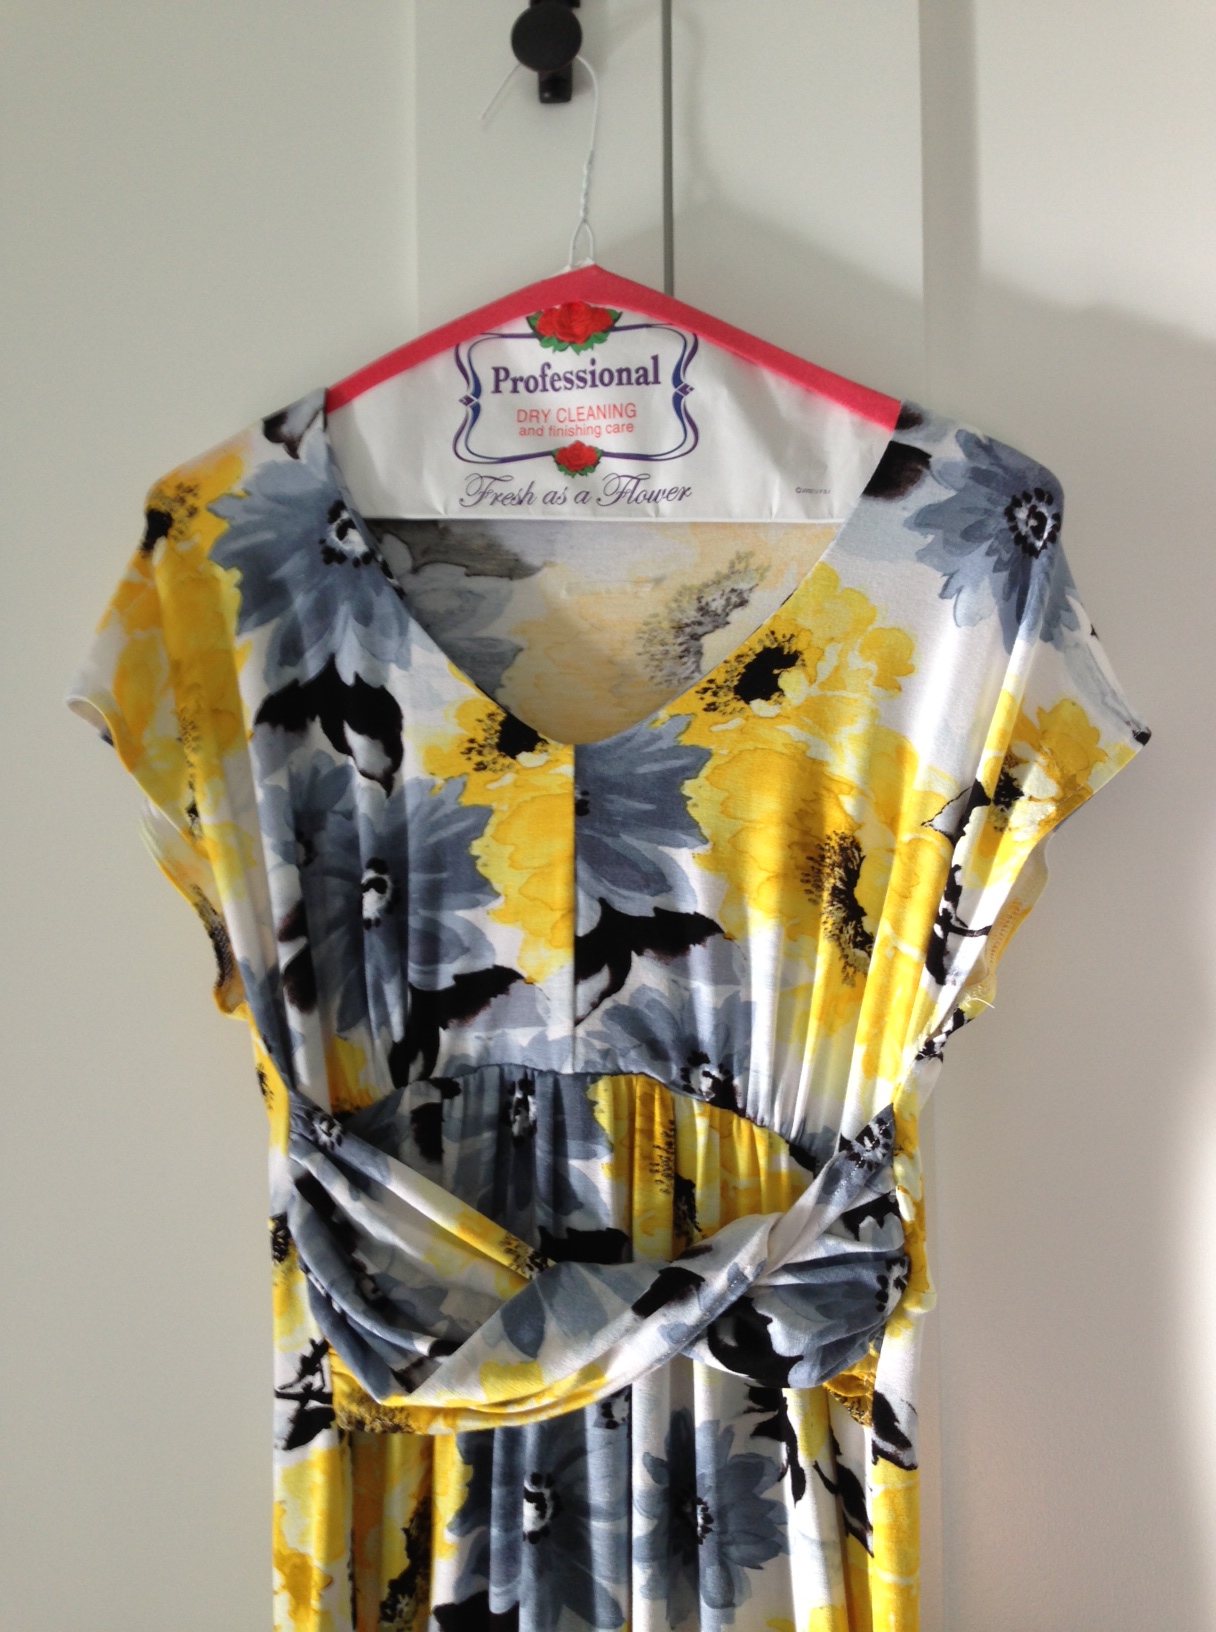
So the first dress is done. Well, really the second dress...keep reading and you will understand what I mean.  I have to share with you that this was not as quick of a project as I expected. Robin, the new addition to our blogging team, had to sew this dress twice. Yes, twice. We're going to call it a "learning experience". I picked out the fabric from one of my warehouse walk throughs. I loved the colors and the softness of the knit. It had not hit the floor yet, so I grabbed a roll for our online store and a piece for Robin to make a dress from. After looking at a few patterns, we decide on Simplicity 1804 . We felt this one was simple and versatile and would be flattering to many body types. The twist really helps define the smallest part of your body. Before I show you the final dress, I'm going to show you the first one Robin made.
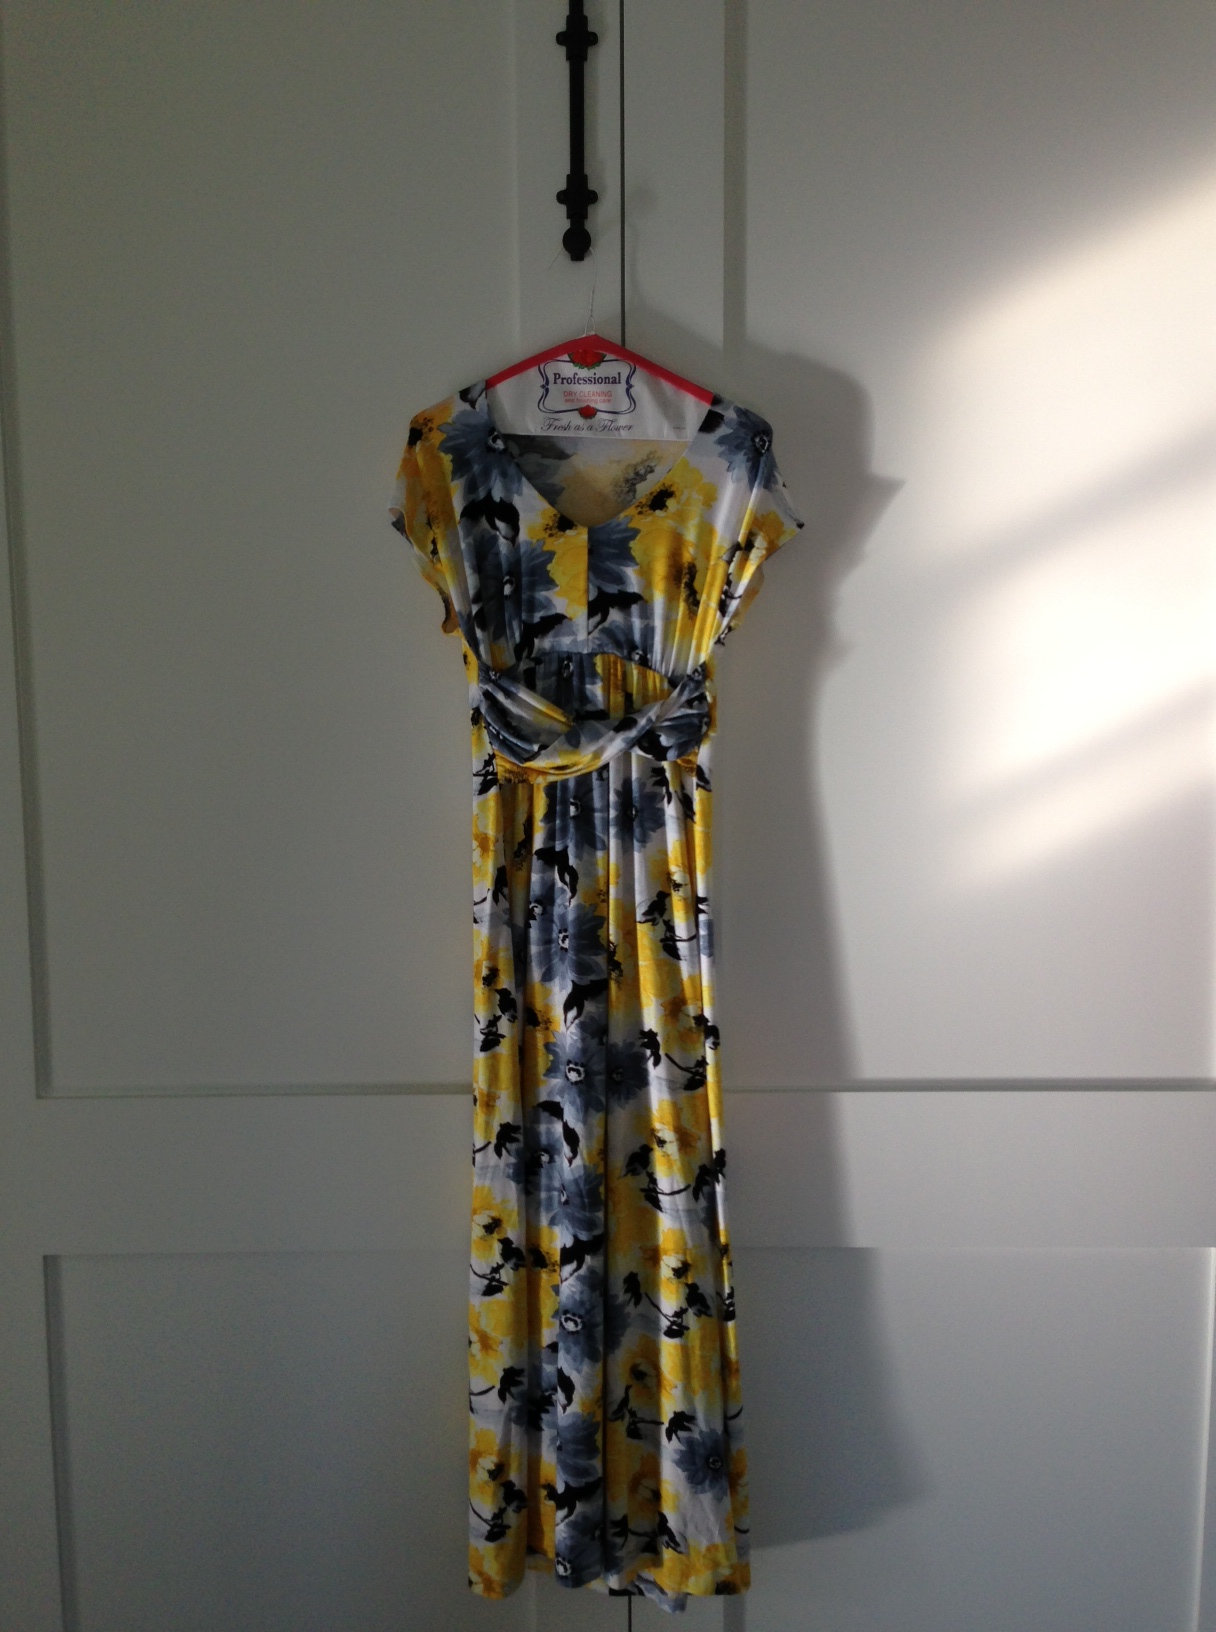
photo copy 32

photo copy 31

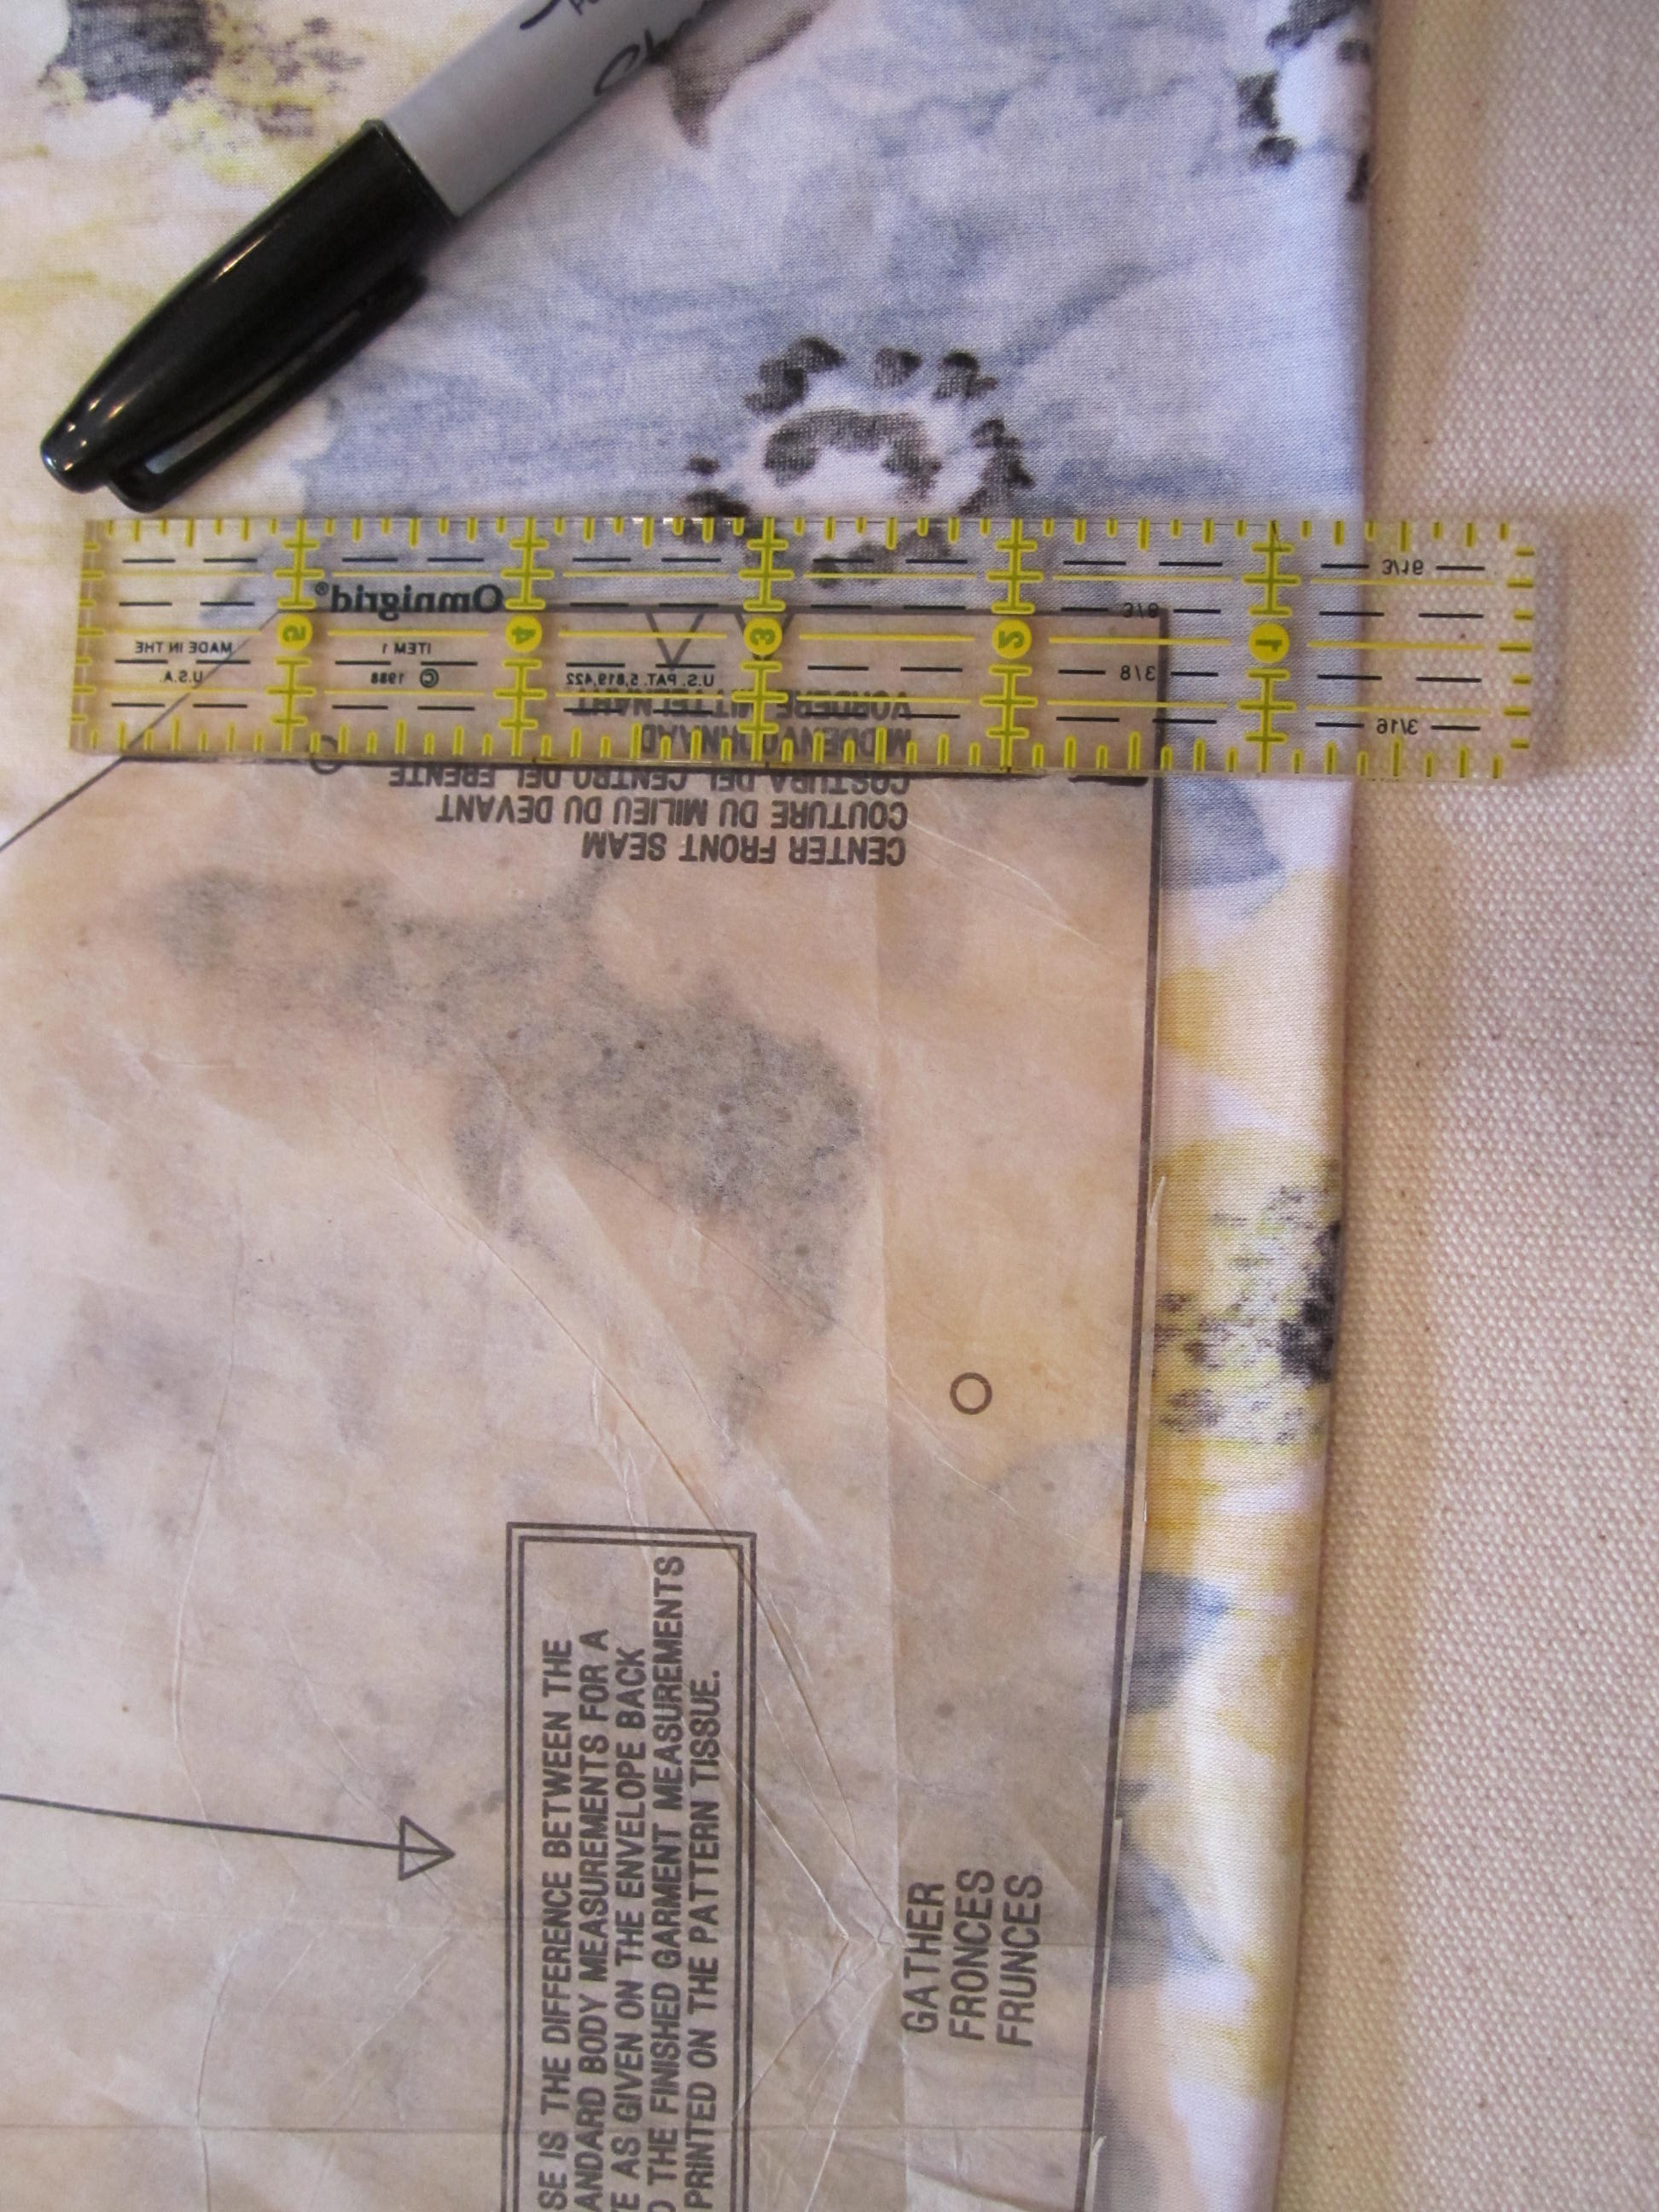
As soon as it came together Robin realized the fabric did not line up right in the front and that the seam there was just not flattering.  After I tried it on a few times, we decided to make it again but the second time Robin knew she would have to tweaked the pattern a bit. First, she adjusted the center front seam piece of the pattern to go on the fold which got rid of the seam right between my boobs. Really, who wants that?! Lol.
Image

Here she is placing it on the fabric...
Image

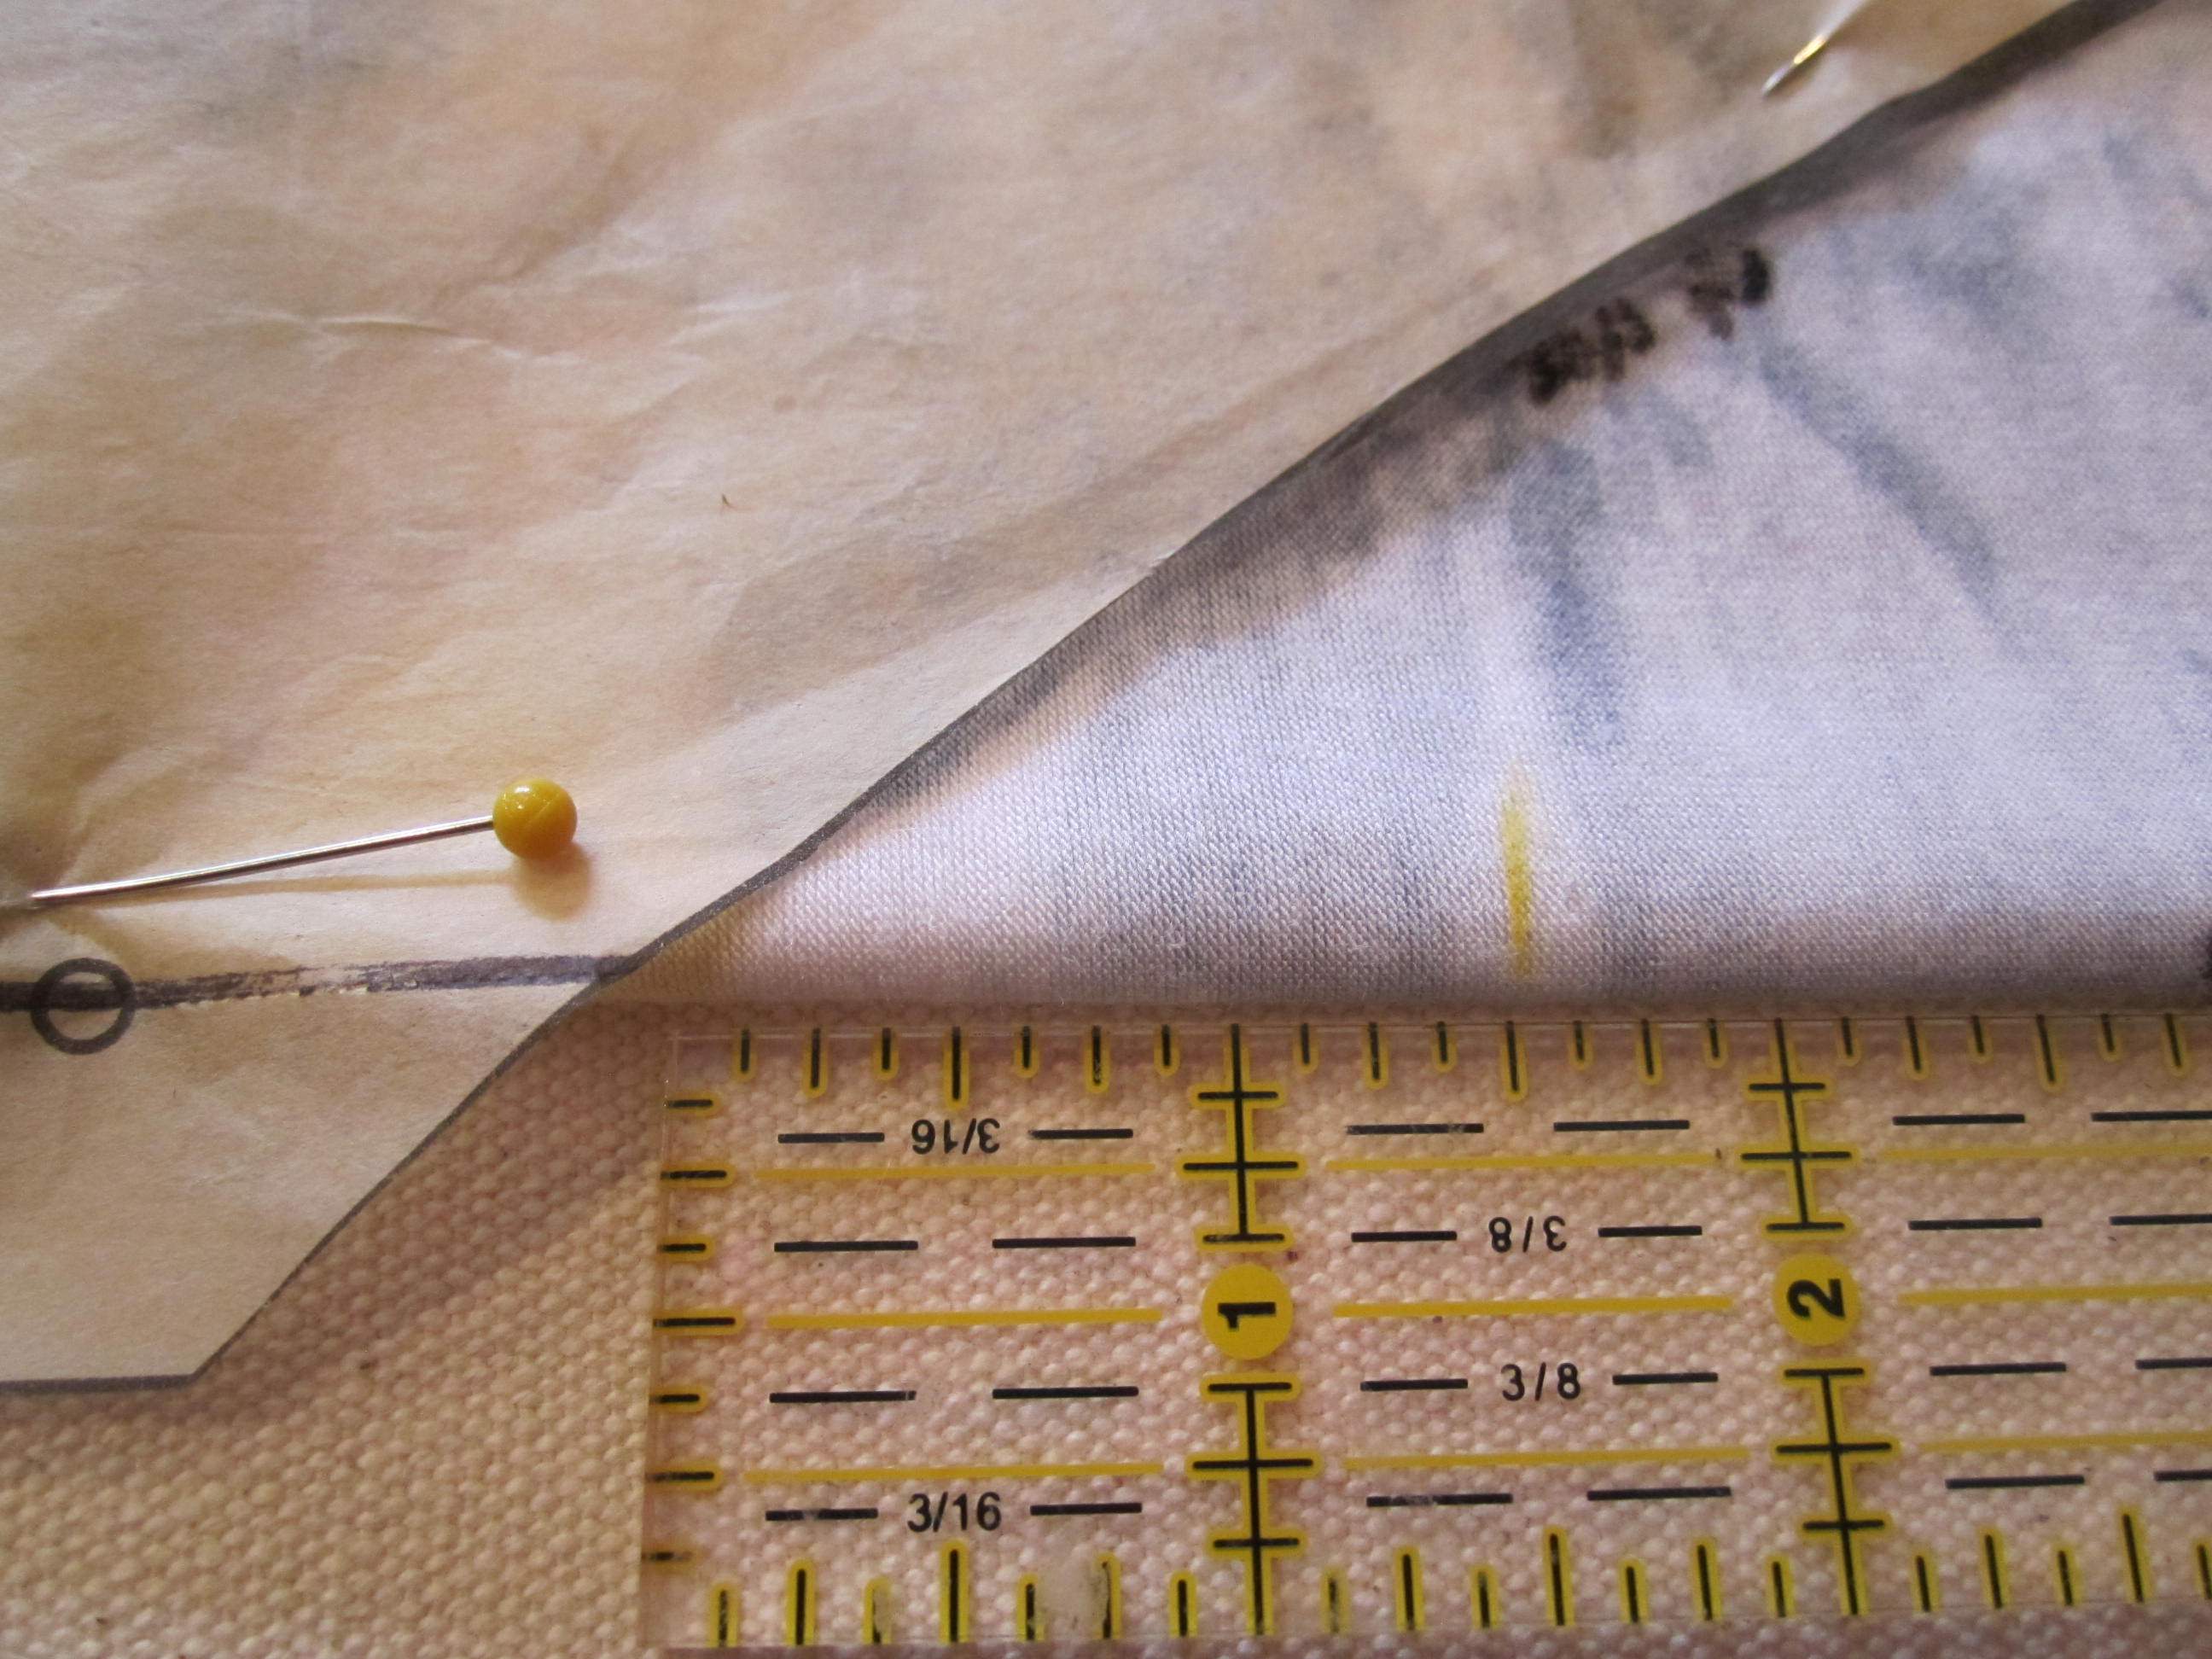
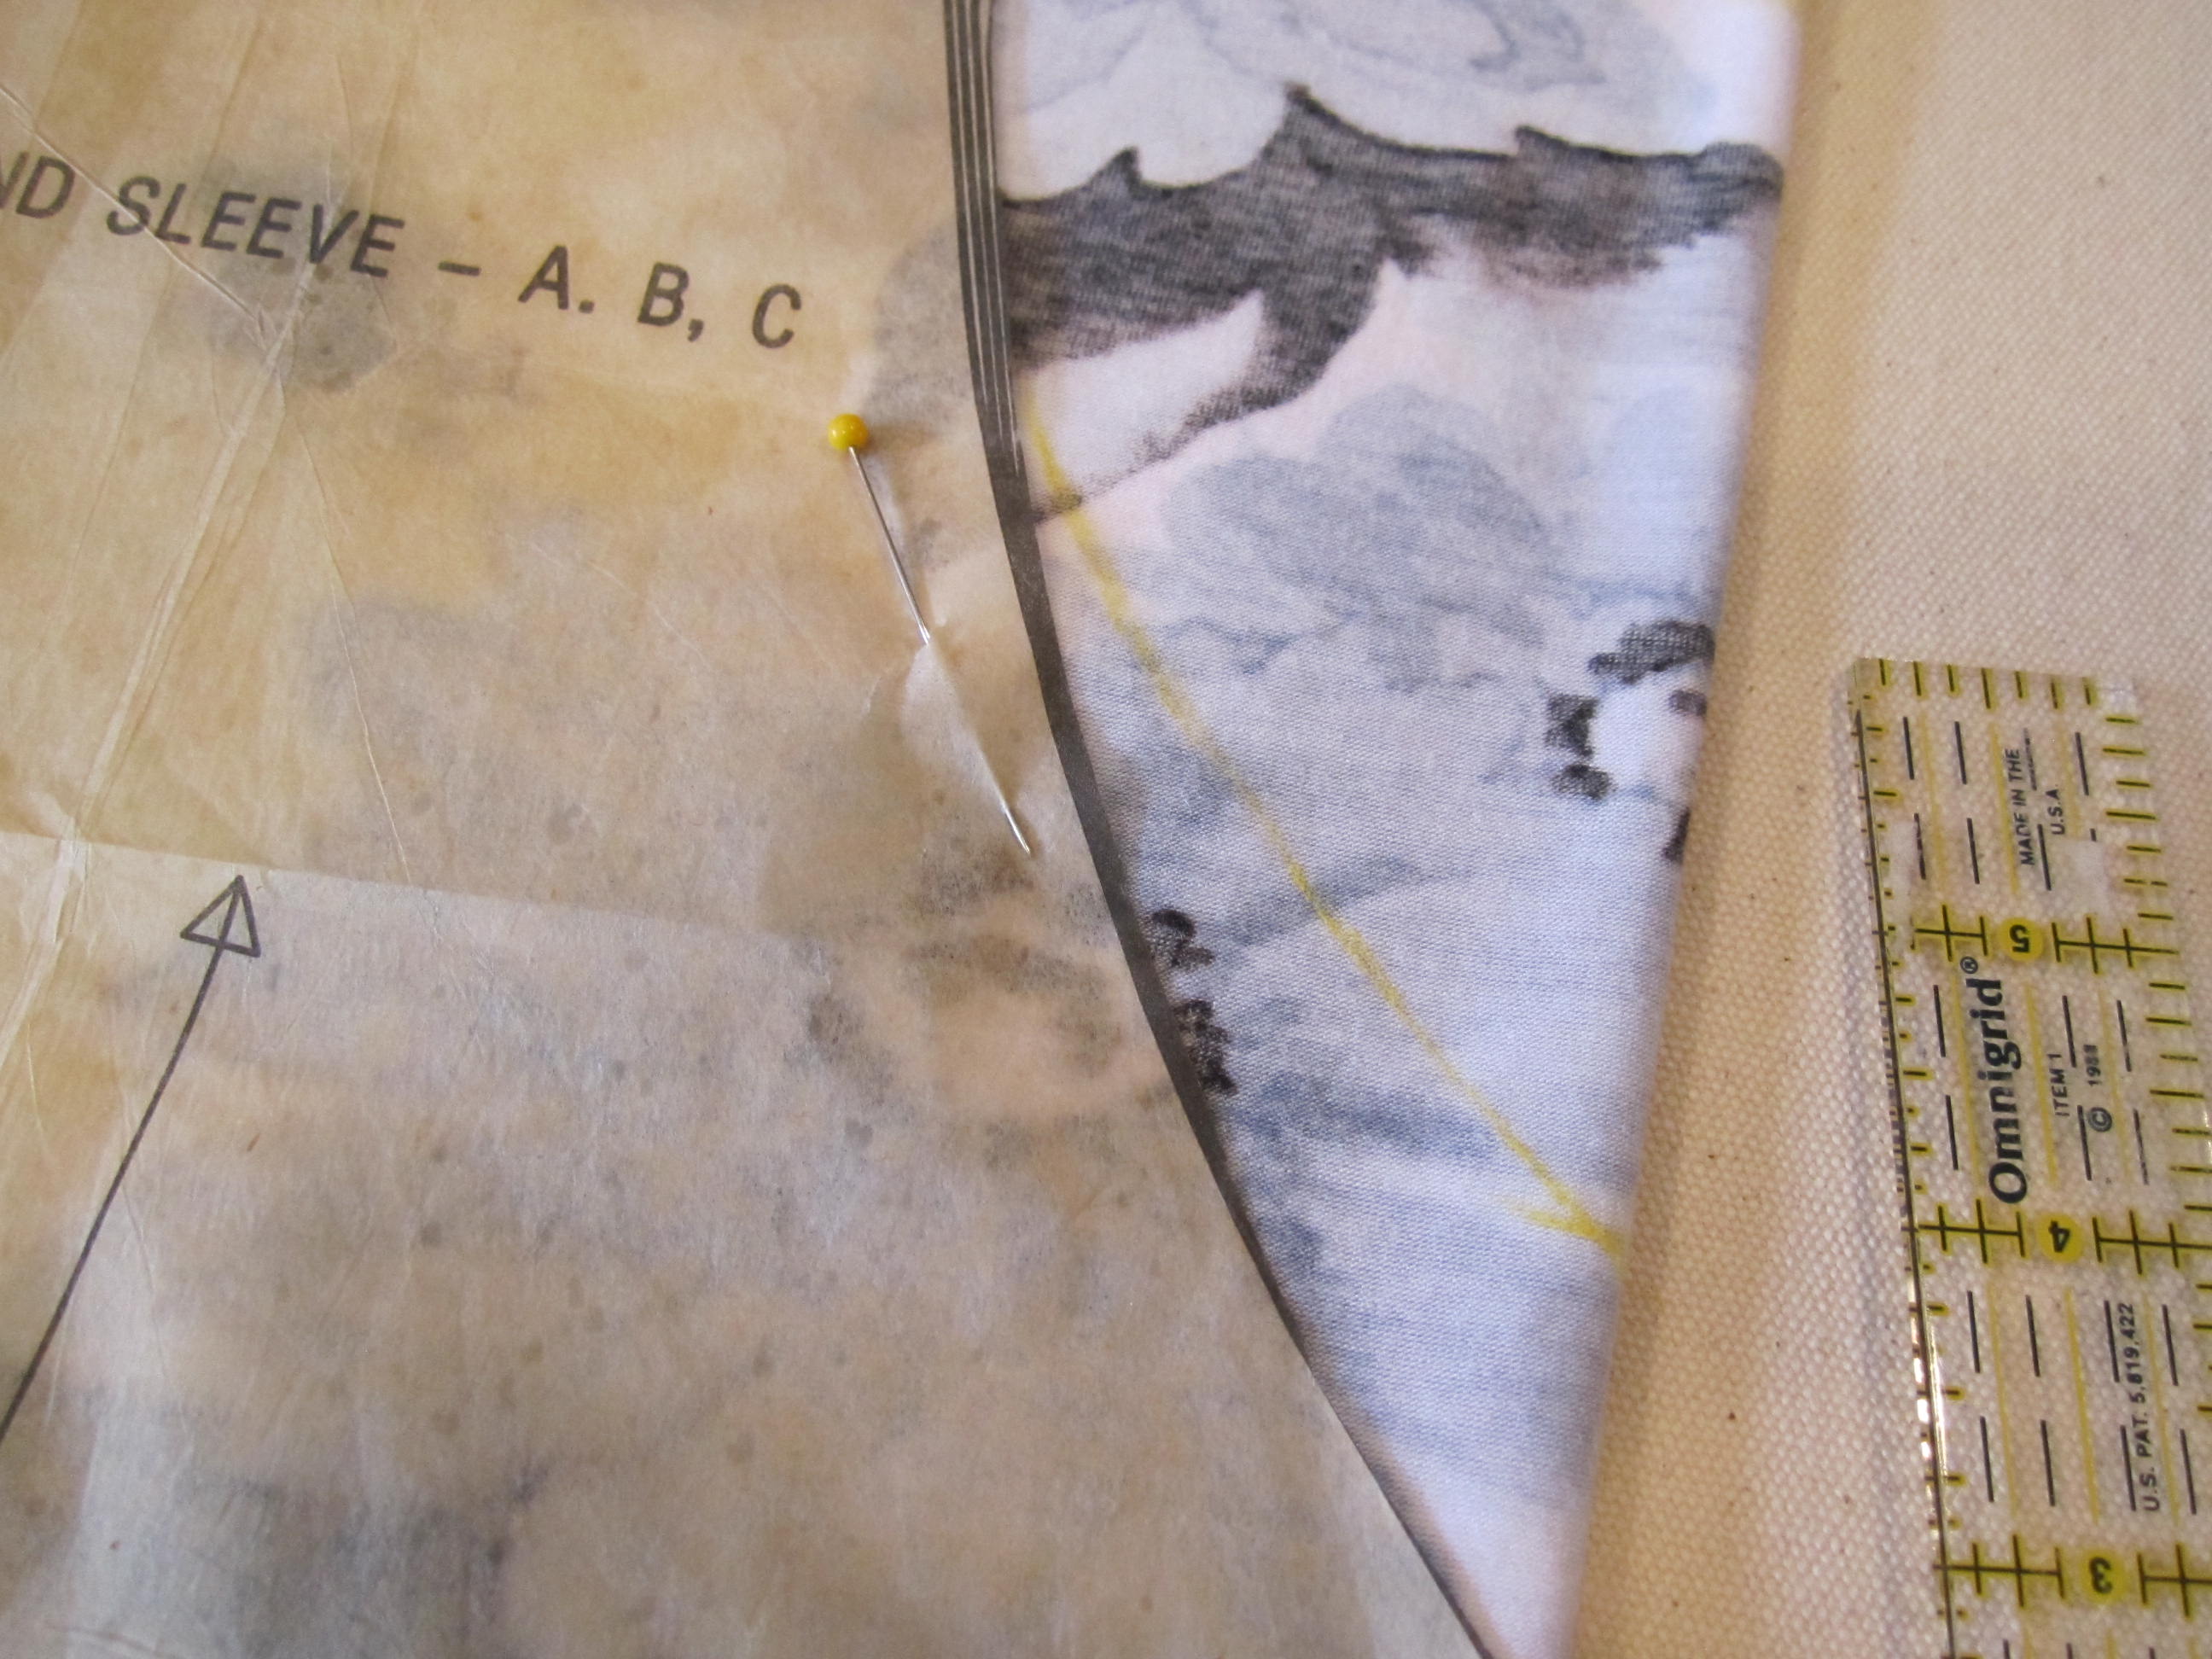
We also felt the neckline was too low. Here she is making the adjustment to the neckline...
photo

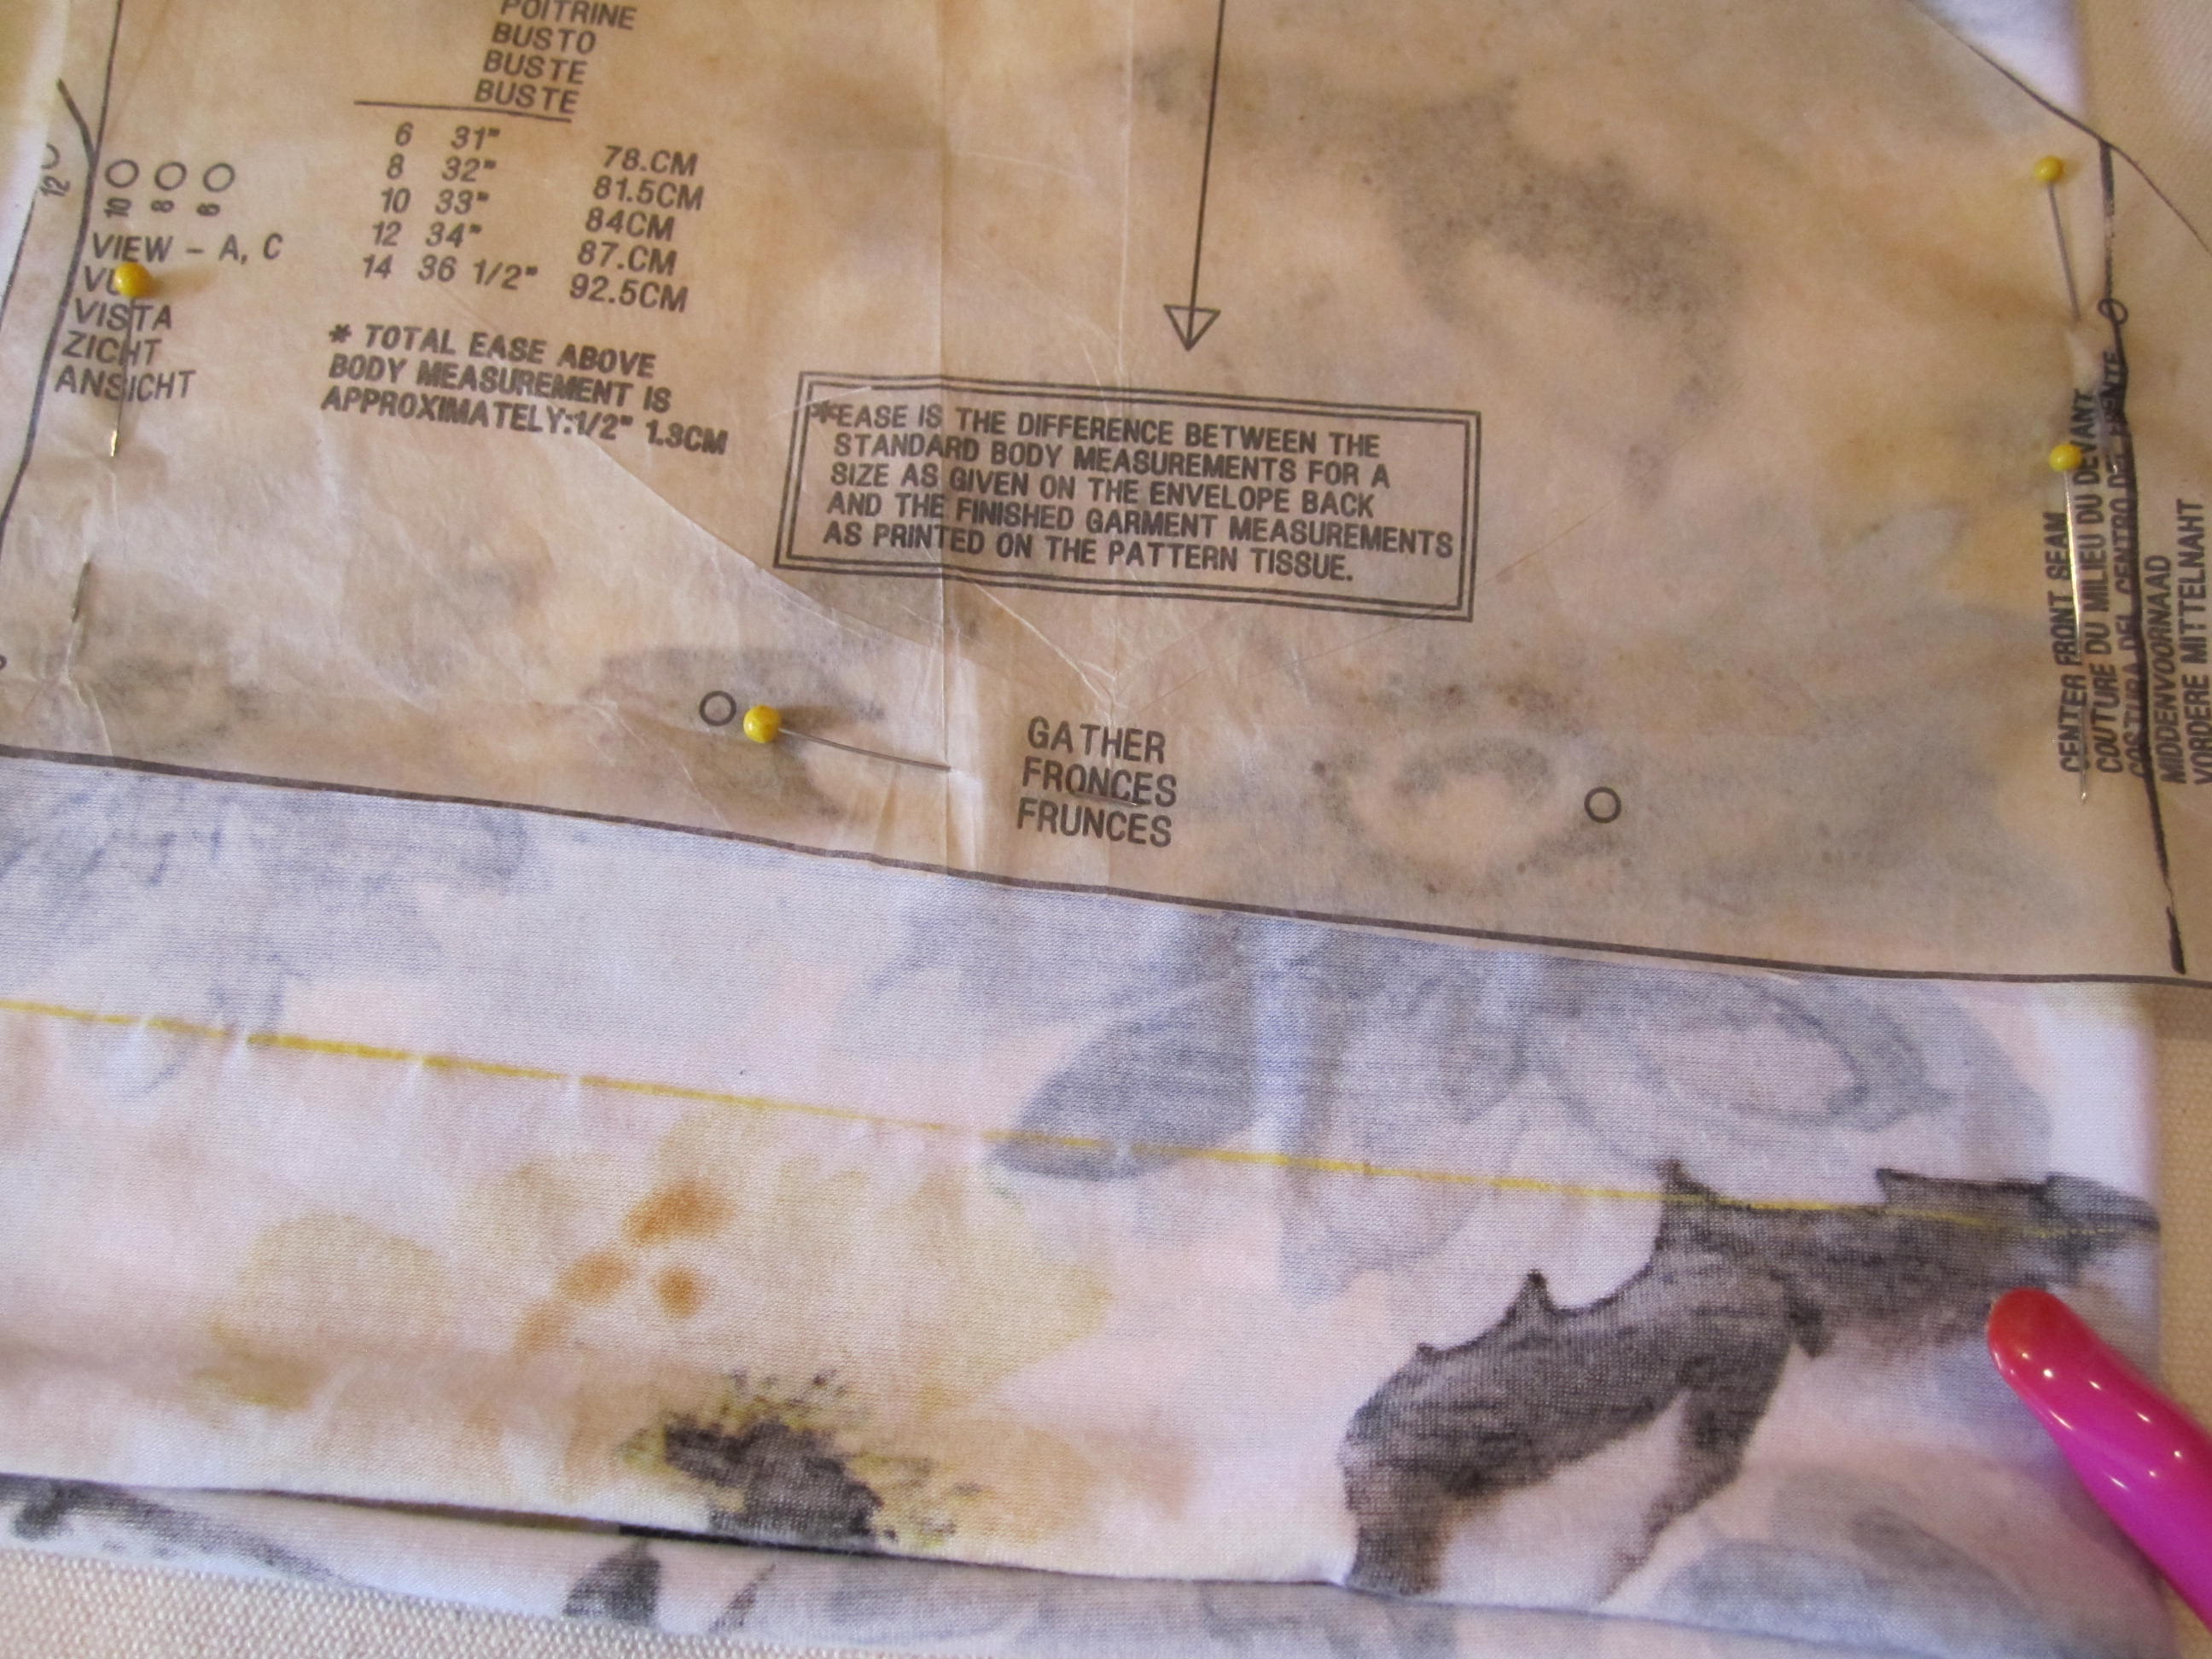
The last tweak was adding length to the bodice. The pattern called for the twist to be right below the breasts. Besides the fact that I have a long torso, it just felt too high to us so she dropped it down a bit. From looking at the finished dress you can see it is still pretty high. It really wouldn't have worked on my torso the way the pattern called for.
photo

Next she ironed the interfacing onto the fabric before she cut the pattern out.  Doing this helps prevent any possible shrinkage to pattern piece.
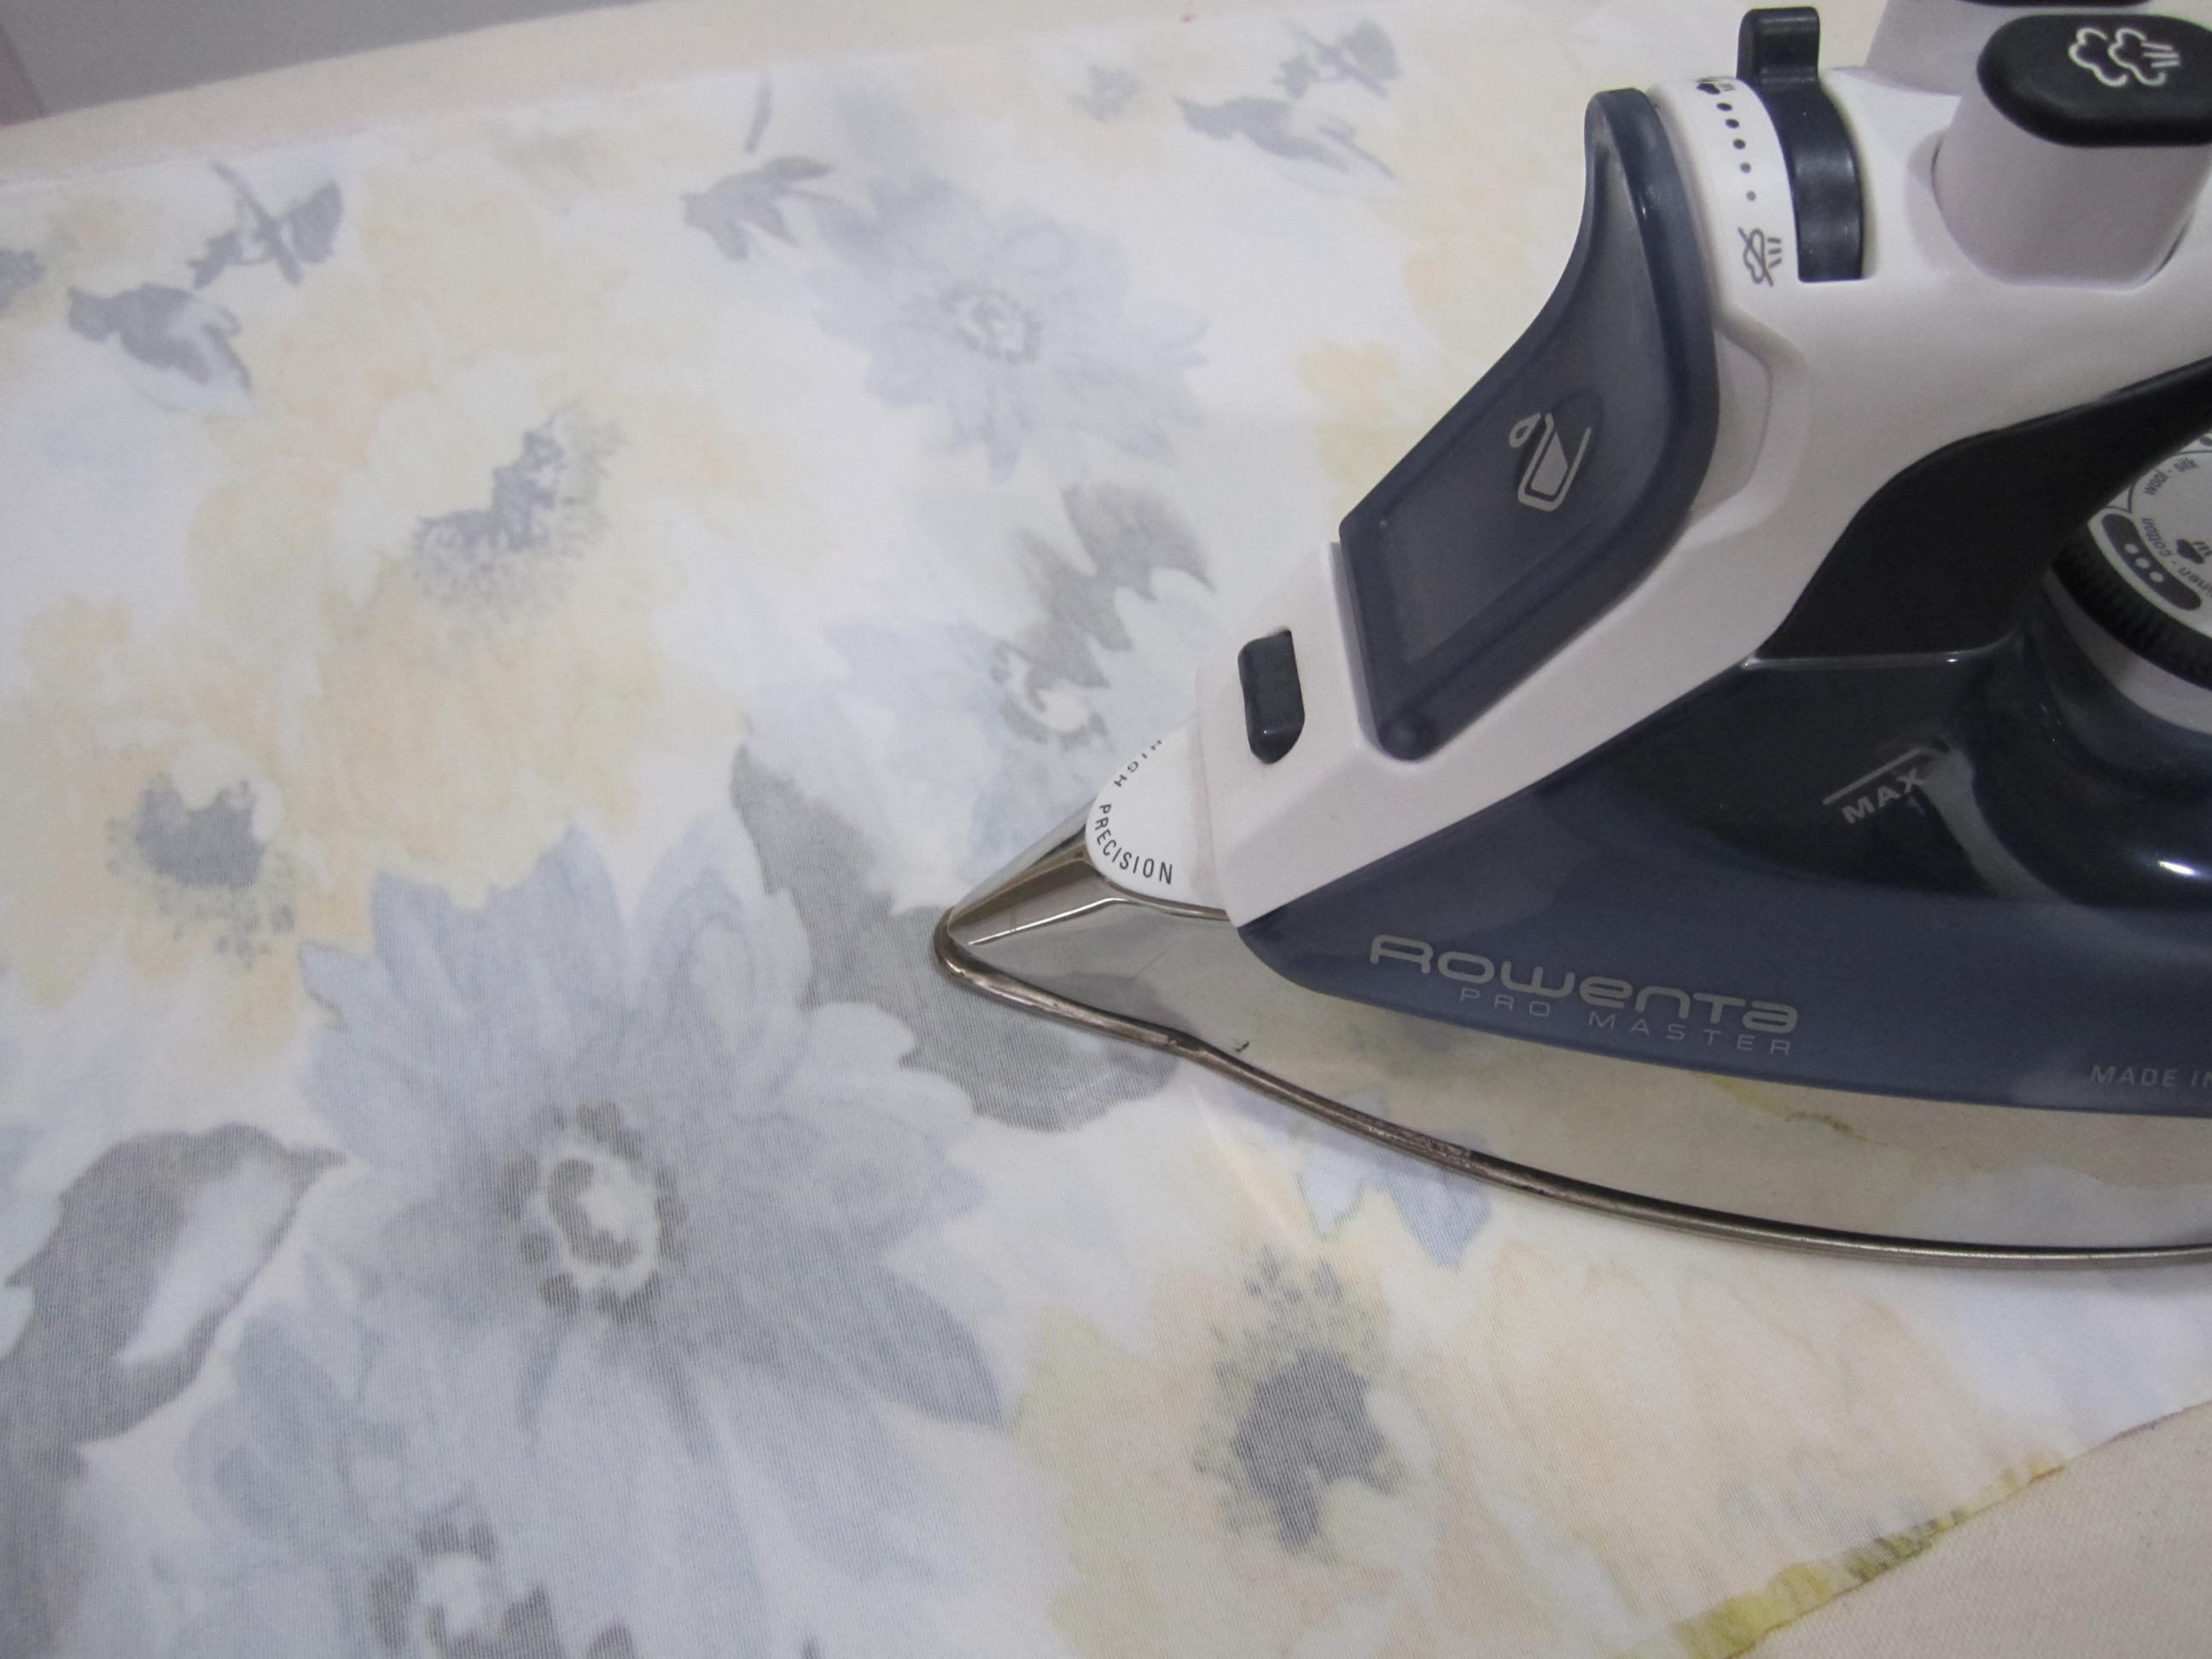
photo copy 34

Lastly she had to make some adjustments as she was pinning to make sure everything lined up and then it was onto sewing.
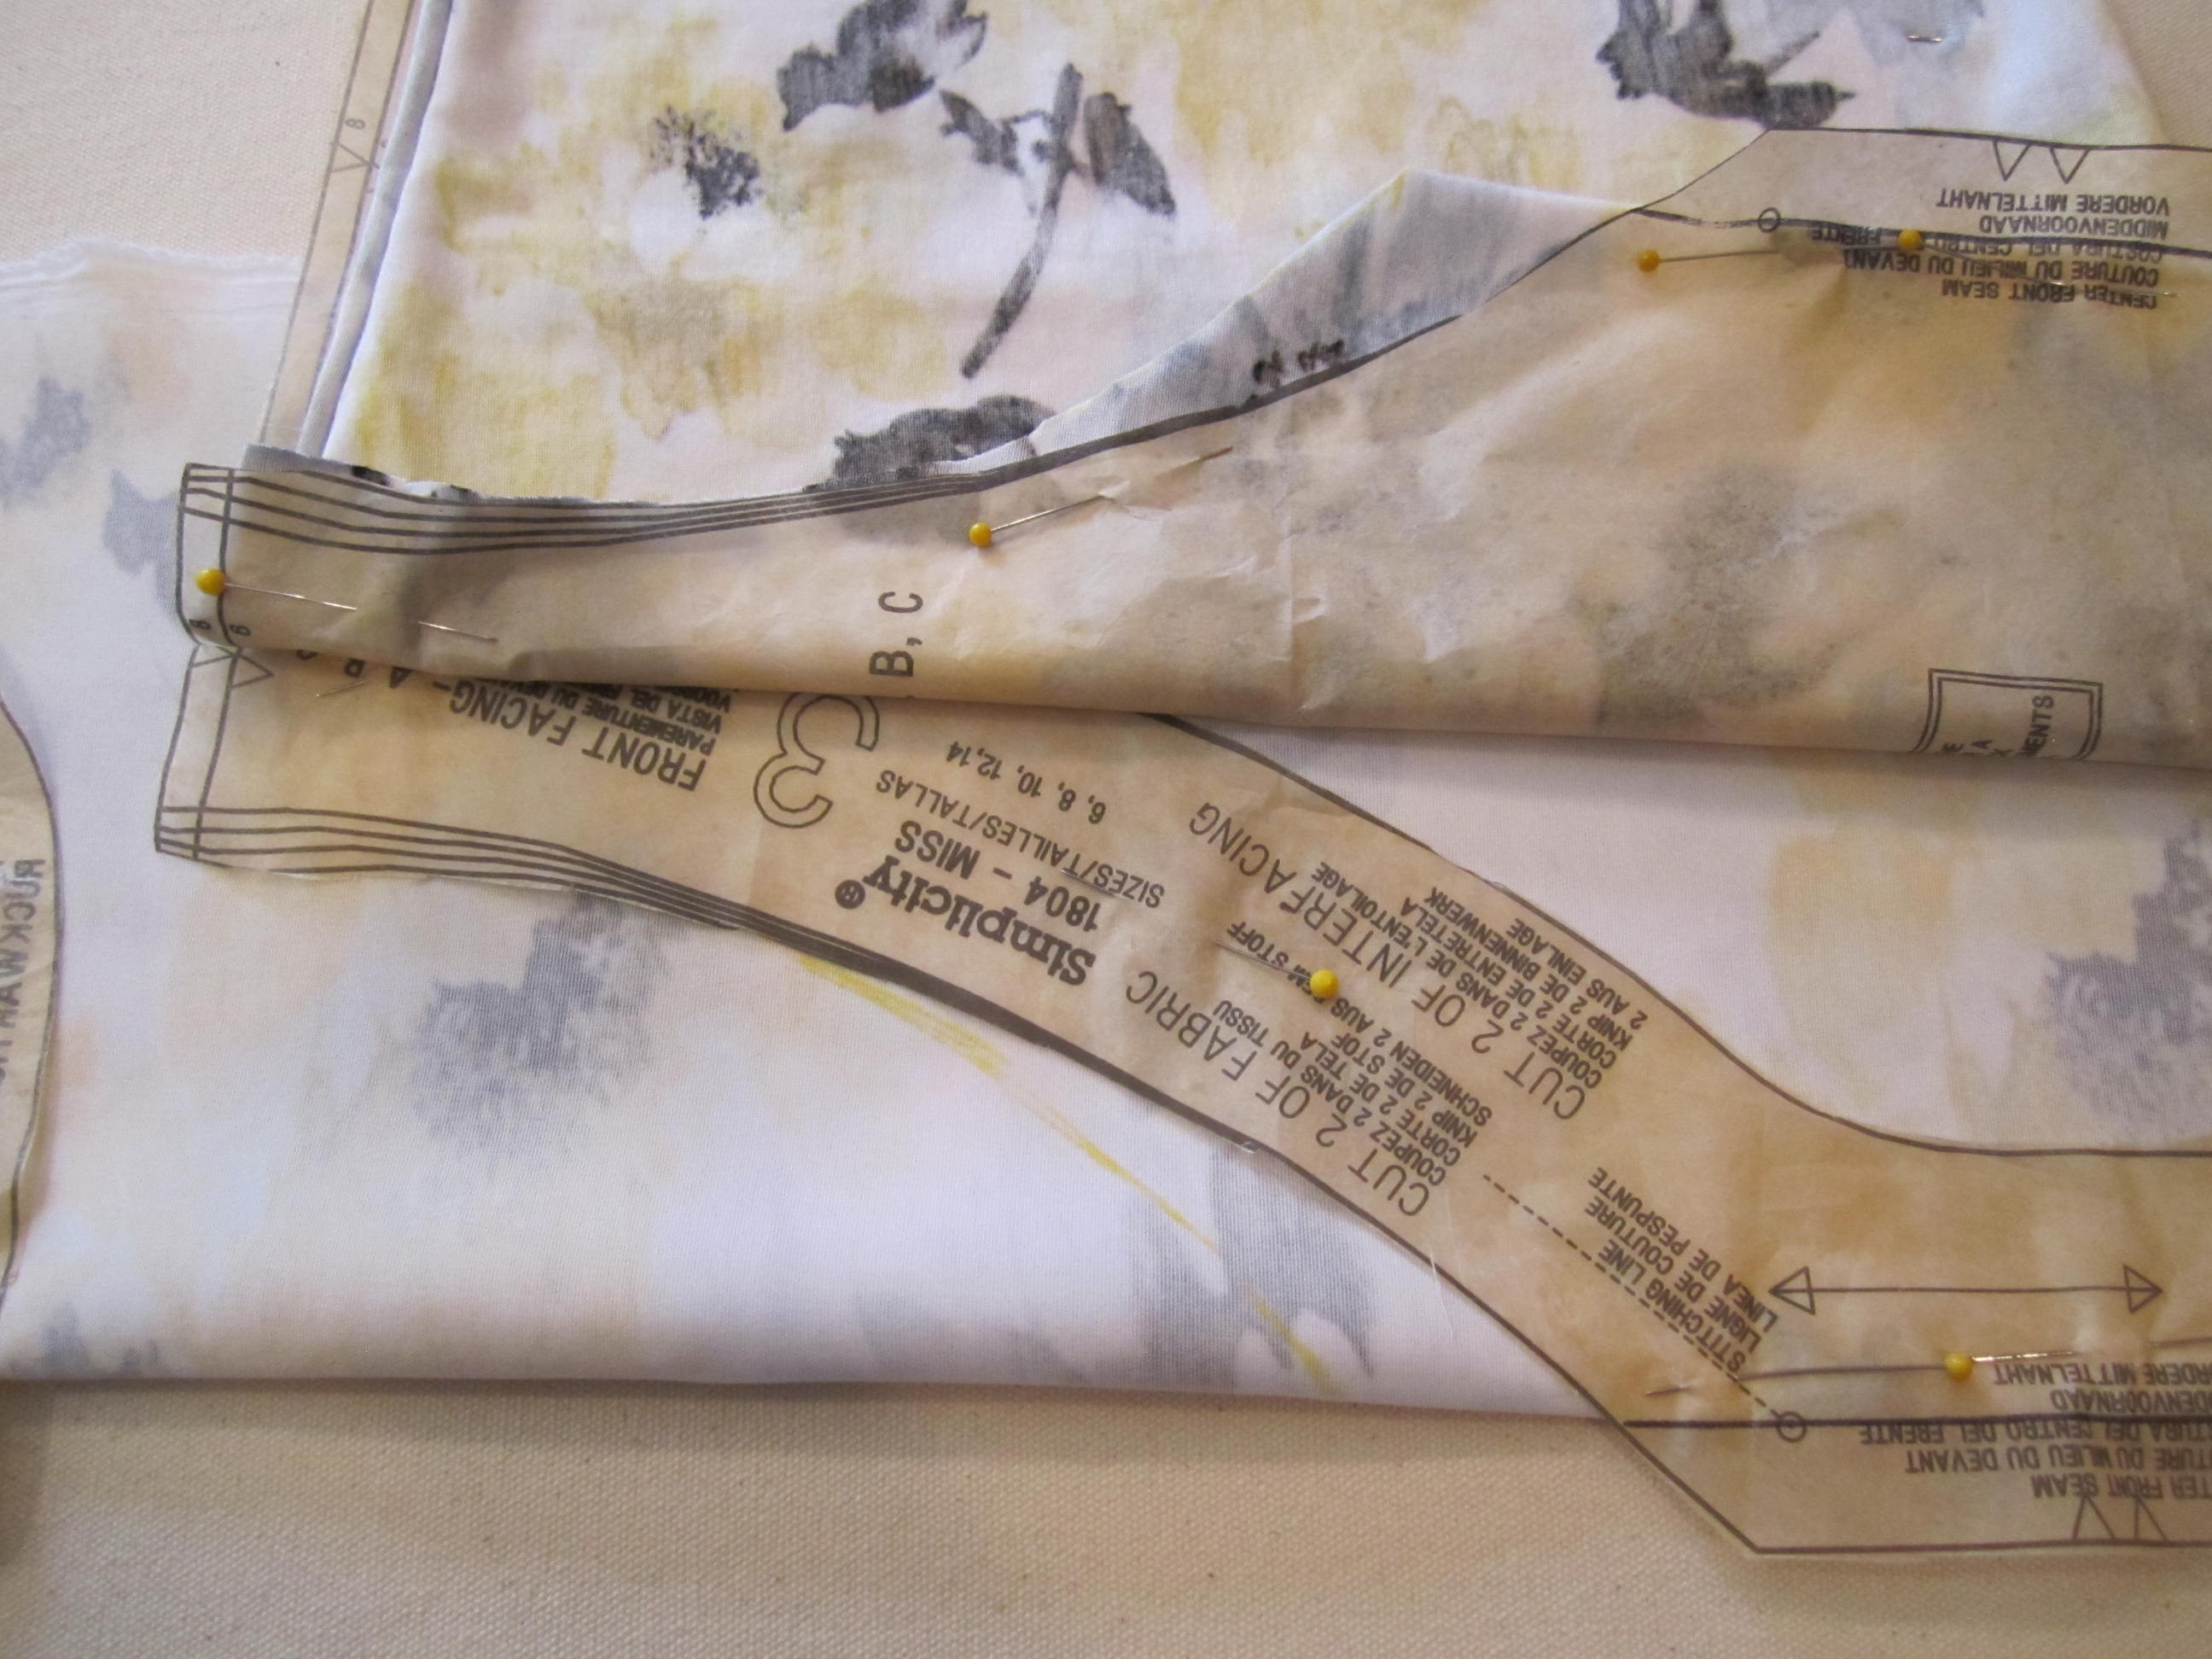
photo copy 35

We decided to make the second dress shorter. Personally I like a little leg and I just thought it would be nice for our readers to see it both ways.

So here is the finished dress. I wore it to work today and had so many compliments. It is always fun, even for our employees, to see the fabric come to life.
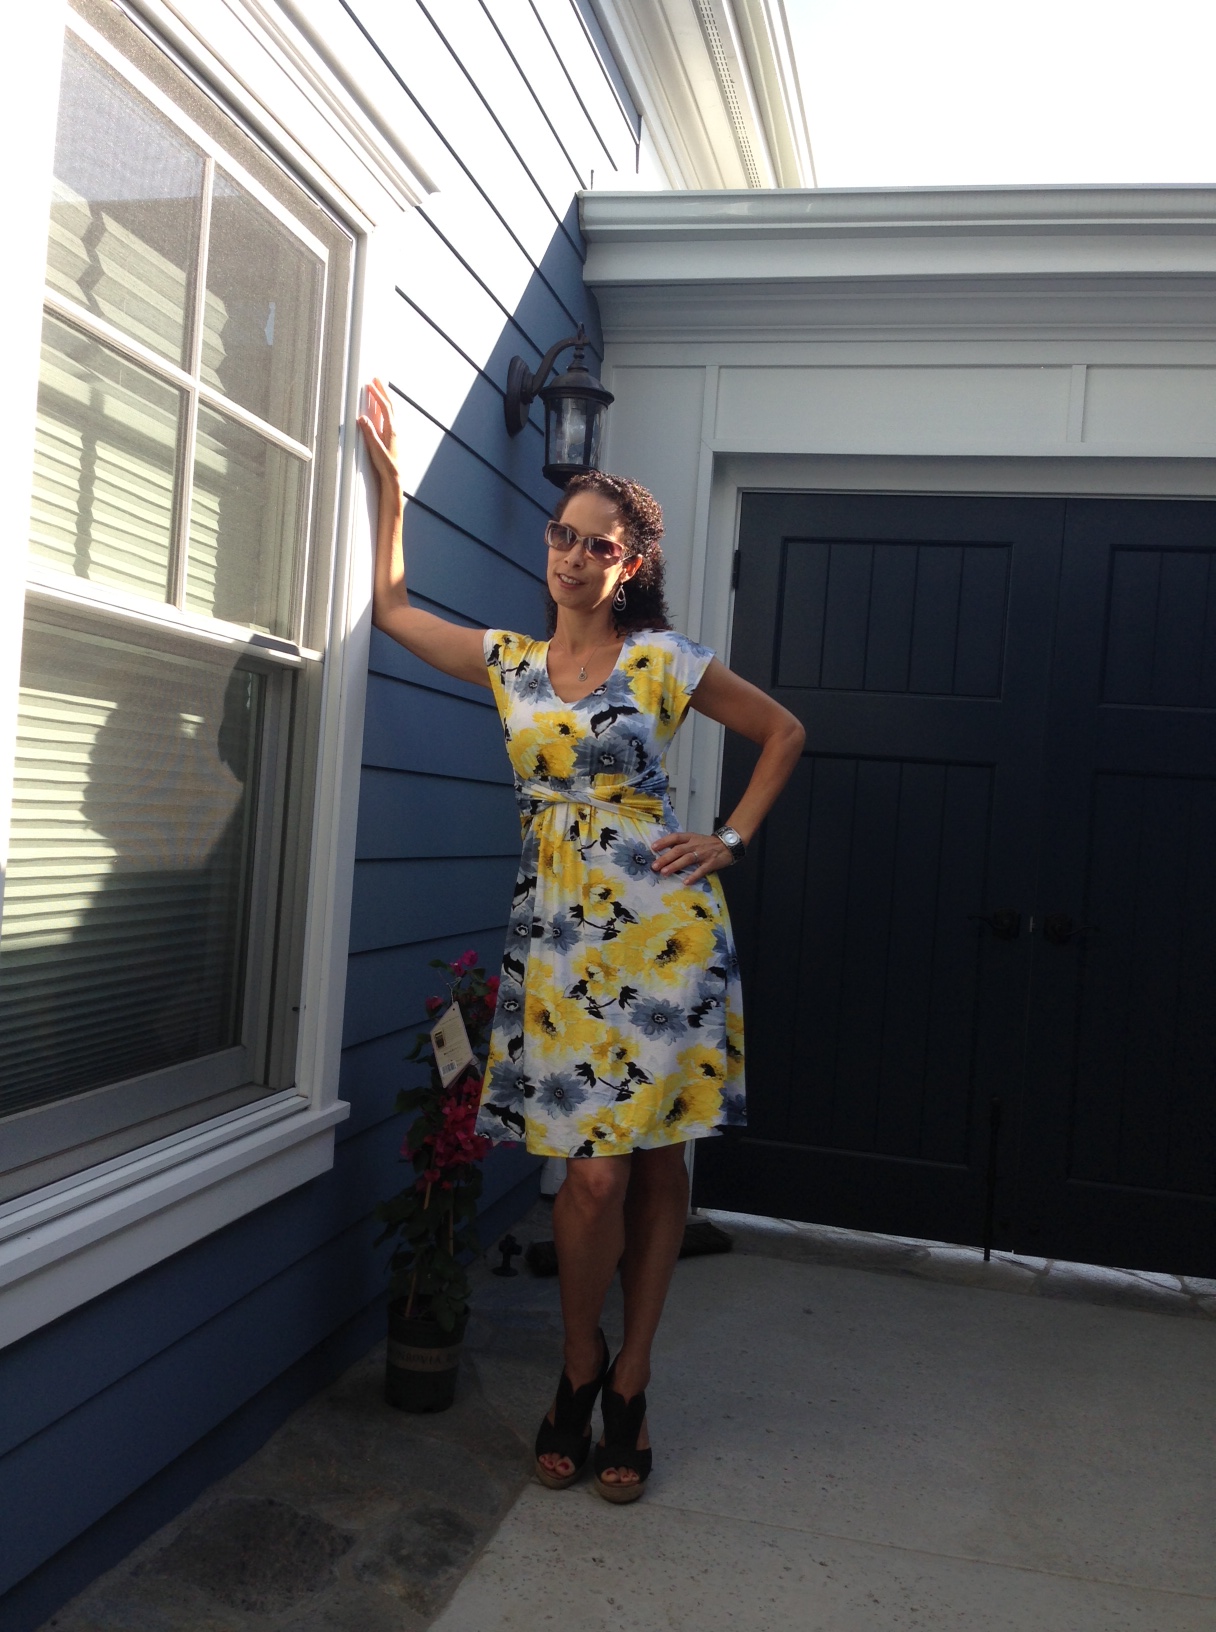
photo copy 33

I really like the style and comfort of this dress, as it's perfect for work or going out to lunch on a weekend. Just be prepared you may have to tweak the pattern a bit to fit your individual body. Thank goodness Robin has a great eye and could make it work.

Any questions, please let us know.

Thanks & enjoy!

Regina & Robin

Monday, July 1, 2013

Progress....

Here are a few pics of the dress & romper that we're working on. Both these fabrics are brand new and caught my eye as I was doing one of my weekly "walk-throughs" through the warehouse. Both projects are well under way & should be done by the end of this week.

DressPattern: Simplicity 1804 (ML244255)
Fabric: ML244085
Supplies: Scissors or rotary cutter, tape measure, elasticpins, wonder tape, fusible tricot (ML244260)Image

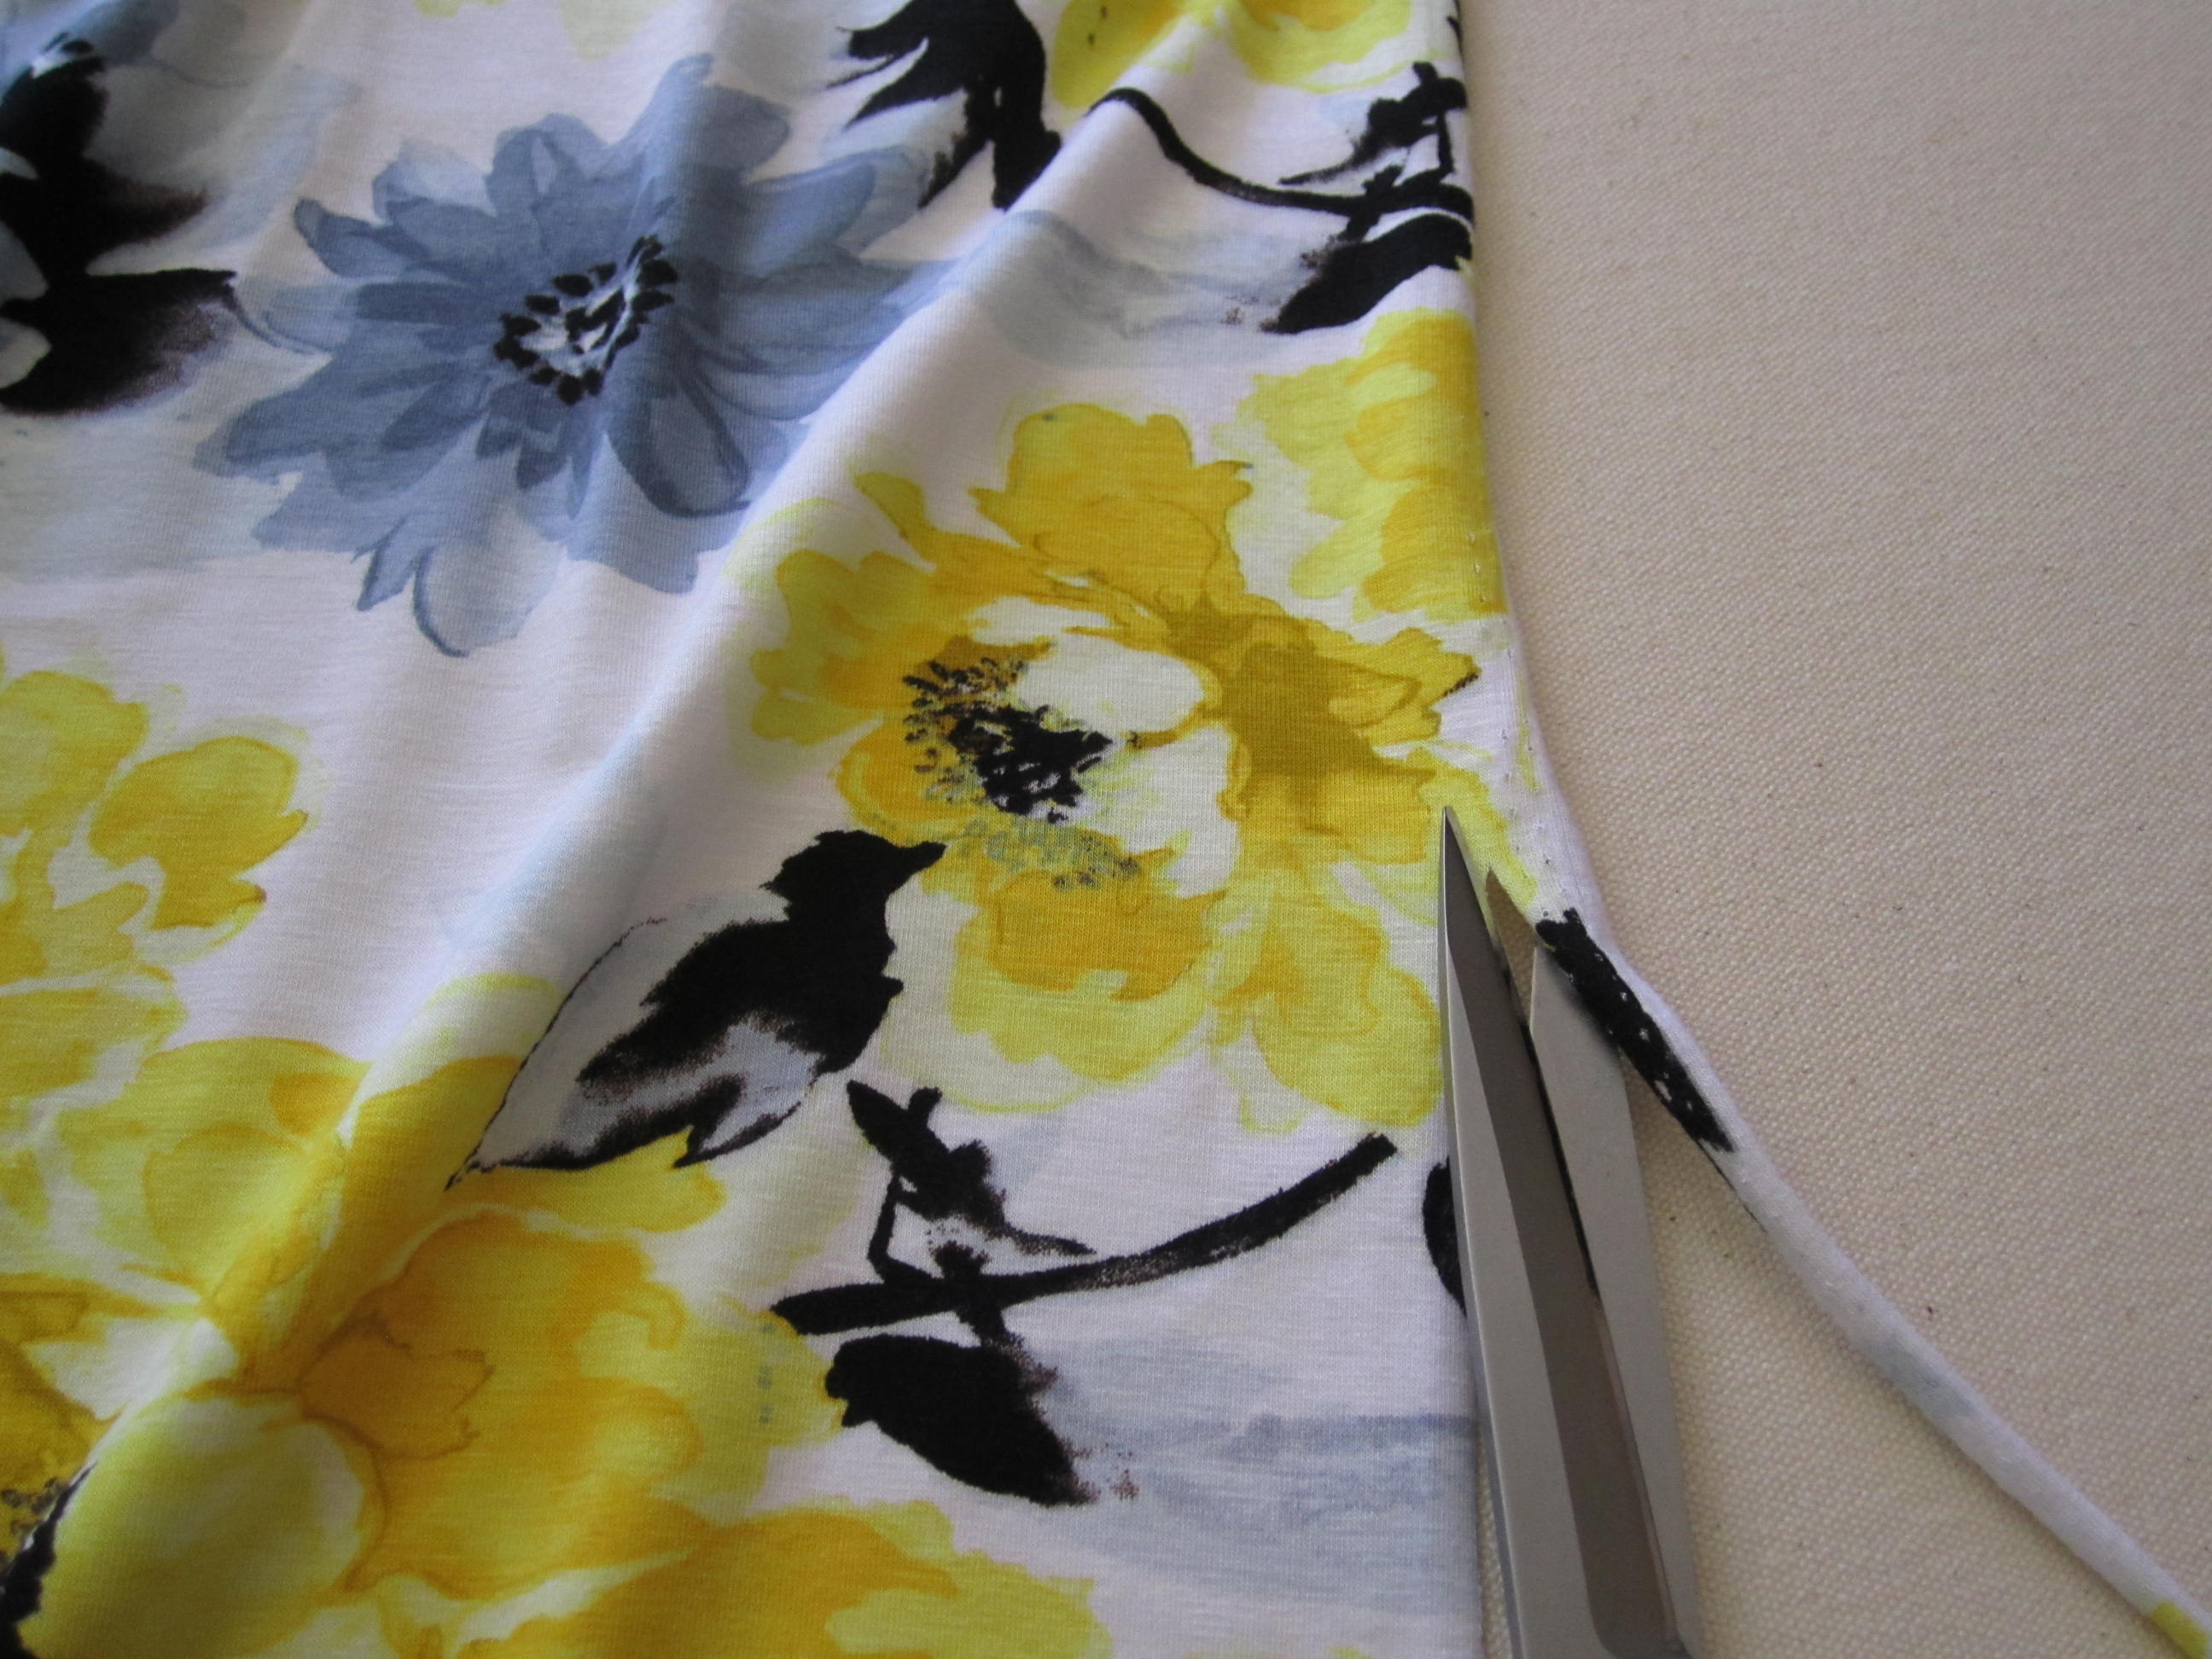
Since the salvage rolled, it had to be trimmed off.Image

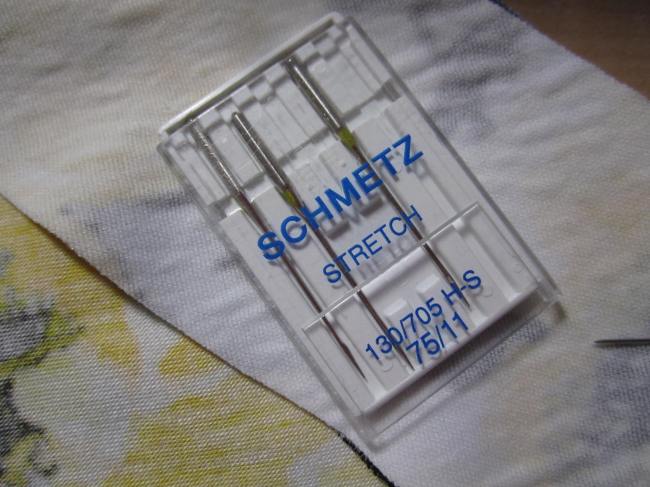
The proper needles make all the difference.Image

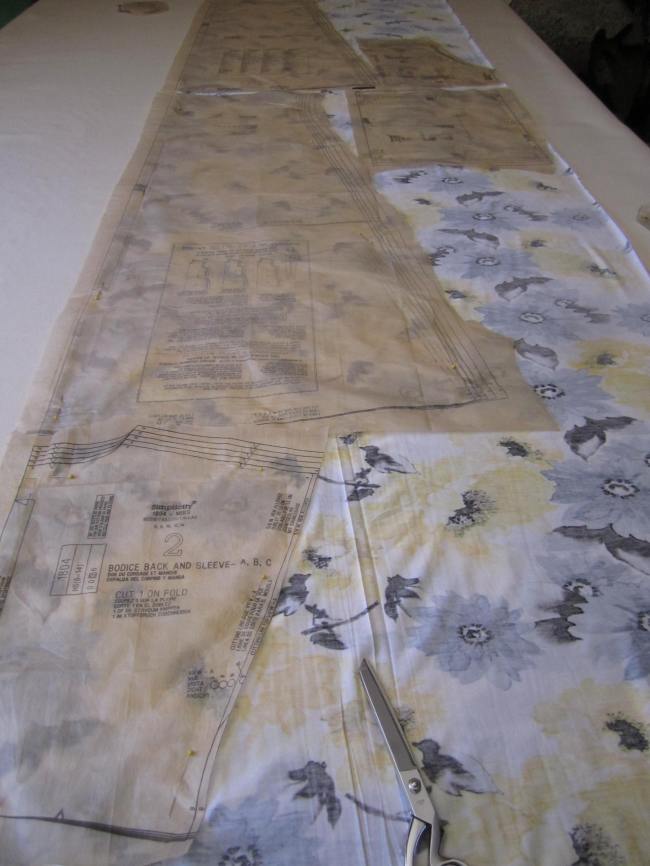
Don't forget to iron the pattern before you put it on the fabric. This will make the pattern easier to work with. Image

Tricot knit fusible interfacing & elasticphoto copy 18

Pinning bodice to skirt.photo copy 9

Pinning interfacing to neckline.photo copy 10

RomperPattern: Marcy Tilton V8813
Fabric: ML243985 (cut  yards for a size 6)
Supplies: Scissors or rotary cutter, tape measure, pins

Image

Measure the grain line to salvage to make sure it is straight.

Image

Again, iron the pattern to make sure it lays flat on the fabric.

Image

By the end of the week we will have the finished product ready.

Enjoy!

Tuesday, January 8, 2013

I had to share this with you...

Wow Mimi, you were busy this year! What great inspiration. Mimi has featured many of our fabrics in her creations. If you want more information on how to make these dresses and coats, as well as the links to purchase fabrics, check out her blog at MimiG Style.


A DIY Year In Review! What I Made In 2012 (Pic Heavy)


 Hi Darlings! It is always fun to look back at everything I have made at the end of every year; it is also so  rewarding! I made over 60 pieces of clothing including some of the tutorials and that is just crazy! I hope that over the year you have gained some knowledge or bits of info that may have helped you in your sewing/diy or fashion journey. I thank you for the years of support and hope to see you all again in 2013! be blessed my darlings!!


What I Made In 2012

(in no particular order)


Dresses


Floral Dress, Chevron Print Dress, Large Collar Dress


Animal Print Maxi Dress, Color Blocked Dress, LBD


Green Cowl Neck Dress


T-Shirt Maxi


Black Shift Dress


Off White Side Pleated Dress


Little Pink Dress


Grey Side Gathered Dress


Floral Print Dress


Cowl Neck Shift Dress


Side Ruffle Red Dress


Striped Dress


Purple Faux Wrap Dress


Red Striped Maxi


 My Michael Kors Pink Dress Knock Off


 Red High Low Dress


New Sneak Peeks...


I just made this fabulous DVF inspired wrap dress, Ill post pics soon!


I just made this classic black dress, pics soon!


Tops/Skirts/Pants etc.


The Infamous Regal Maxi Skirt


Striped Pencil Skirt


Grey Yoke Maxi Skirt


Yellow Shorts


 Wide Leg Pants


Black Wrap Skirt


Easy Top


Grey Peplum Top + Black Wrap Skirt


Black Wide Leg Pants


Grey Maxi Skirt


Black Jumper + Red Strapless Jumper


Colorful Maxi Skirt + Green Wrap Top


Leopard Pencil Skirt, Denim Maxi, Floral Pencil Skirt


Yellow Regal Maxi, Black A-Line, Blue Pencil Skirt + Peplum Top


Geo Print Top, Gingham Shirt, Floral Top


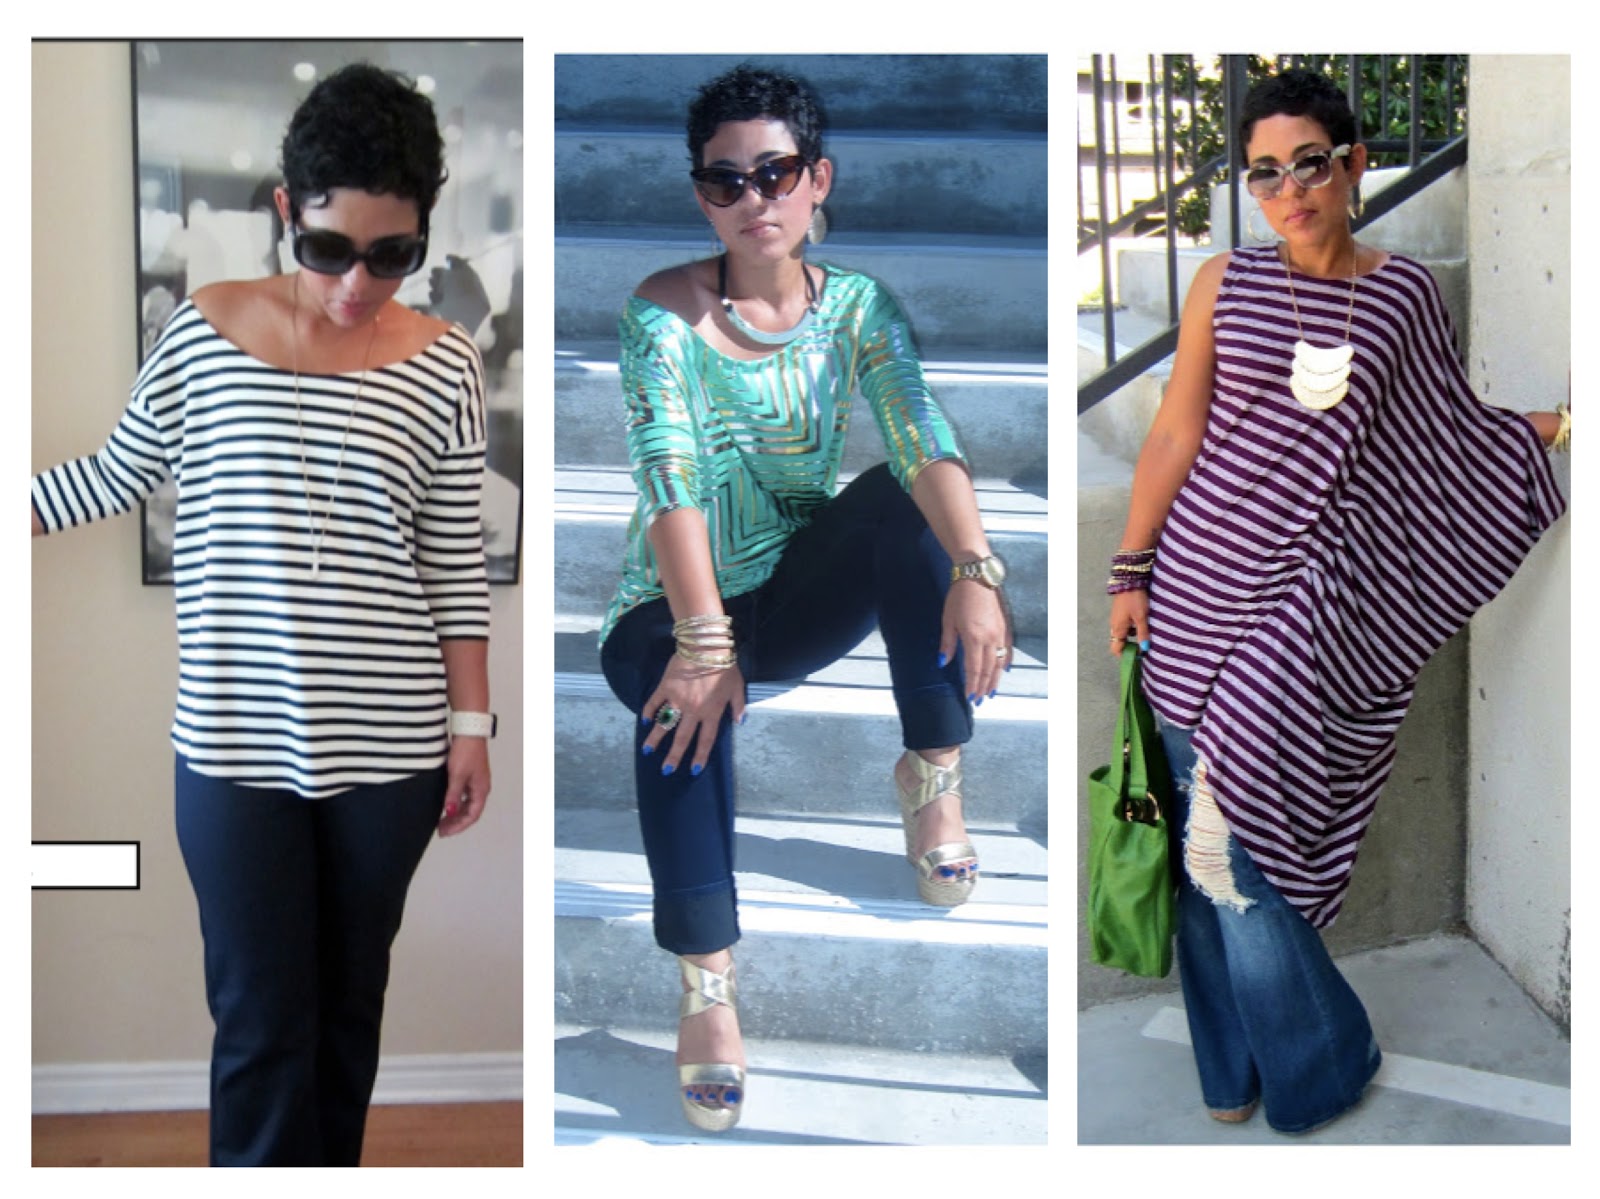
Striped Top, Green Metallic Top, Purple Striped Top


Draped Top, Polka Dot Top


Jackets/Wraps


Black + White Wrap


Wrap Top + Green Slacks


Brown + Green Blanket Coat


I even quilted! Leather Quilted Jacket


Red Wool Cape + Teal Slacks