Hi there,
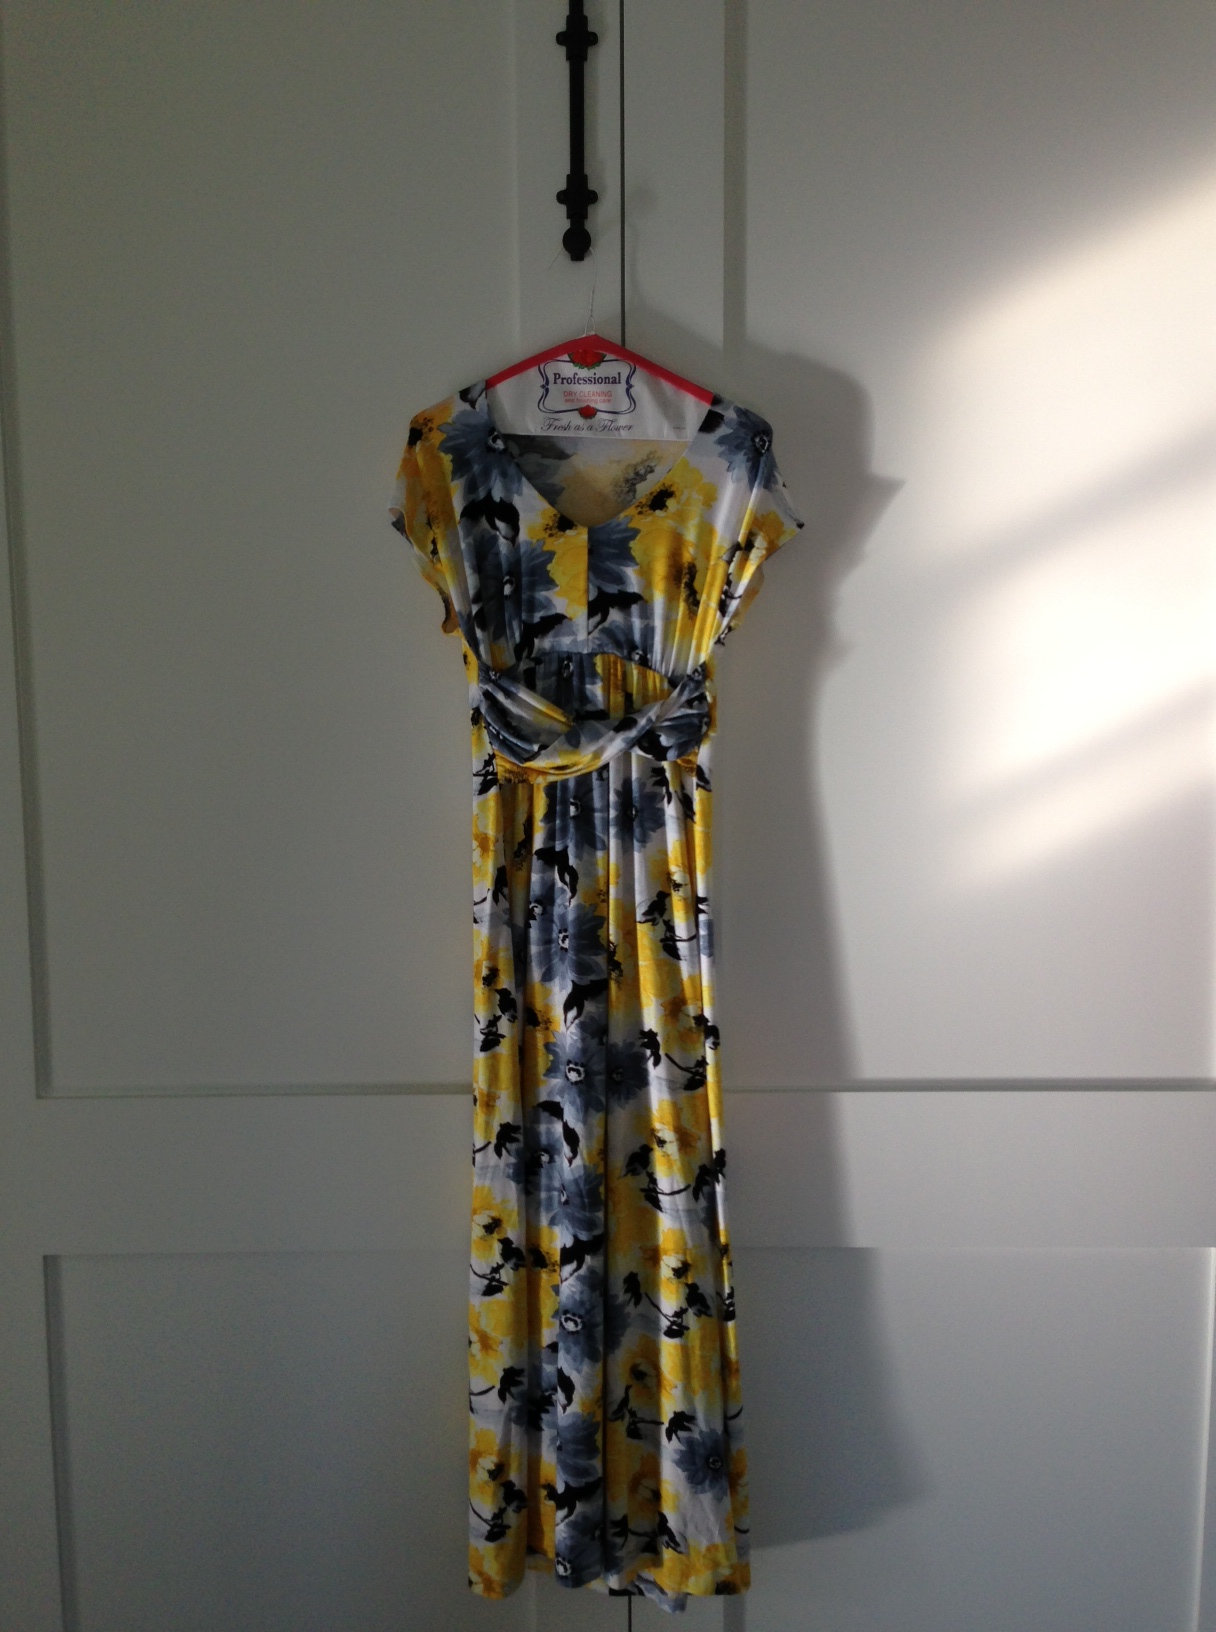
So the first dress is done. Well, really the second dress...keep reading and you will understand what I mean. I have to share with you that this was not as quick of a project as I expected. Robin, the new addition to our blogging team, had to sew this dress twice. Yes, twice. We're going to call it a "learning experience". I picked out the
fabric from one of my warehouse walk throughs. I loved the colors and the softness of the knit. It had not hit the floor yet, so I grabbed a roll for our online store and a piece for Robin to make a dress from. After looking at a few patterns, we decide on
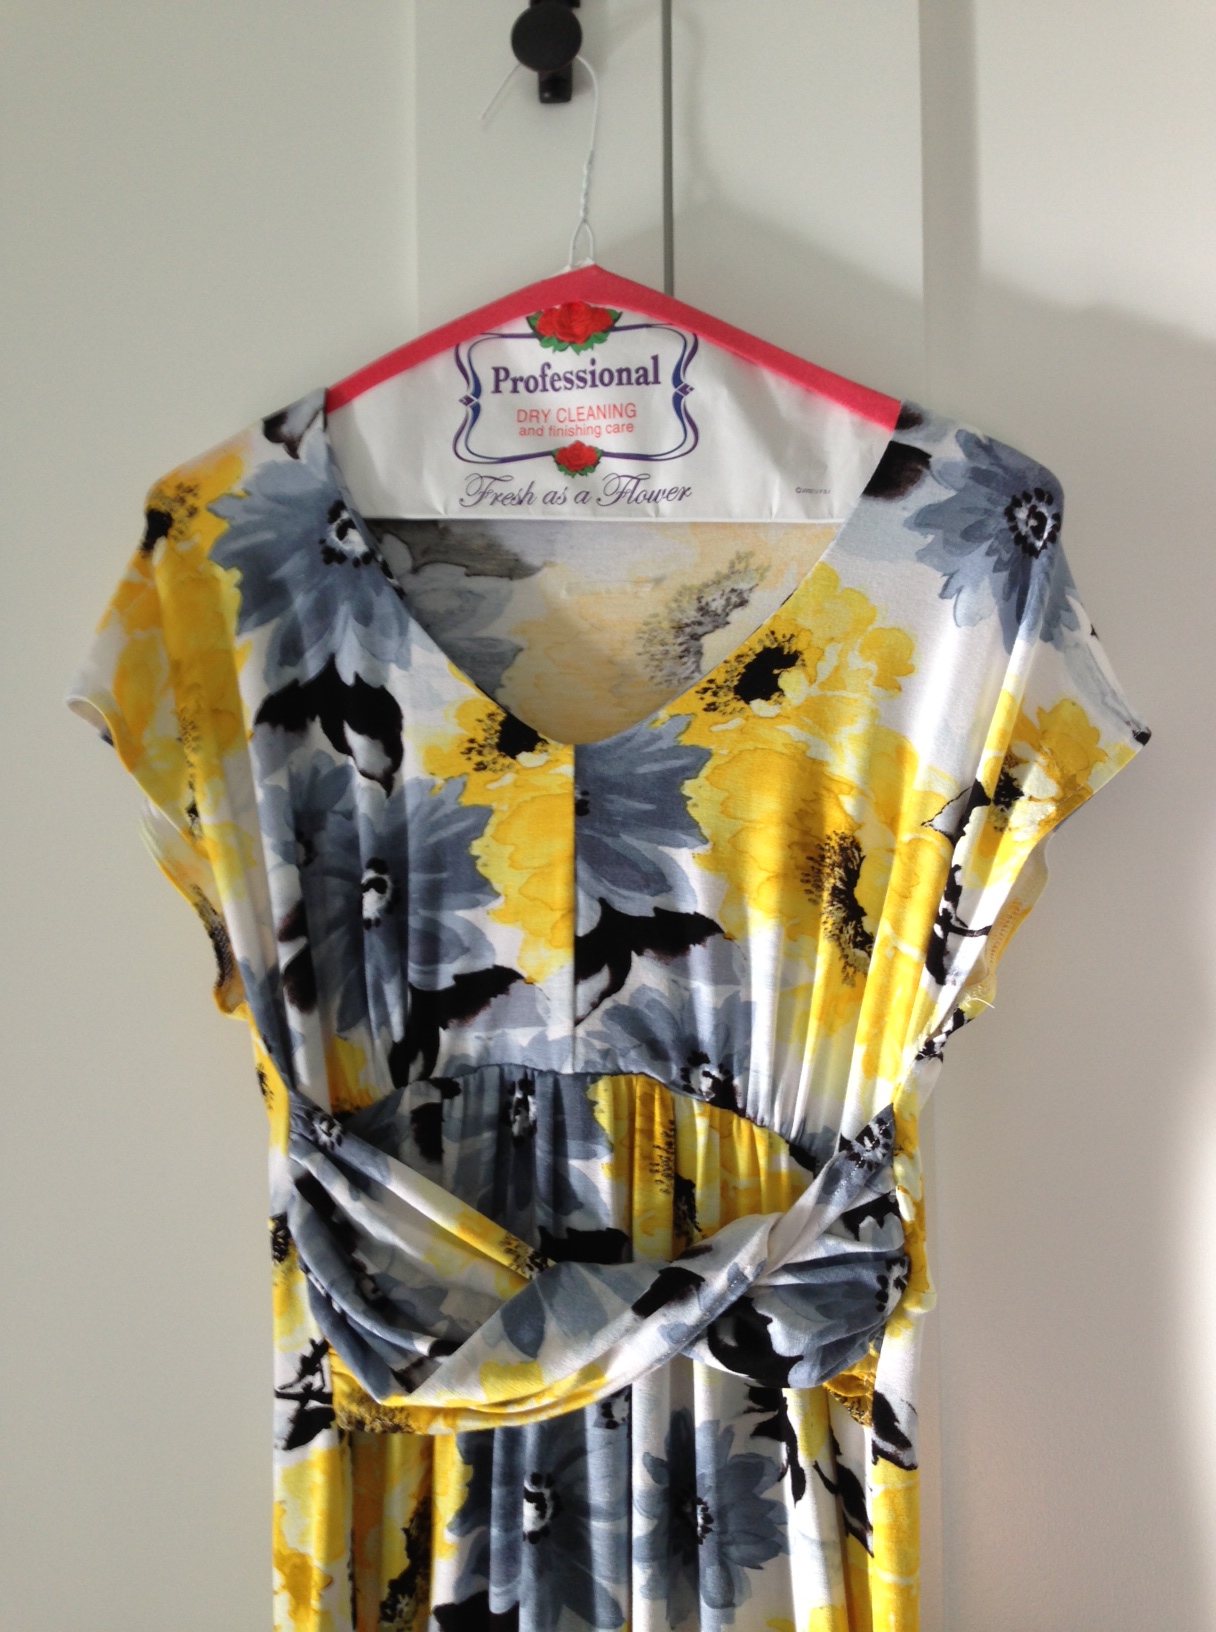
Simplicity 1804 . We felt this one was simple and versatile and would be flattering to many body types. The twist really helps define the smallest part of your body. Before I show you the final dress, I'm going to show you the first one Robin made.
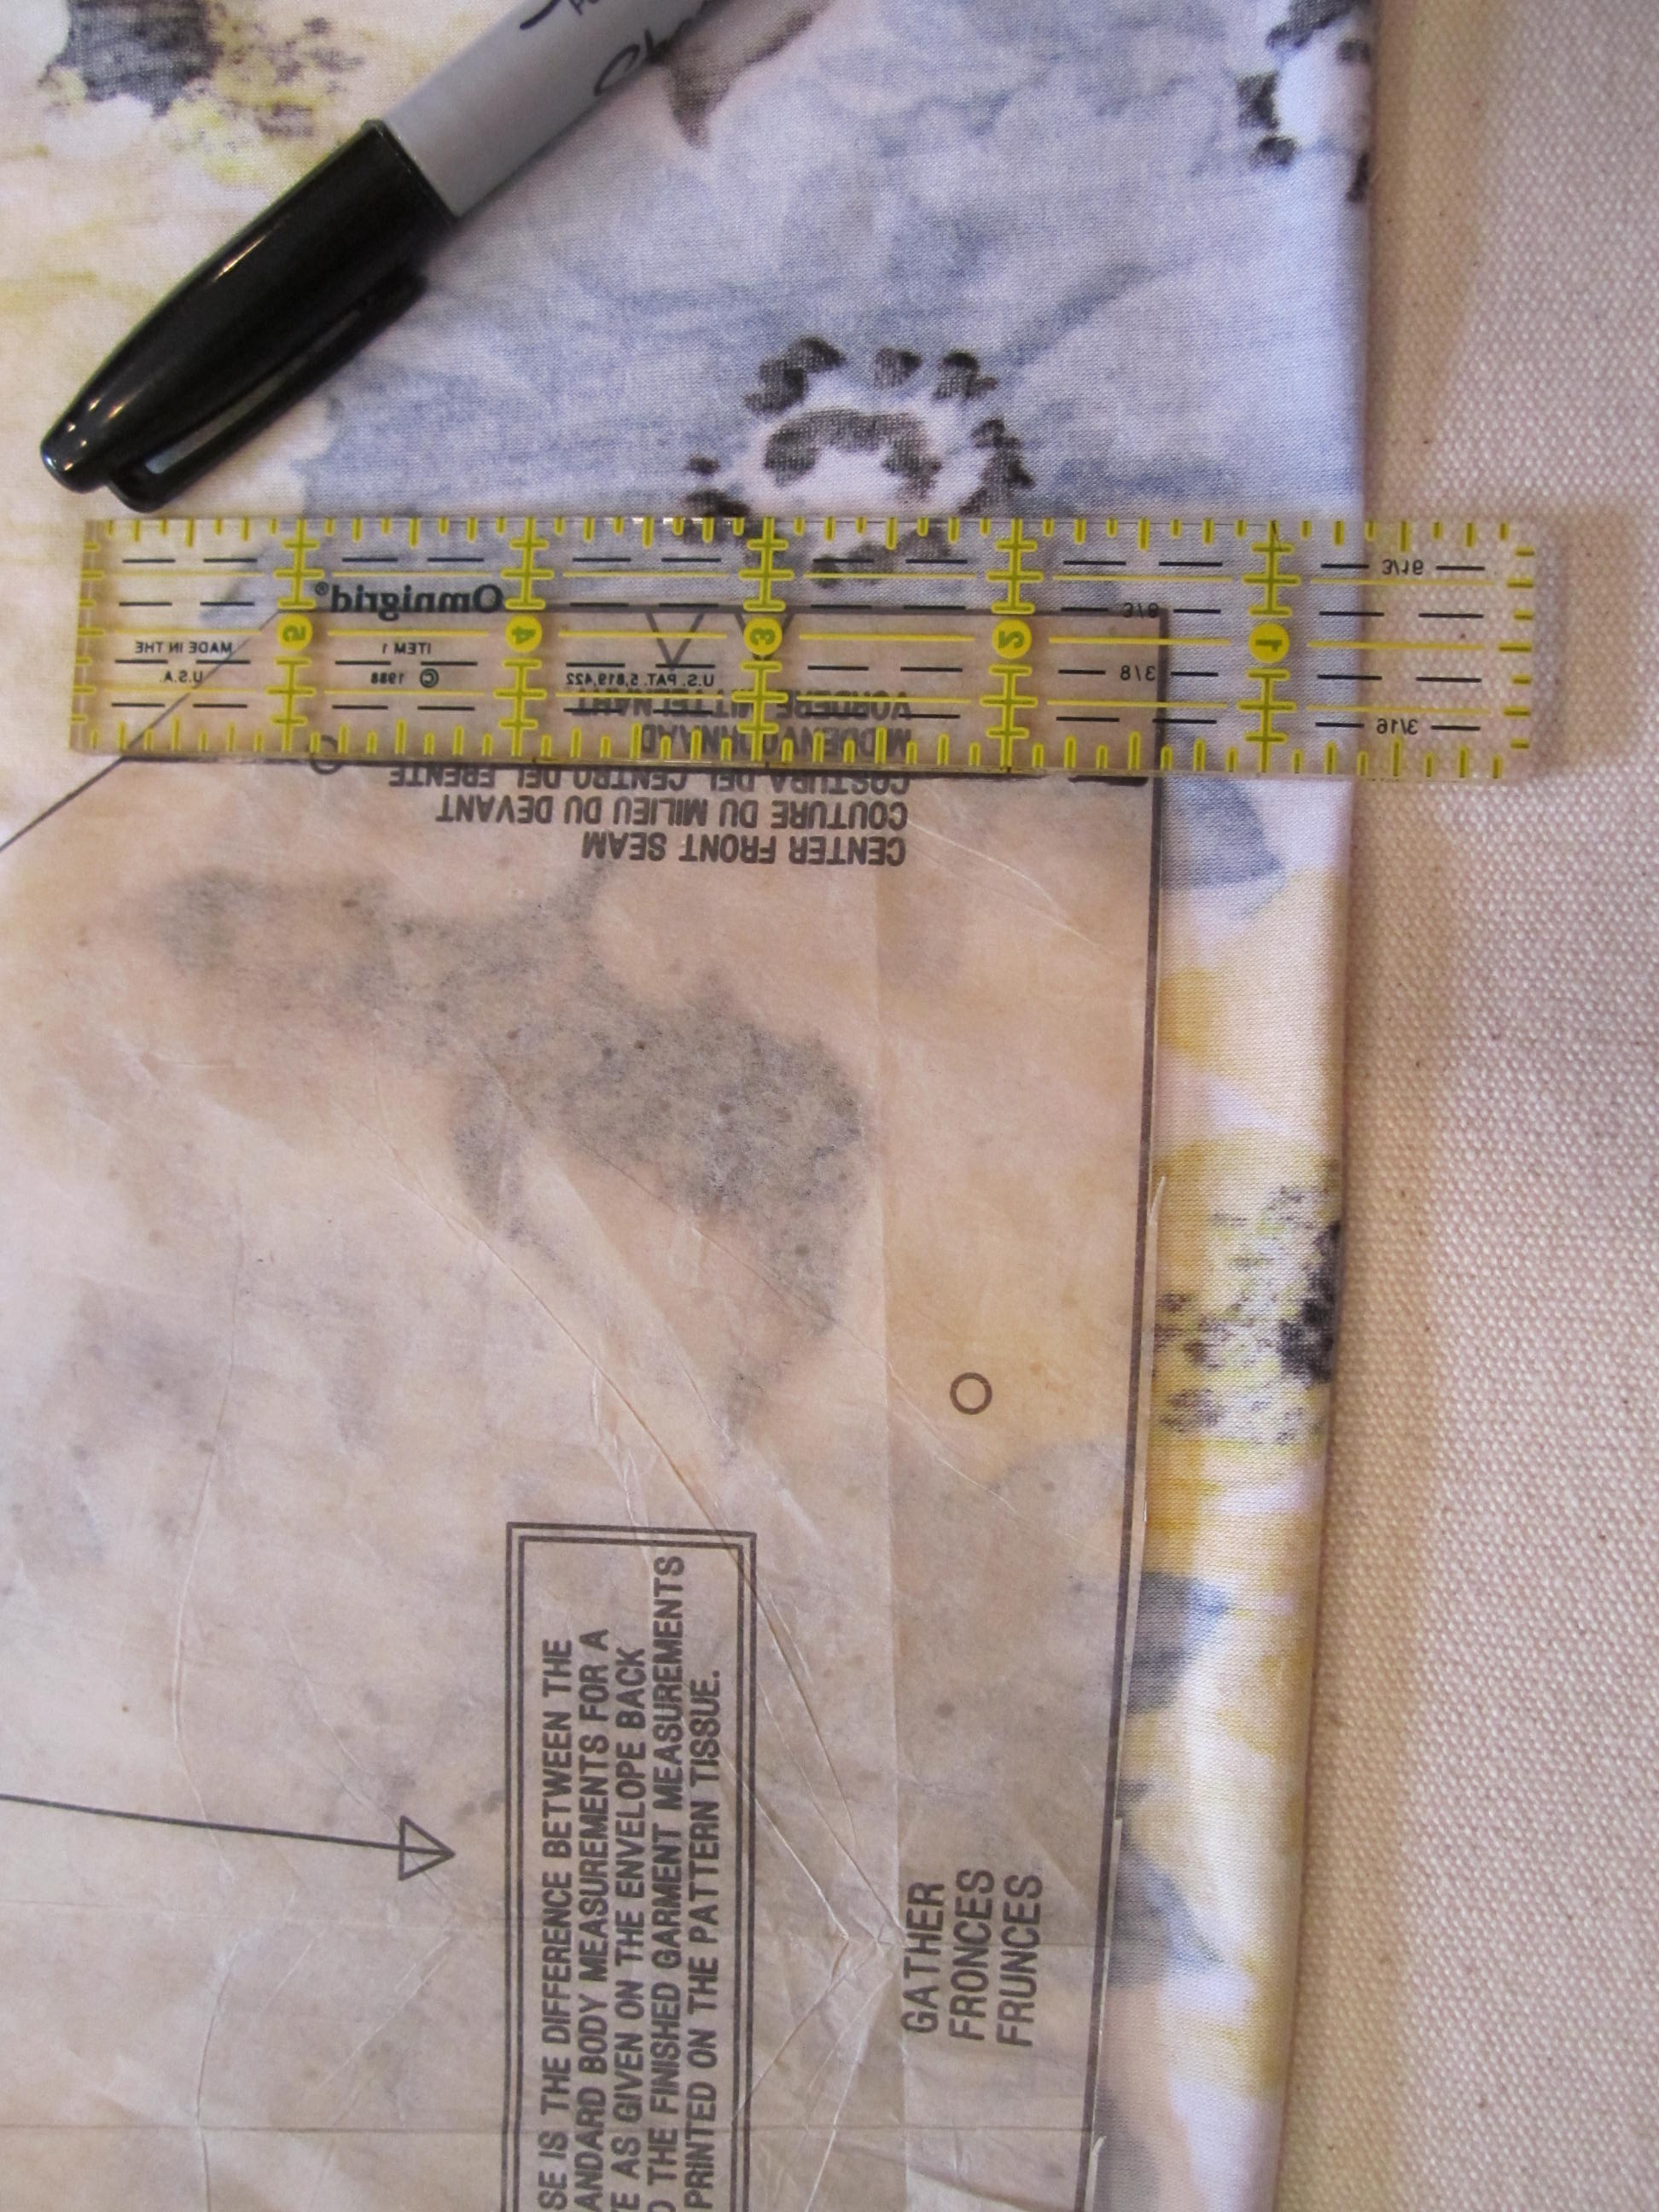
As soon as it came together Robin realized the fabric did not line up right in the front and that the seam there was just not flattering. After I tried it on a few times, we decided to make it again but the second time Robin knew she would have to tweaked the pattern a bit. First, she adjusted the center front seam piece of the pattern to go on the fold which got rid of the seam right between my boobs. Really, who wants that?! Lol.
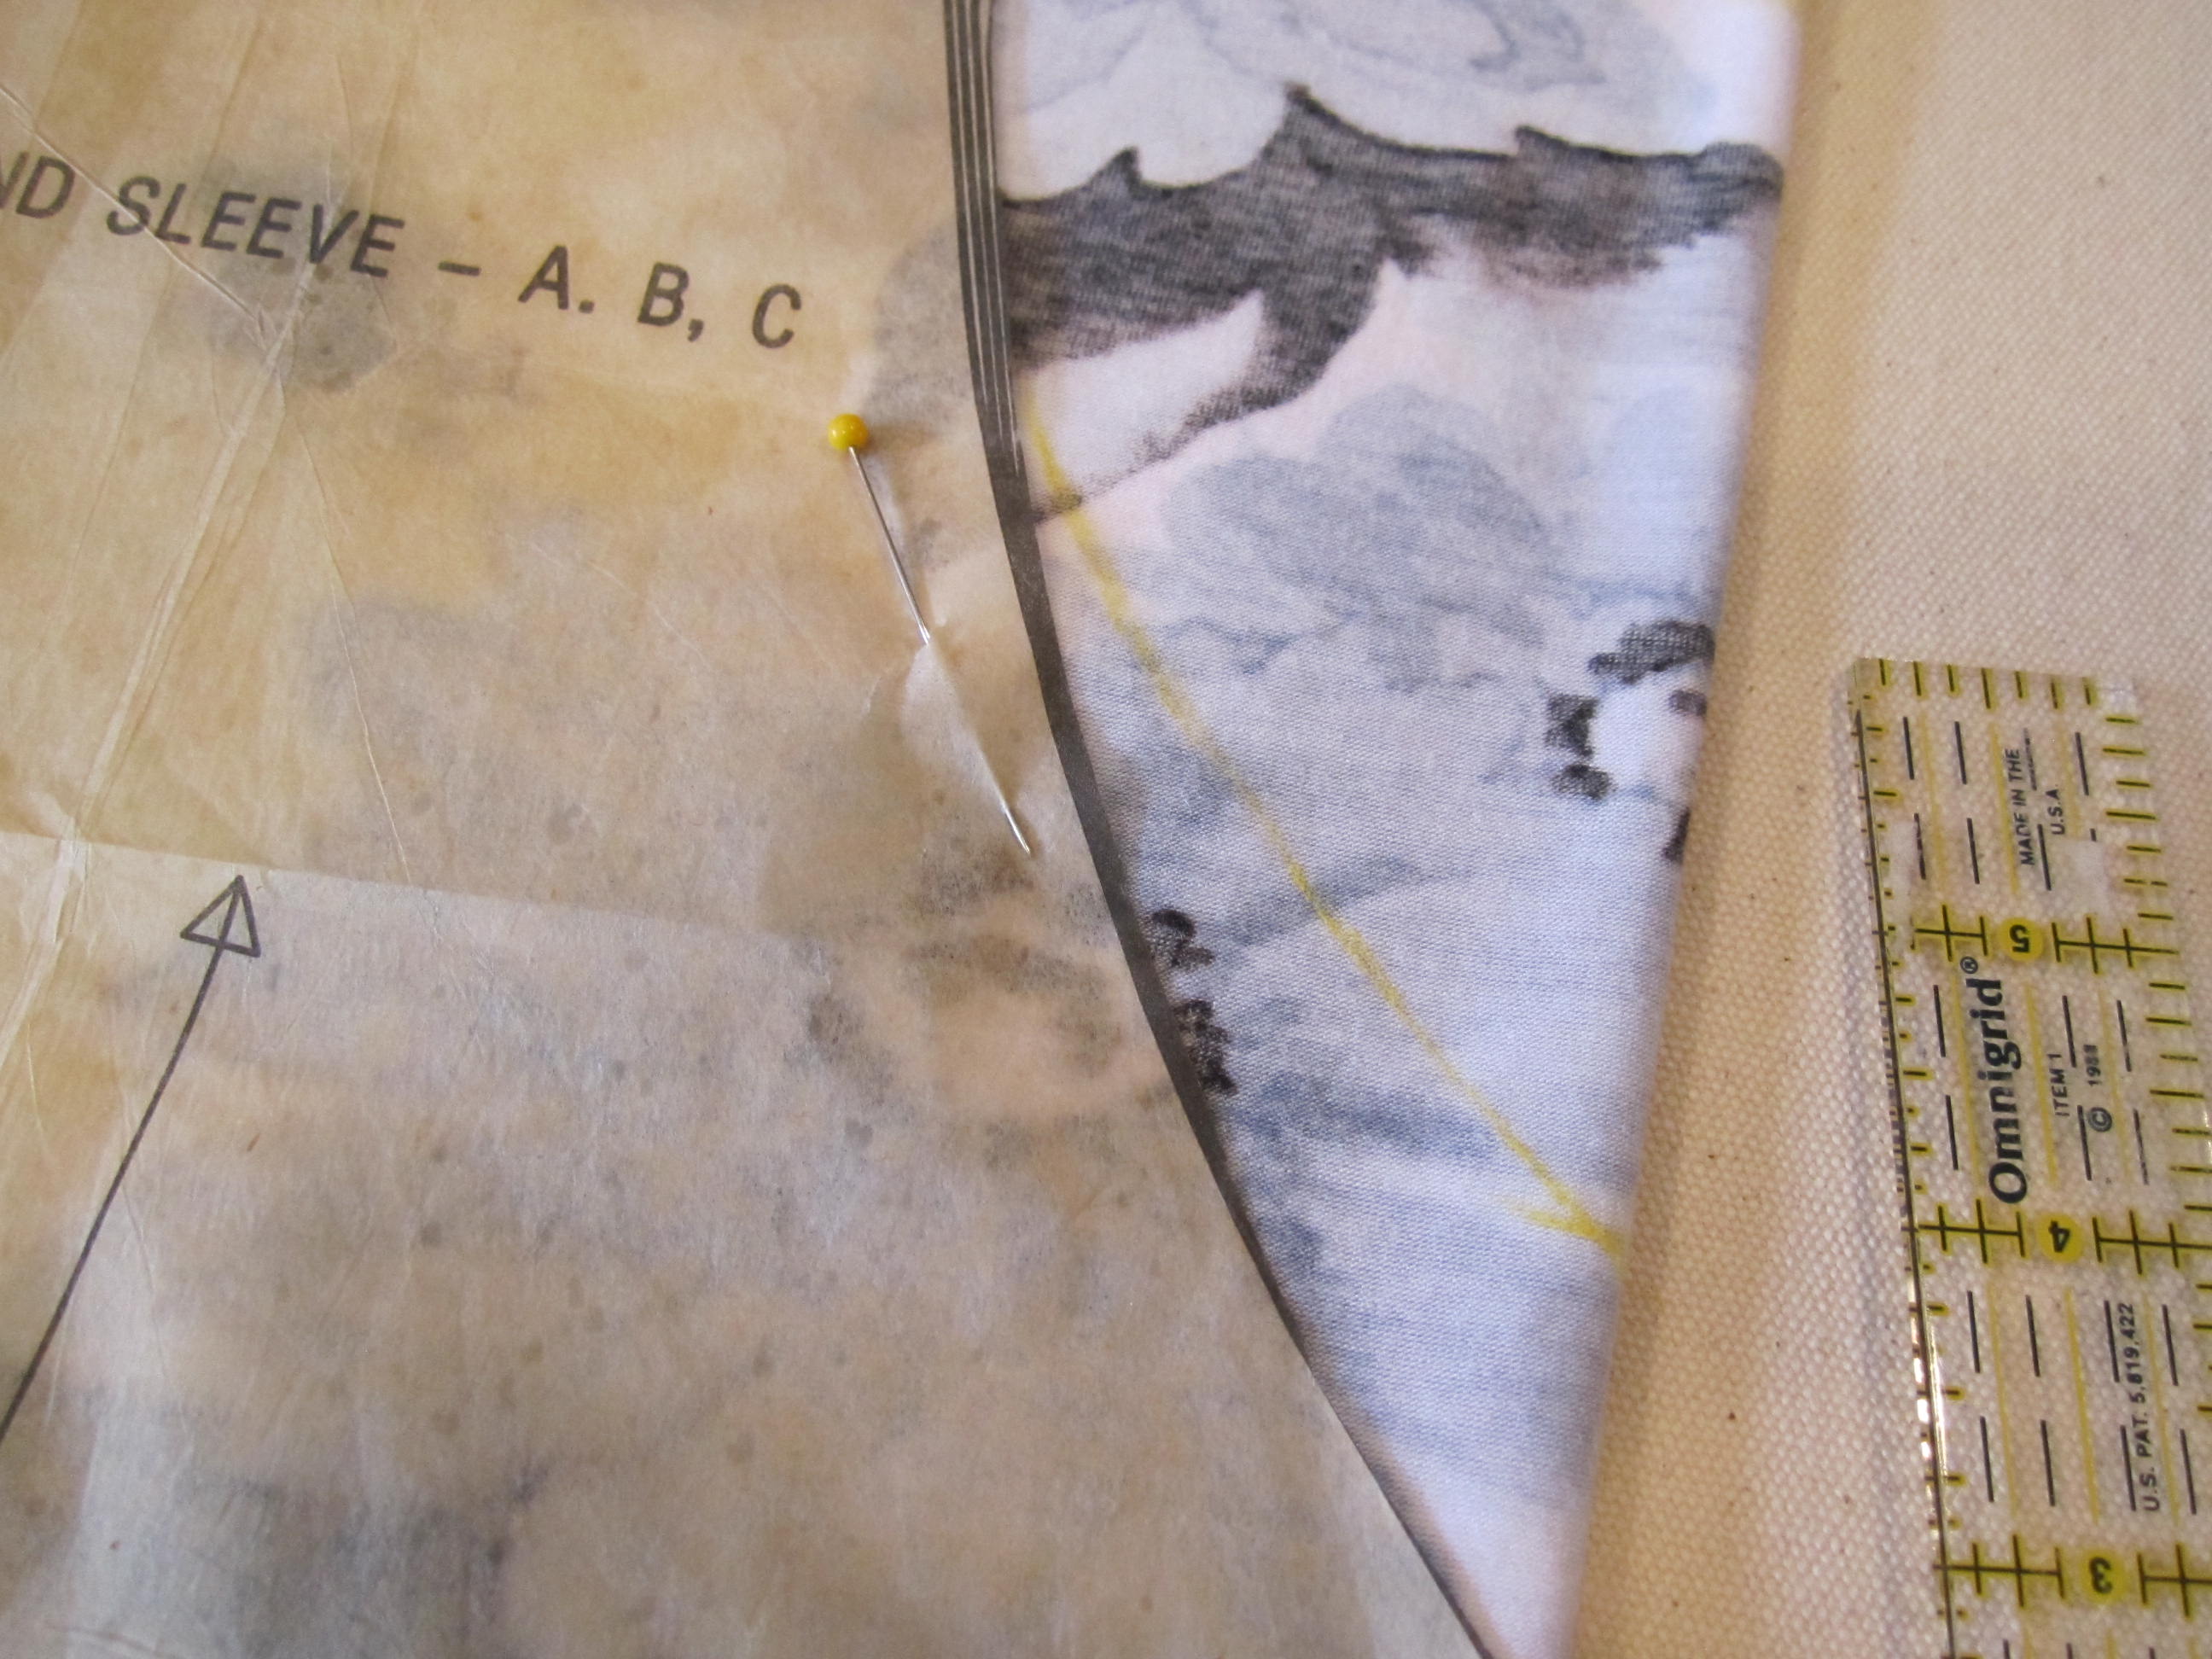
Here she is placing it on the fabric...
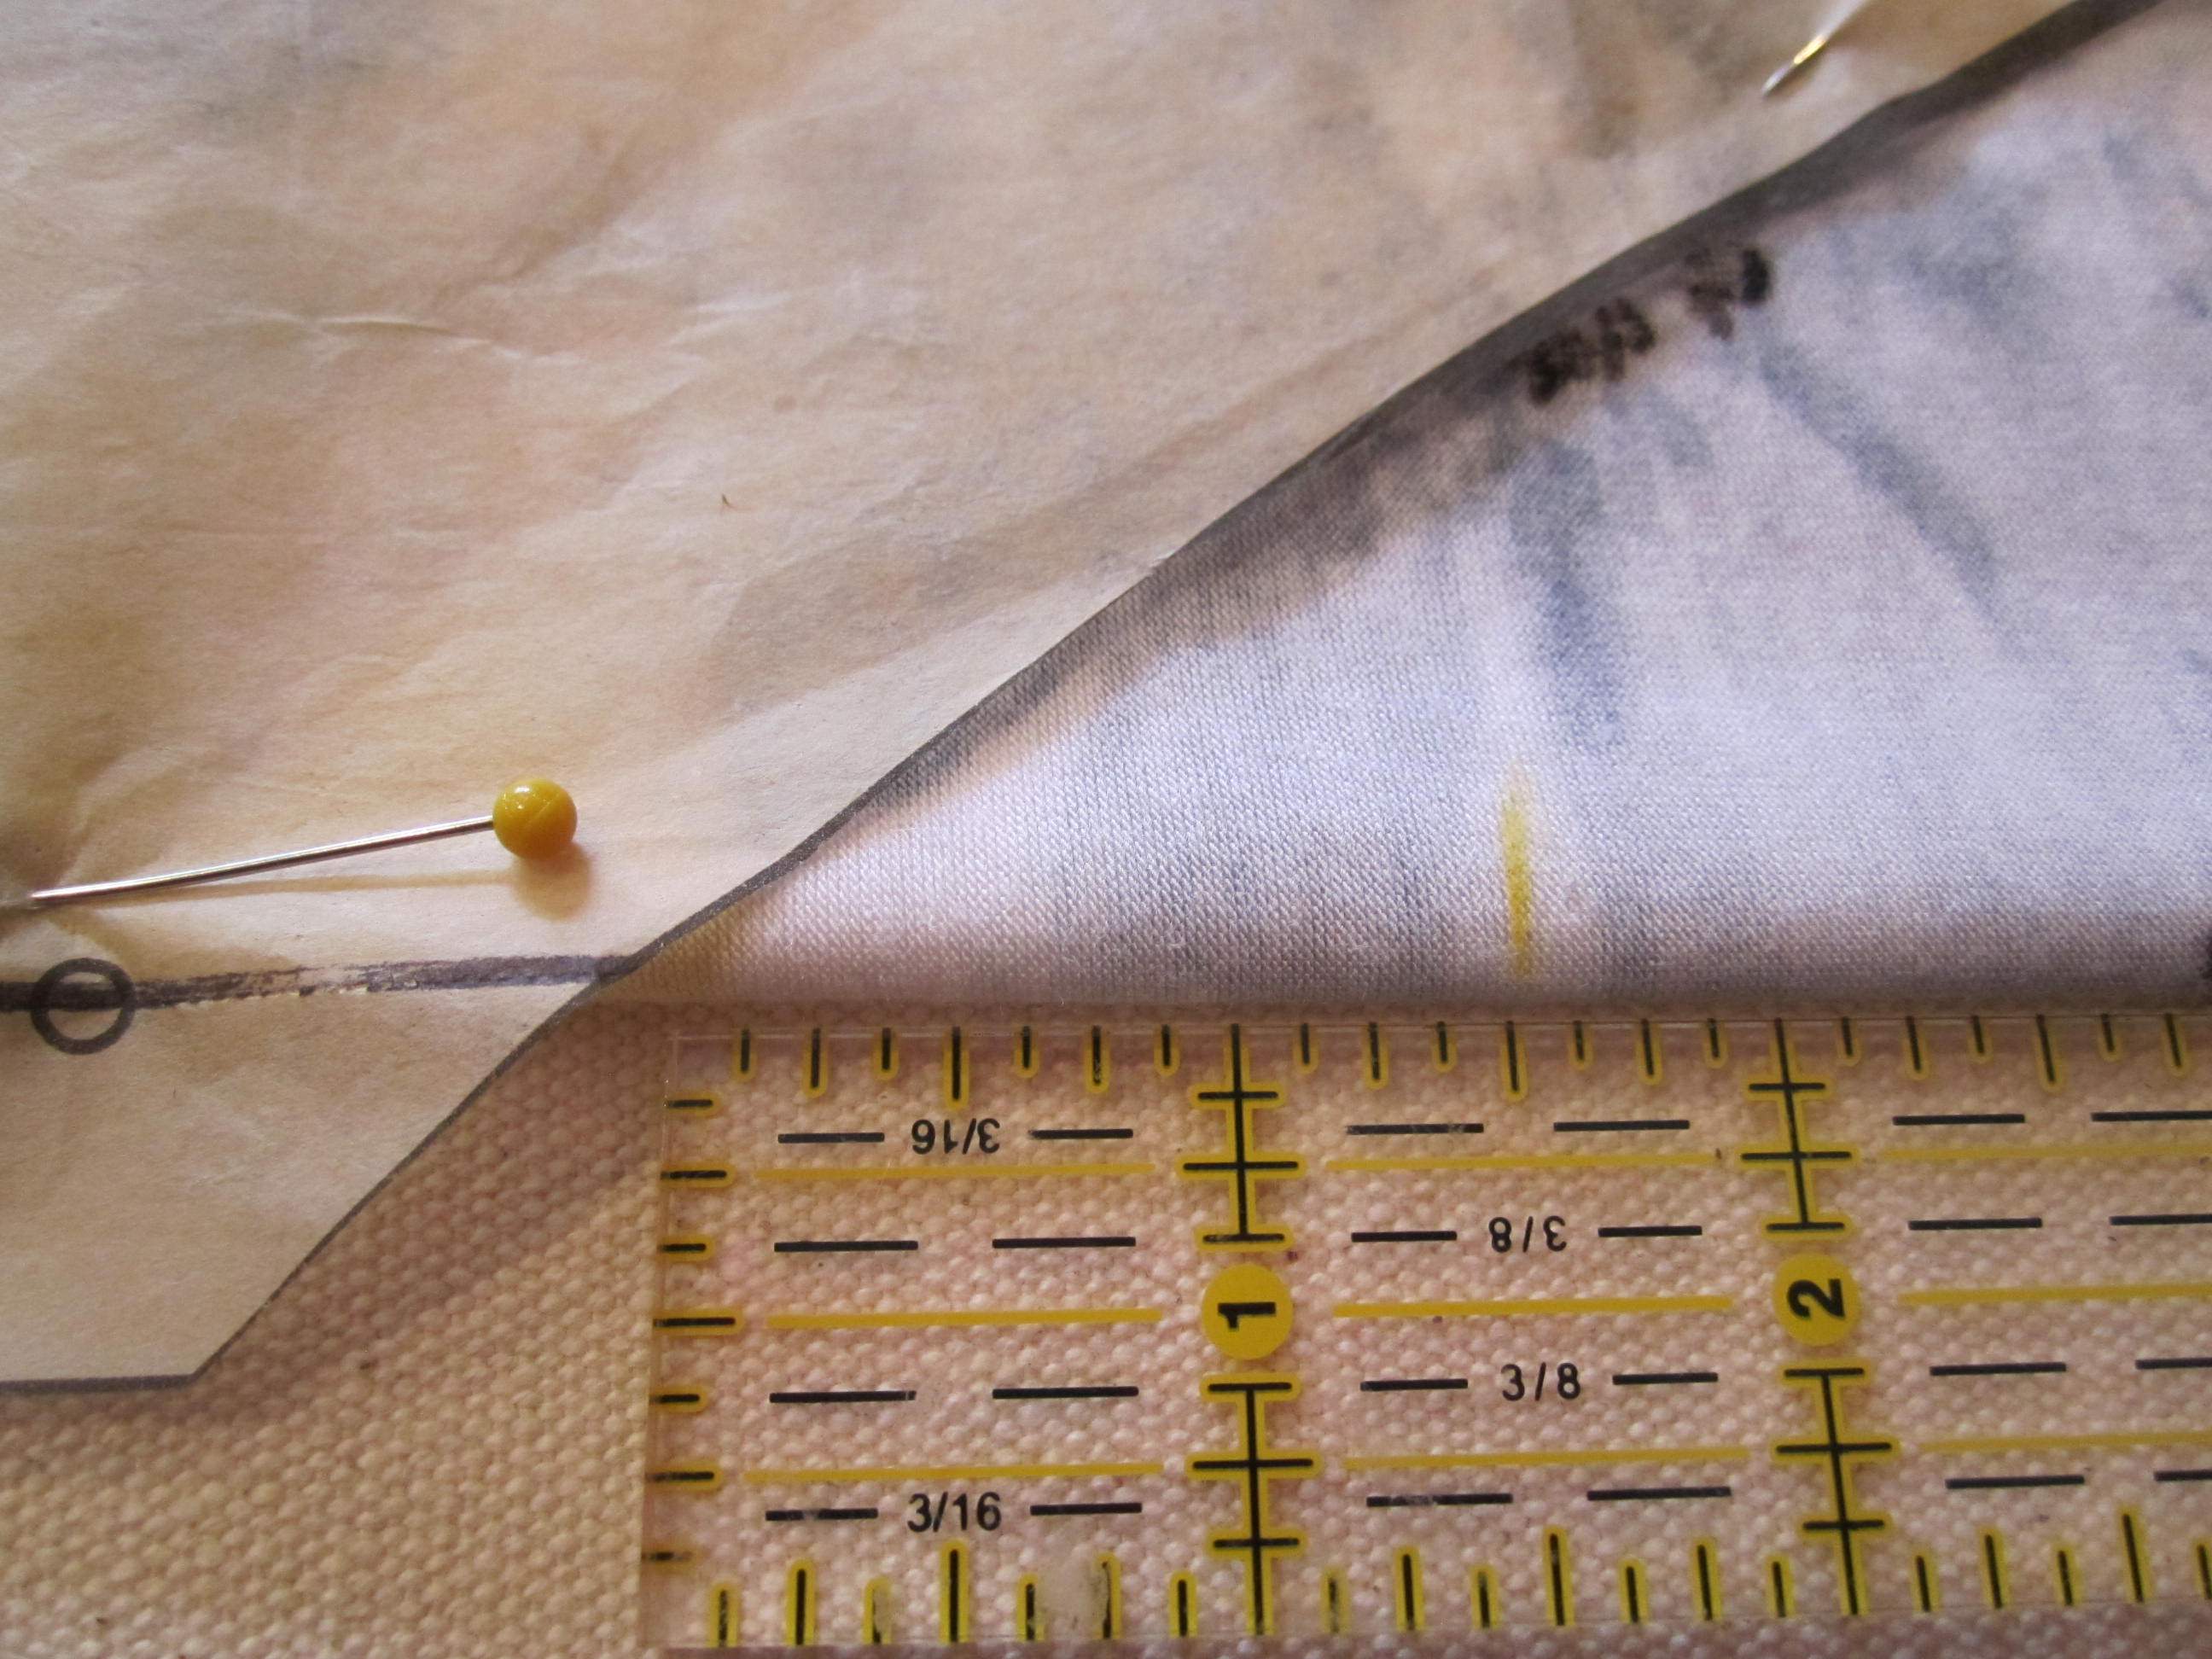
We also felt the neckline was too low. Here she is making the adjustment to the neckline...
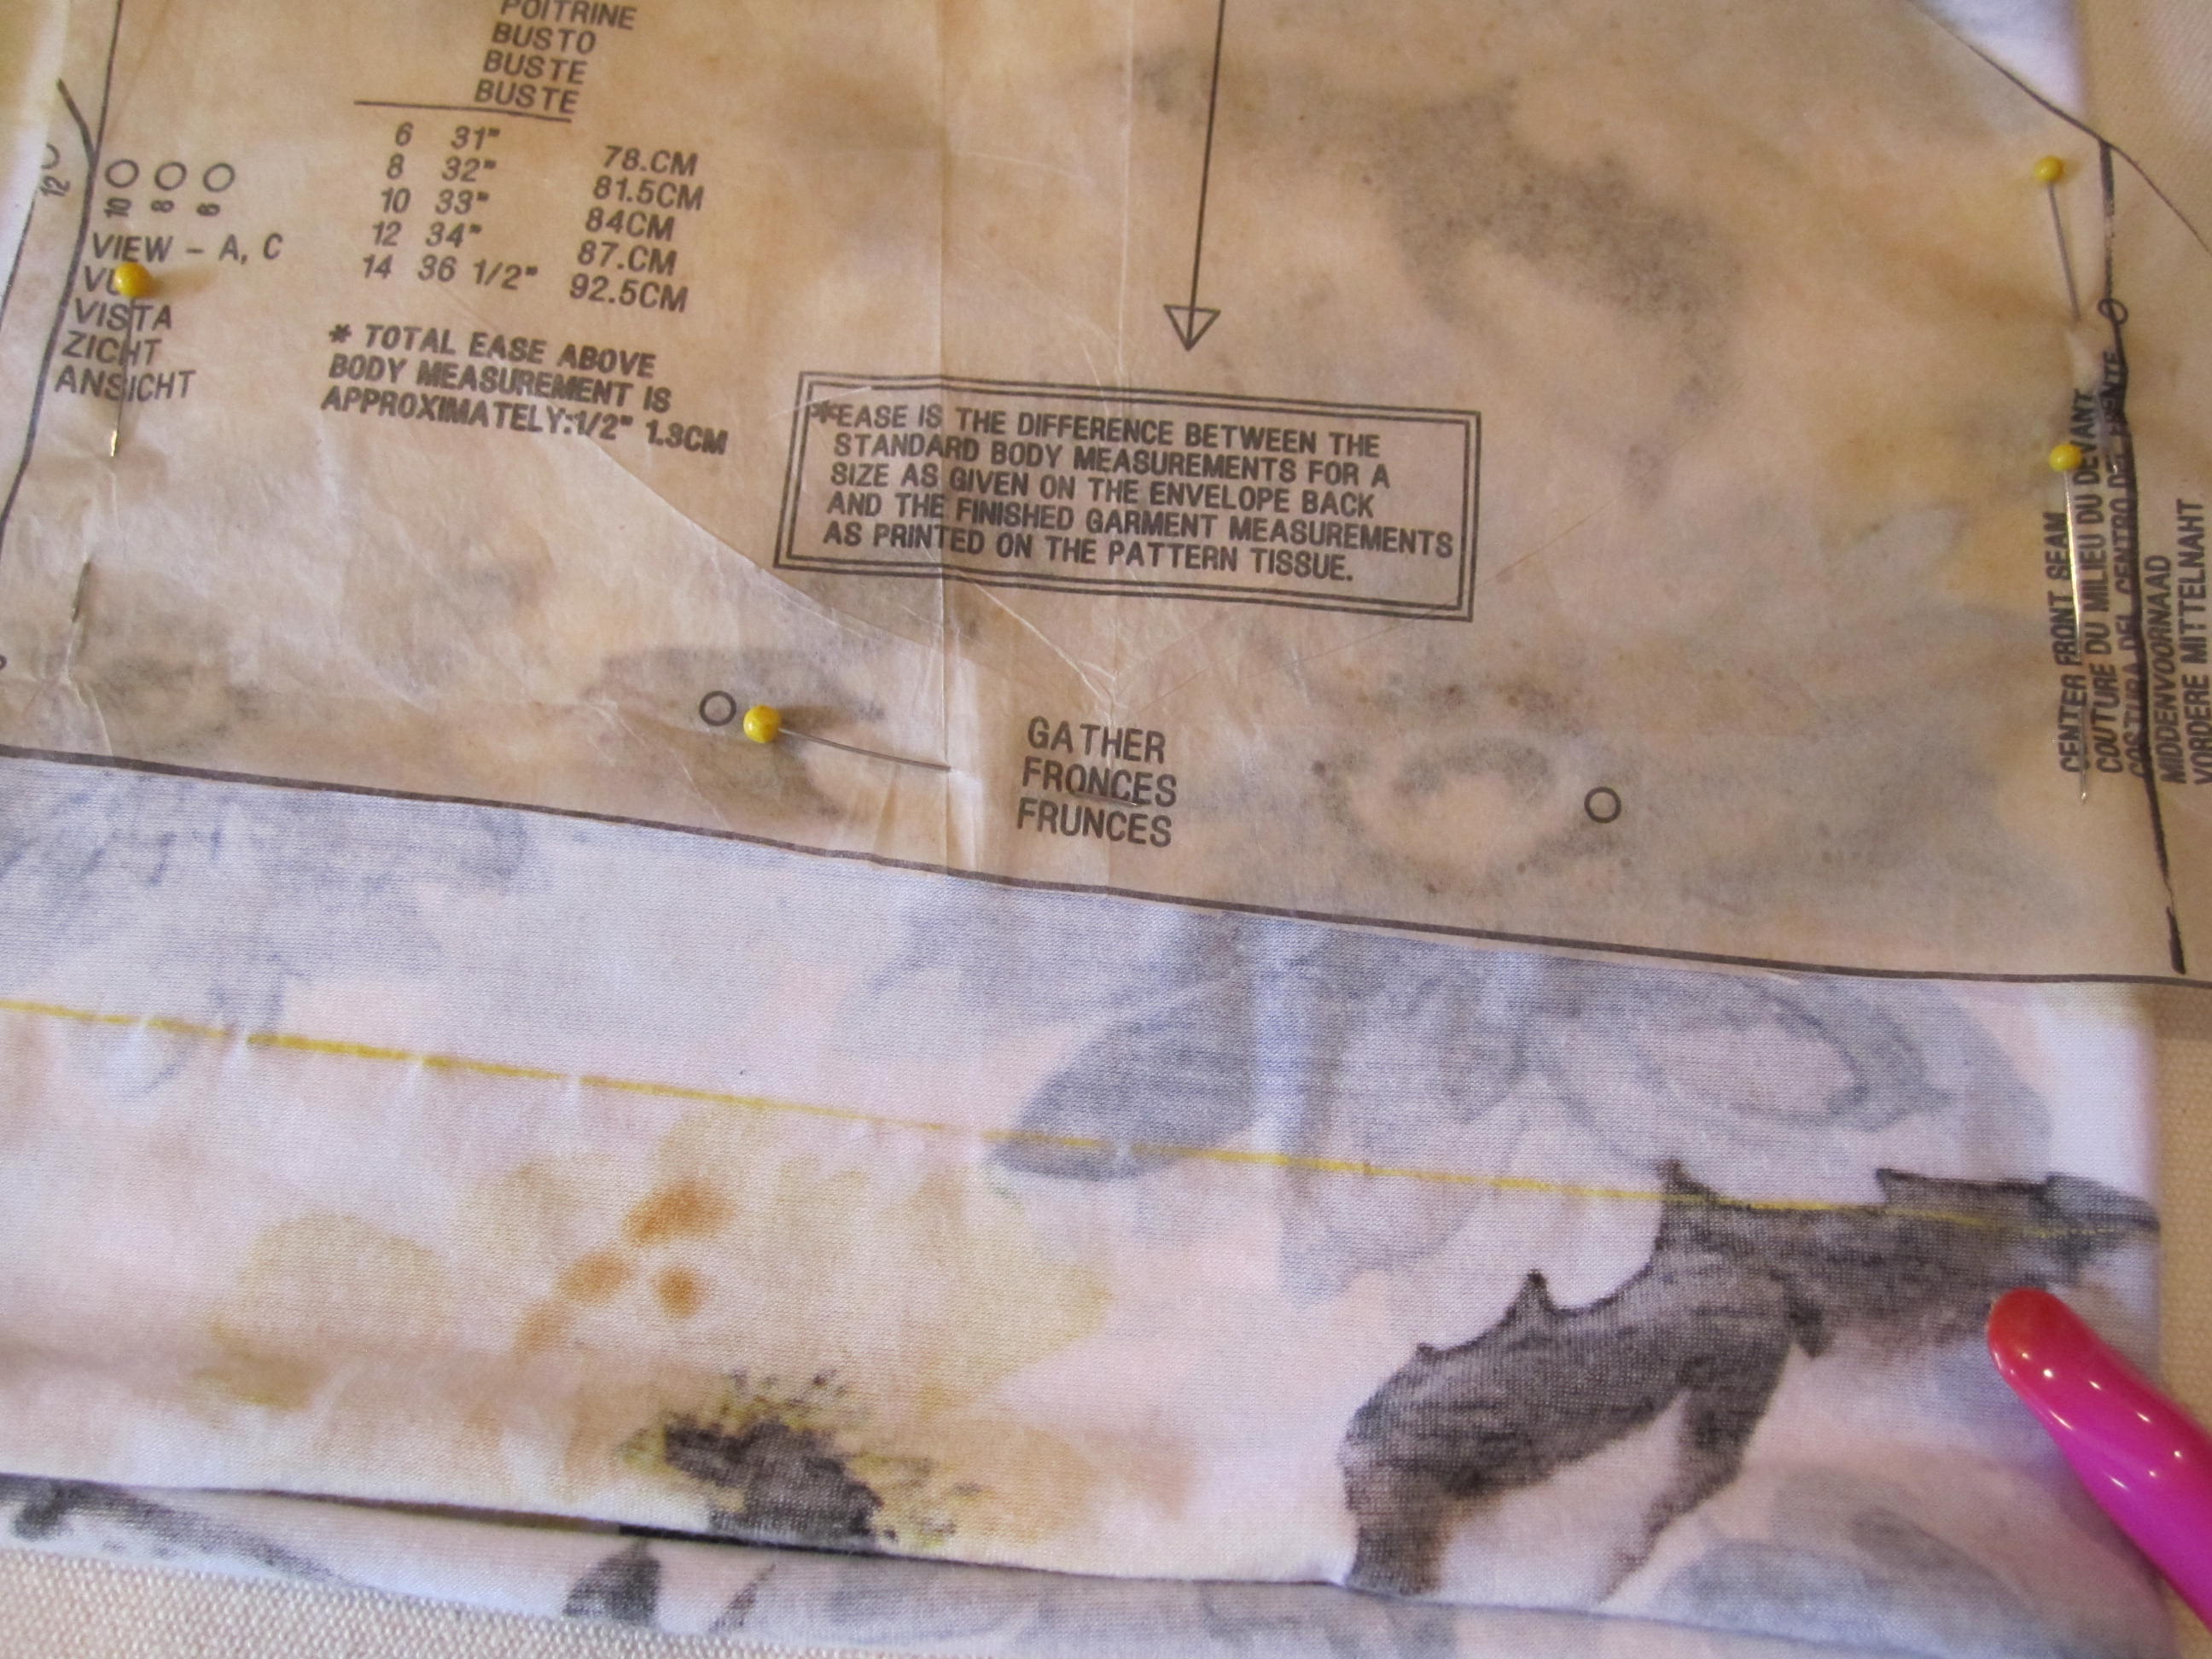
The last tweak was adding length to the bodice. The pattern called for the twist to be right below the breasts. Besides the fact that I have a long torso, it just felt too high to us so she dropped it down a bit. From looking at the finished dress you can see it is still pretty high. It really wouldn't have worked on my torso the way the pattern called for.
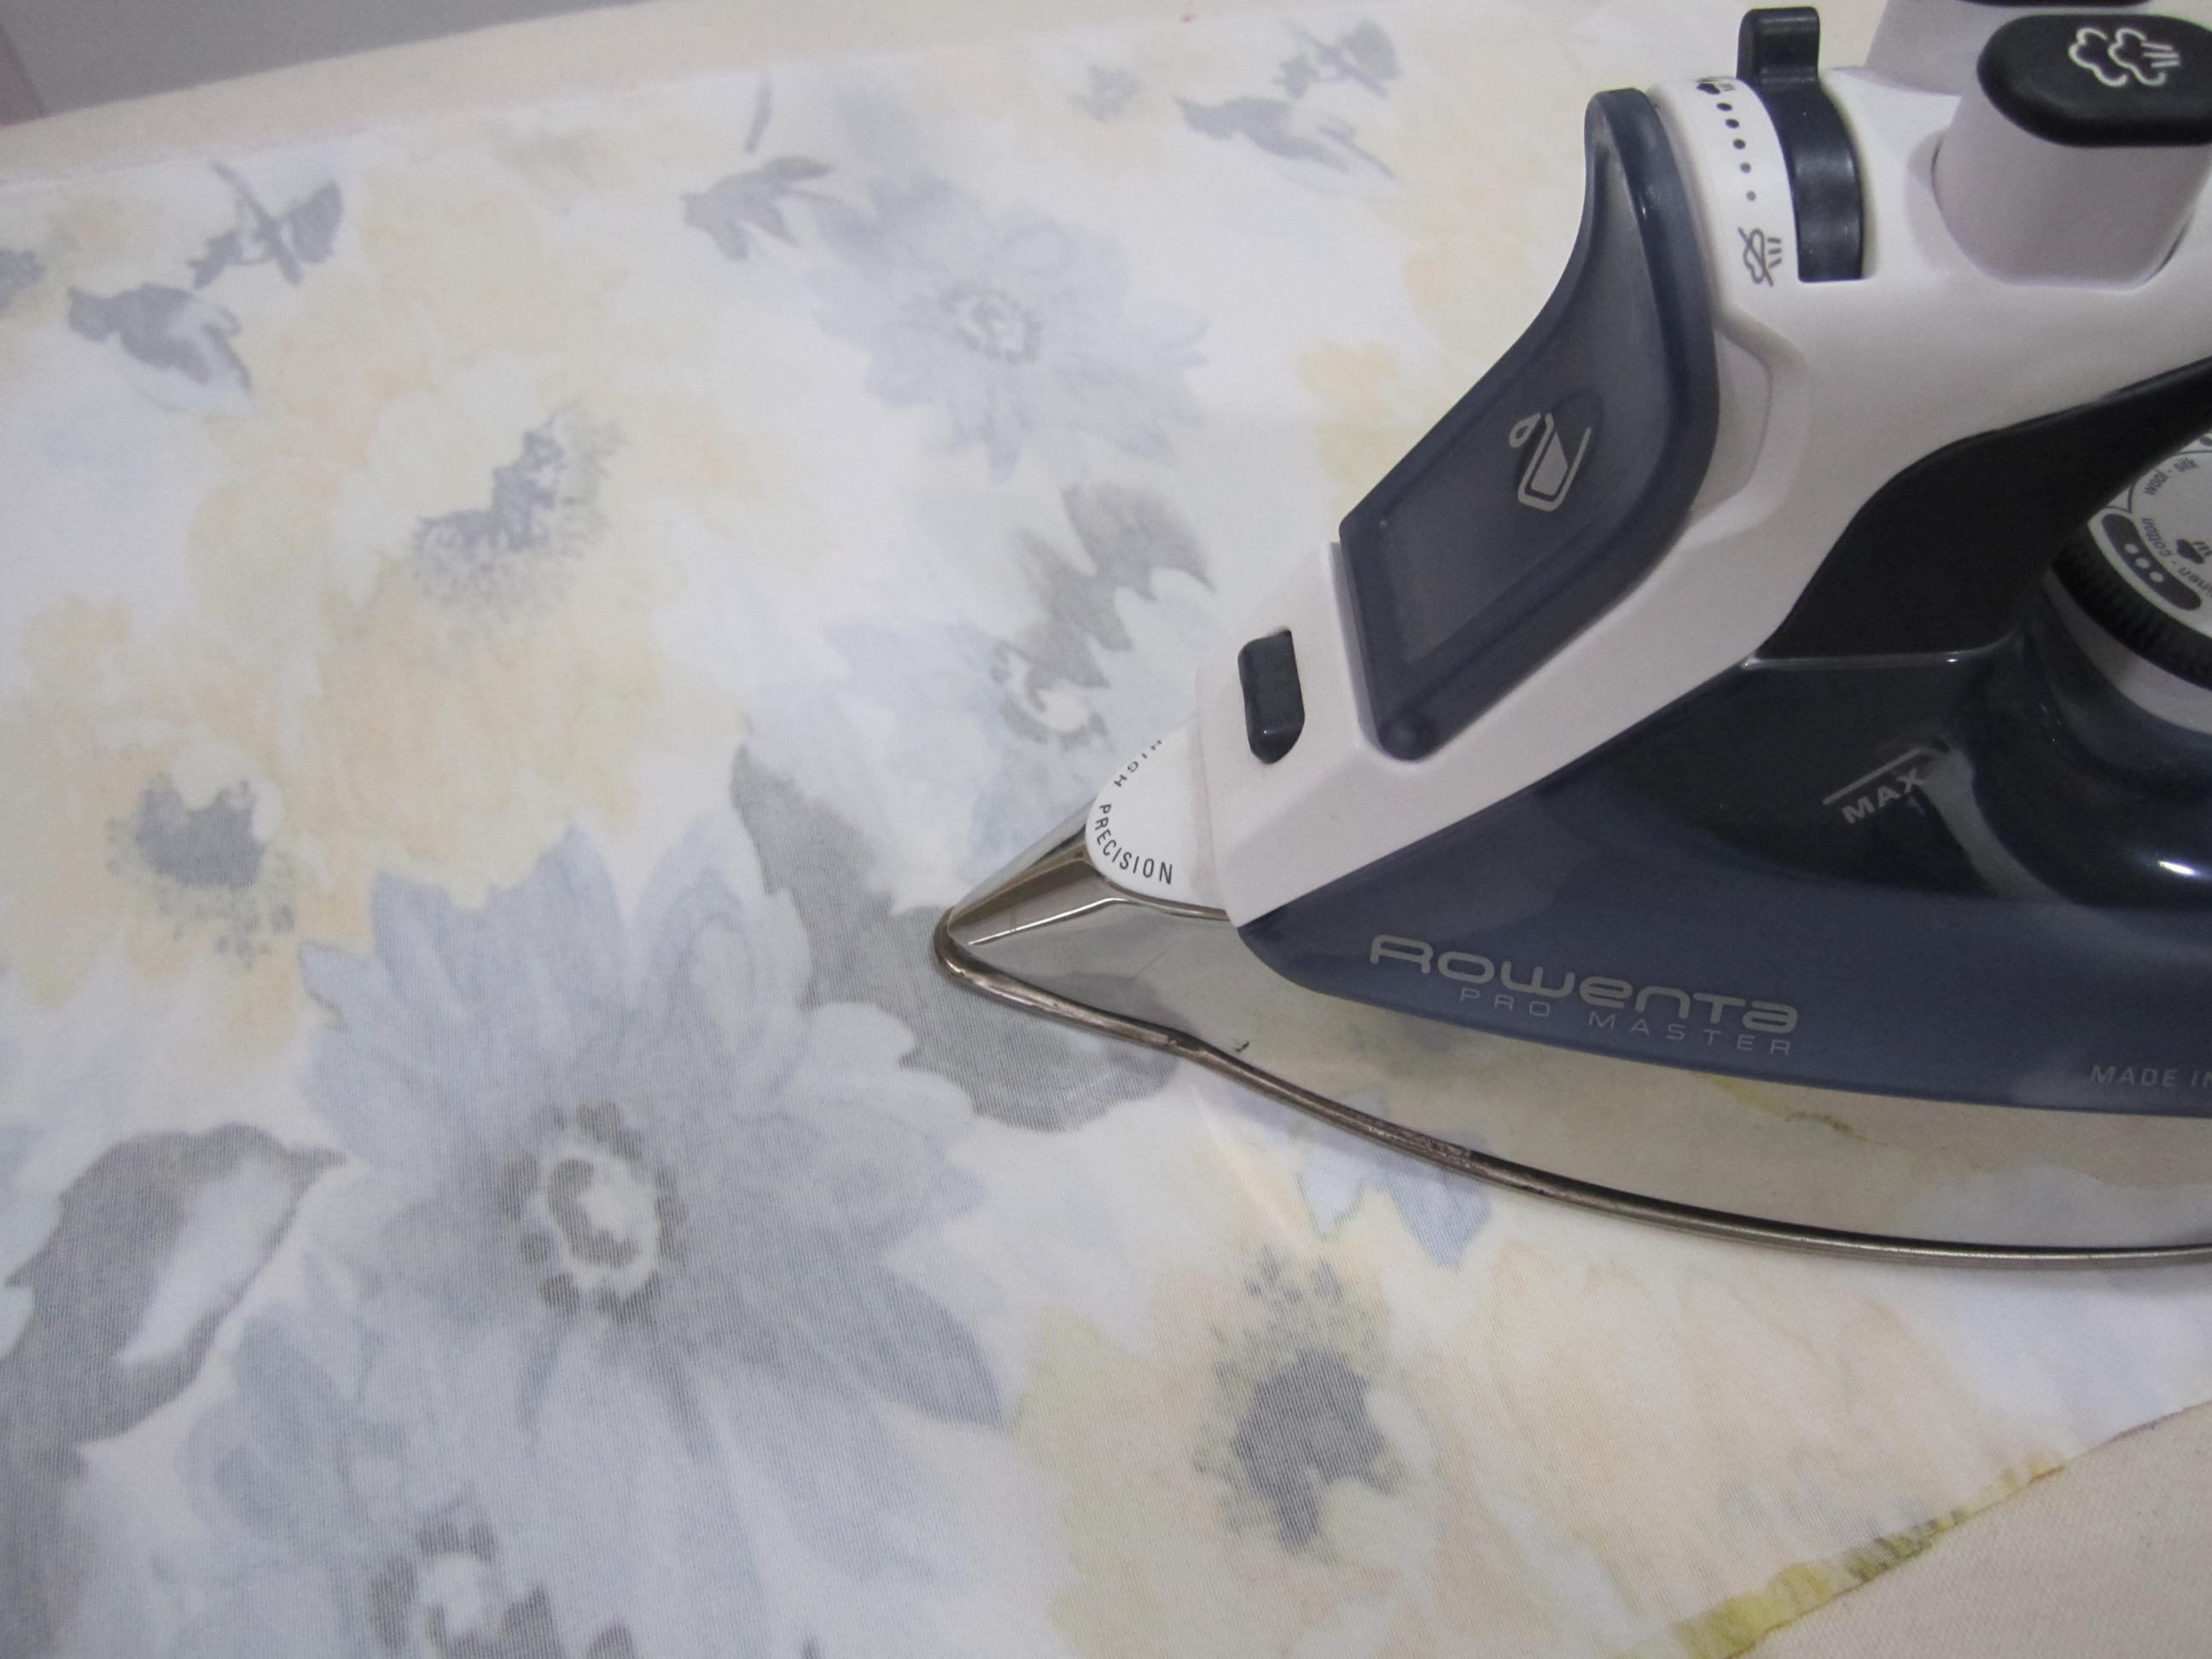
Next she ironed the interfacing onto the fabric before she cut the pattern out. Doing this helps prevent any possible shrinkage to pattern piece.
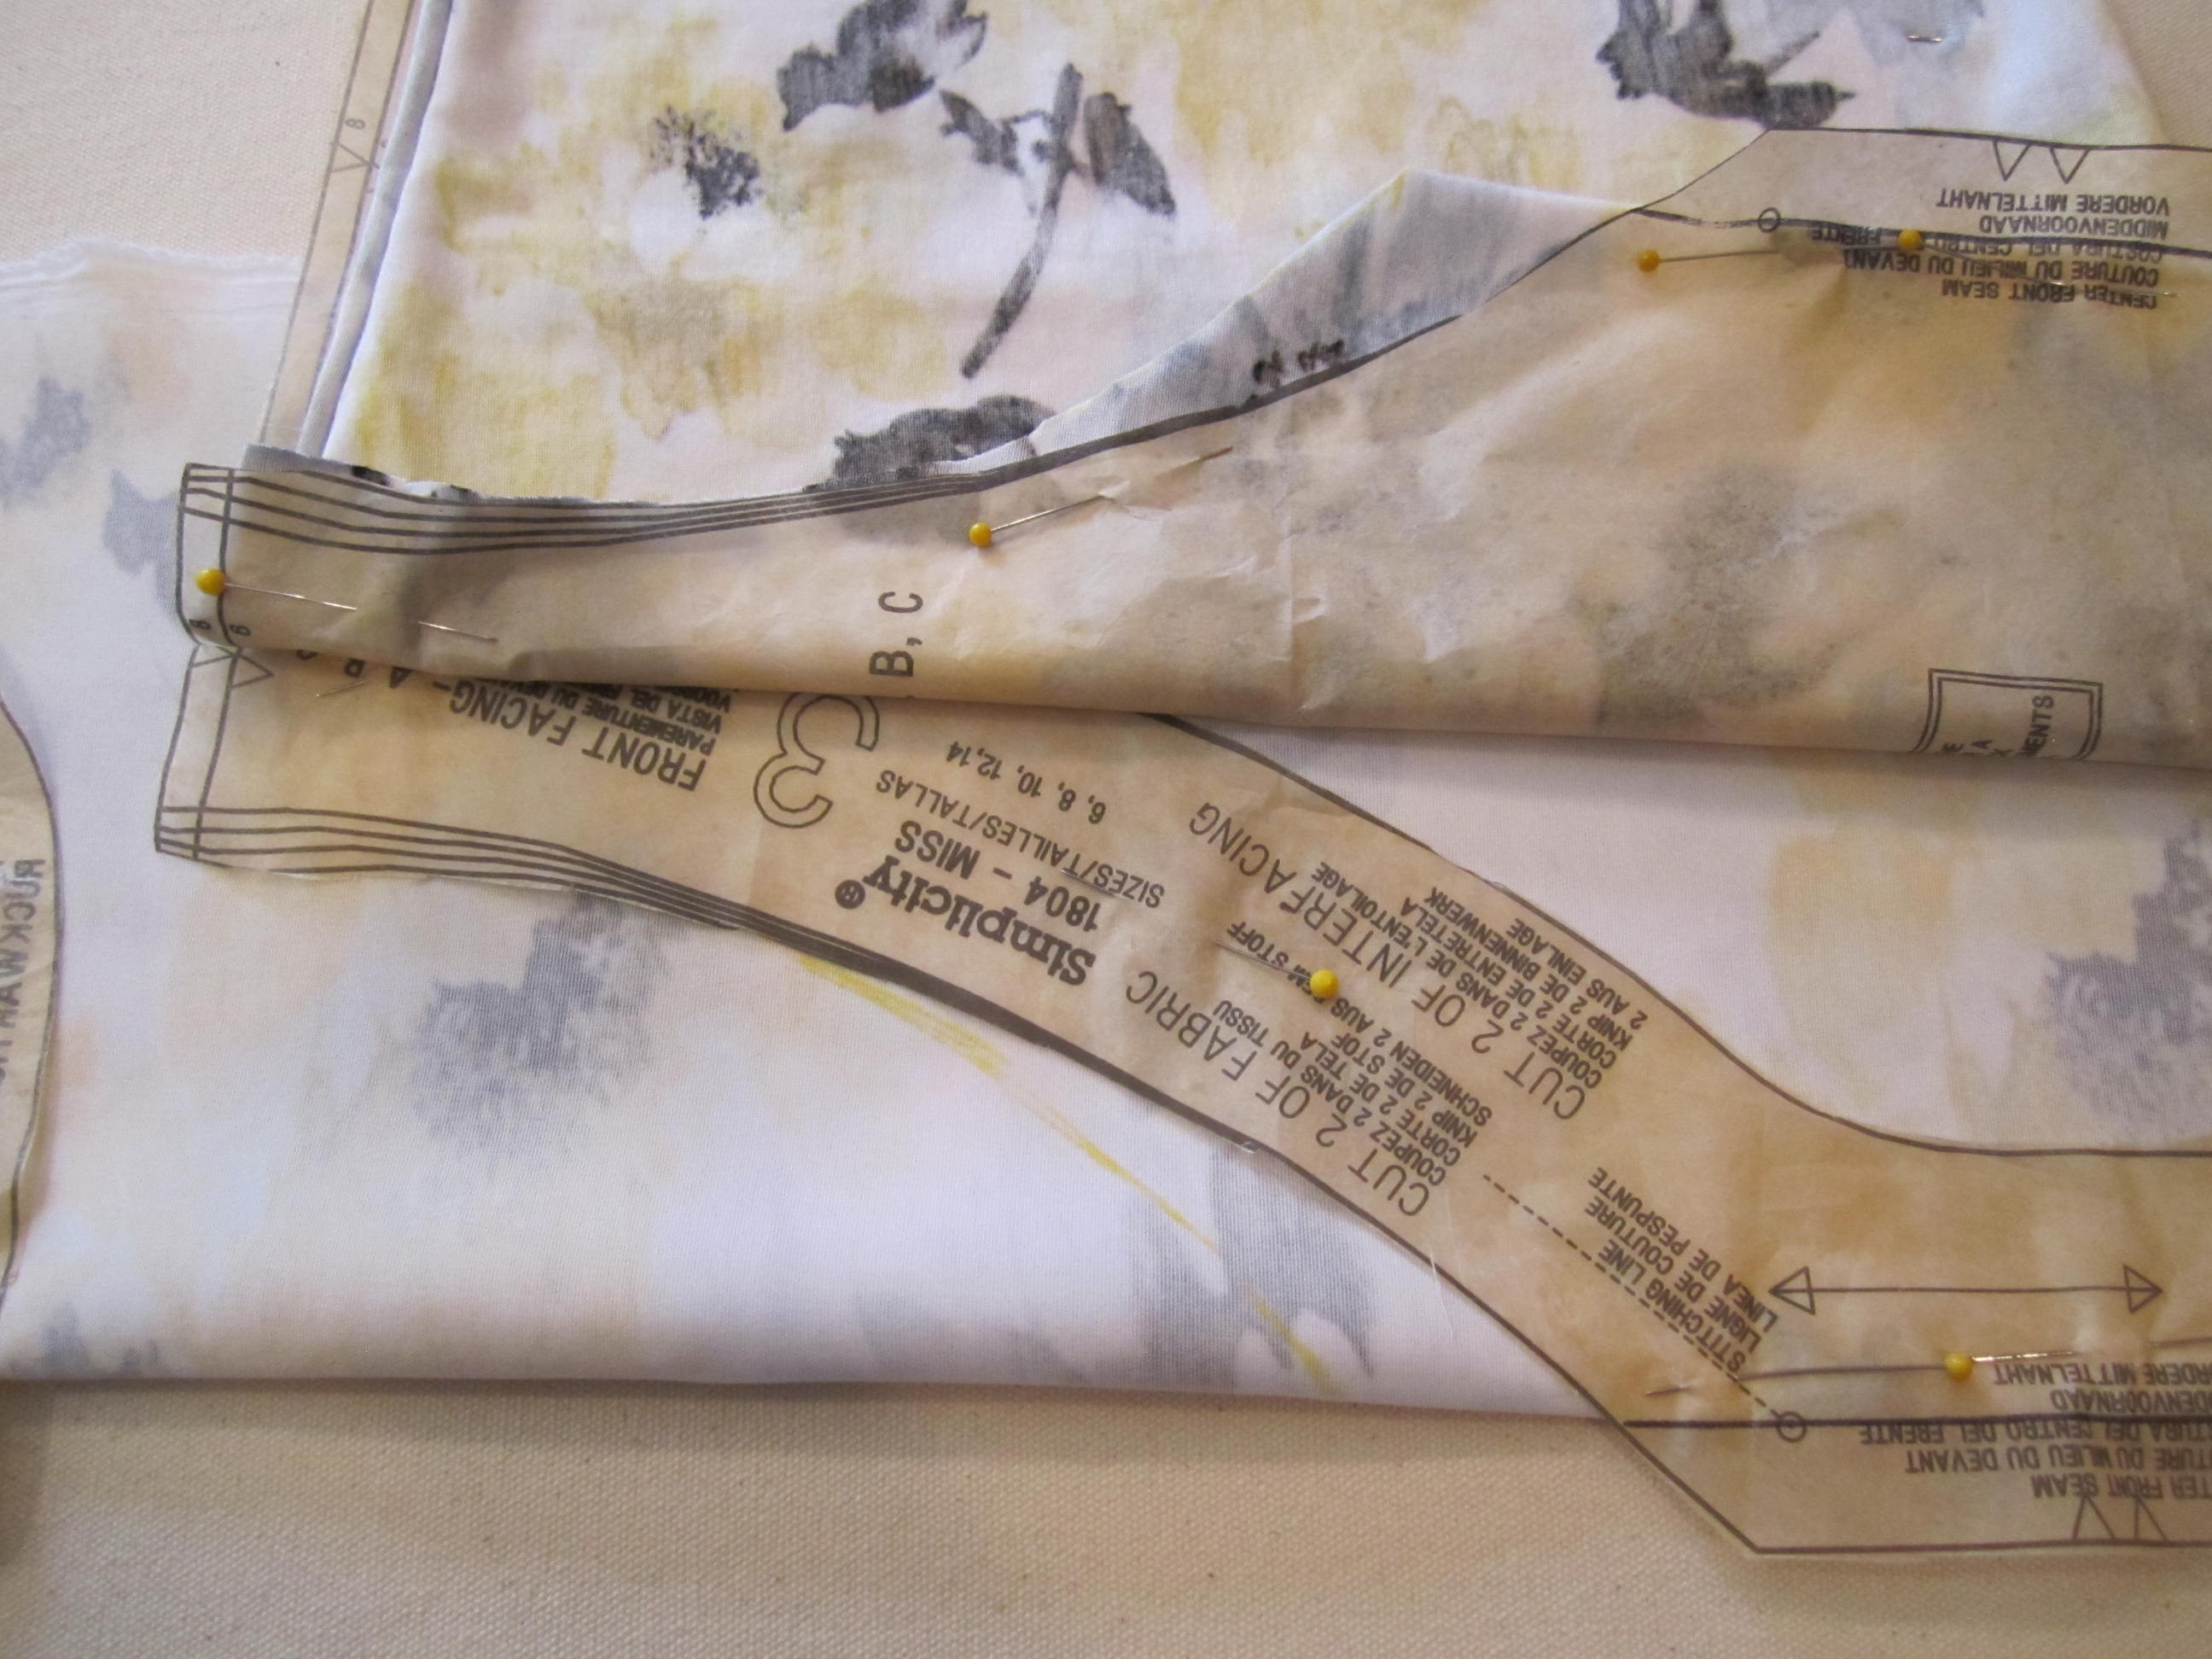
Lastly she had to make some adjustments as she was pinning to make sure everything lined up and then it was onto sewing.
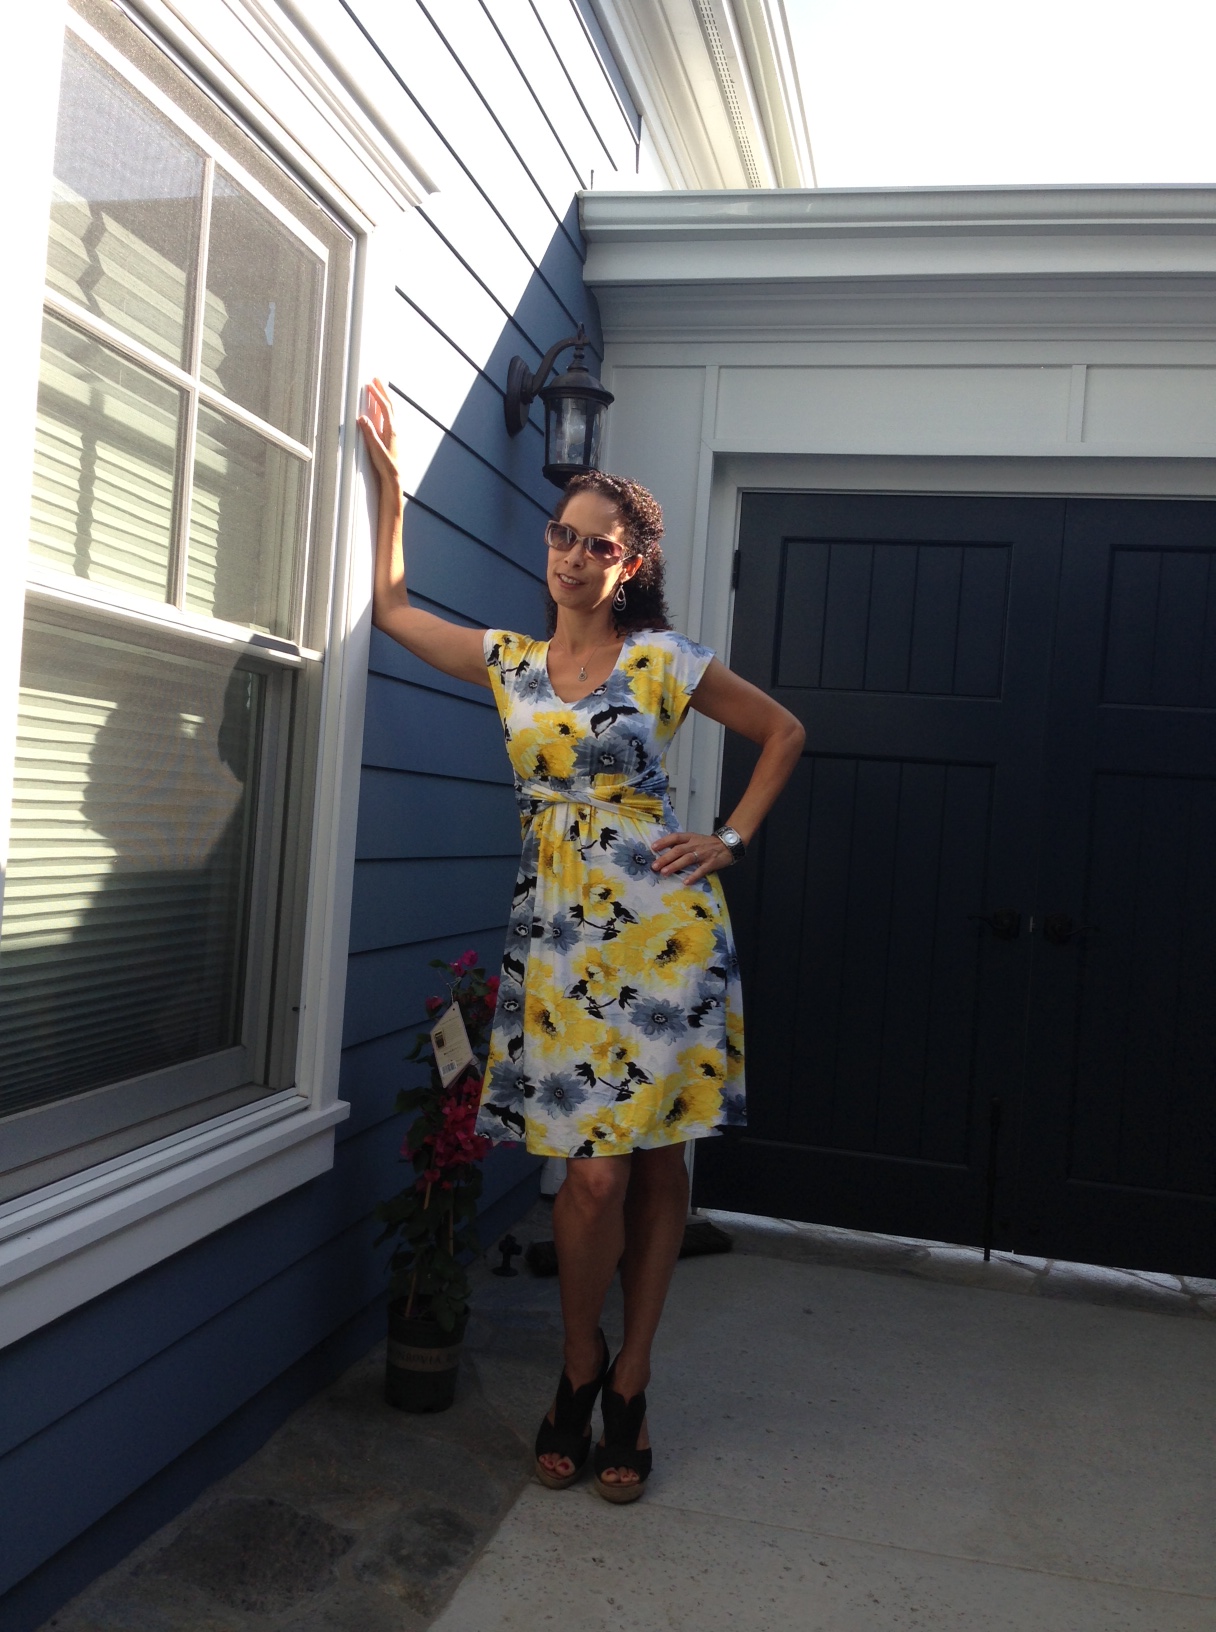
We decided to make the second dress shorter. Personally I like a little leg and I just thought it would be nice for our readers to see it both ways.
So here is the finished dress. I wore it to work today and had so many compliments. It is always fun, even for our employees, to see the fabric come to life.
I really like the style and comfort of this dress, as it's perfect for work or going out to lunch on a weekend. Just be prepared you may have to tweak the pattern a bit to fit your individual body. Thank goodness Robin has a great eye and could make it work.
Any questions, please let us know.
Thanks & enjoy!
Regina & Robin