Showing posts with label home sewing. Show all posts

Tuesday, July 2, 2013

Dream House, Construction, Part II

So finally the worst was over. The major dust had settled and it was time to watch the pretty stuff roll in. This island, in Winter Cloud Quartzite, made me so happy. It gave me the loook of Carrera Marble, with all the durability one needs when you have three children. Especially one five year old who loves to paint and craft.
Image

During the building process I was always walking through the home decorating store and looking at fabric. I was just waiting for that one piece of fabric to jump out at me and finally it did.
Image

This Braemore fabric had everything I was looking for. The house has an East Coast feel, yet has many modern touches. I wanted to use various shades of turquoise throughtout the house and keep the walls pretty nuetral. It gave me a relaxed beach feel and reminded me of our travels to Hawaii, without being kitchy, yeIt it felt fresh and modern. It was perfect and I was so excited! I am so glad I found this so early in the process. It really influenced many of my choices. My wall color is the light taupe grey and the hardwood floor is the dark brown.
Image The backsplash behind the range and in the kitchen, laundry/mudroom, and the girls bathroom are all different shades and shapes of turquoise and green glass tile .

Image

Image

 The house is pretty open and only has one living space. It is anchored with a long firebox, book shelves, and a television. The stone I picked out, Silverwood Marble, is also a taupe grey/brown that works really well with the fabric.

Image

Honestly, for the first few months I wasn't sure when this fabric would show up, but I always knew I would use it. As the months went by and my piece traveled to every store with me, I finally had that ah-ha moment. It would be perfect for the drapes in the dining space. Now that we just got a couch, which sits ajacent to the dining space, I am planning on using it for a few of the decorative sofa cushions.

Next week we will be making the pillows for the kitchen banquet. From the kitchen you can see the living and dinning area, so I am still usng some turquoise, but will be adding a pop of red to go with the red bar stools abd banquet chairs.
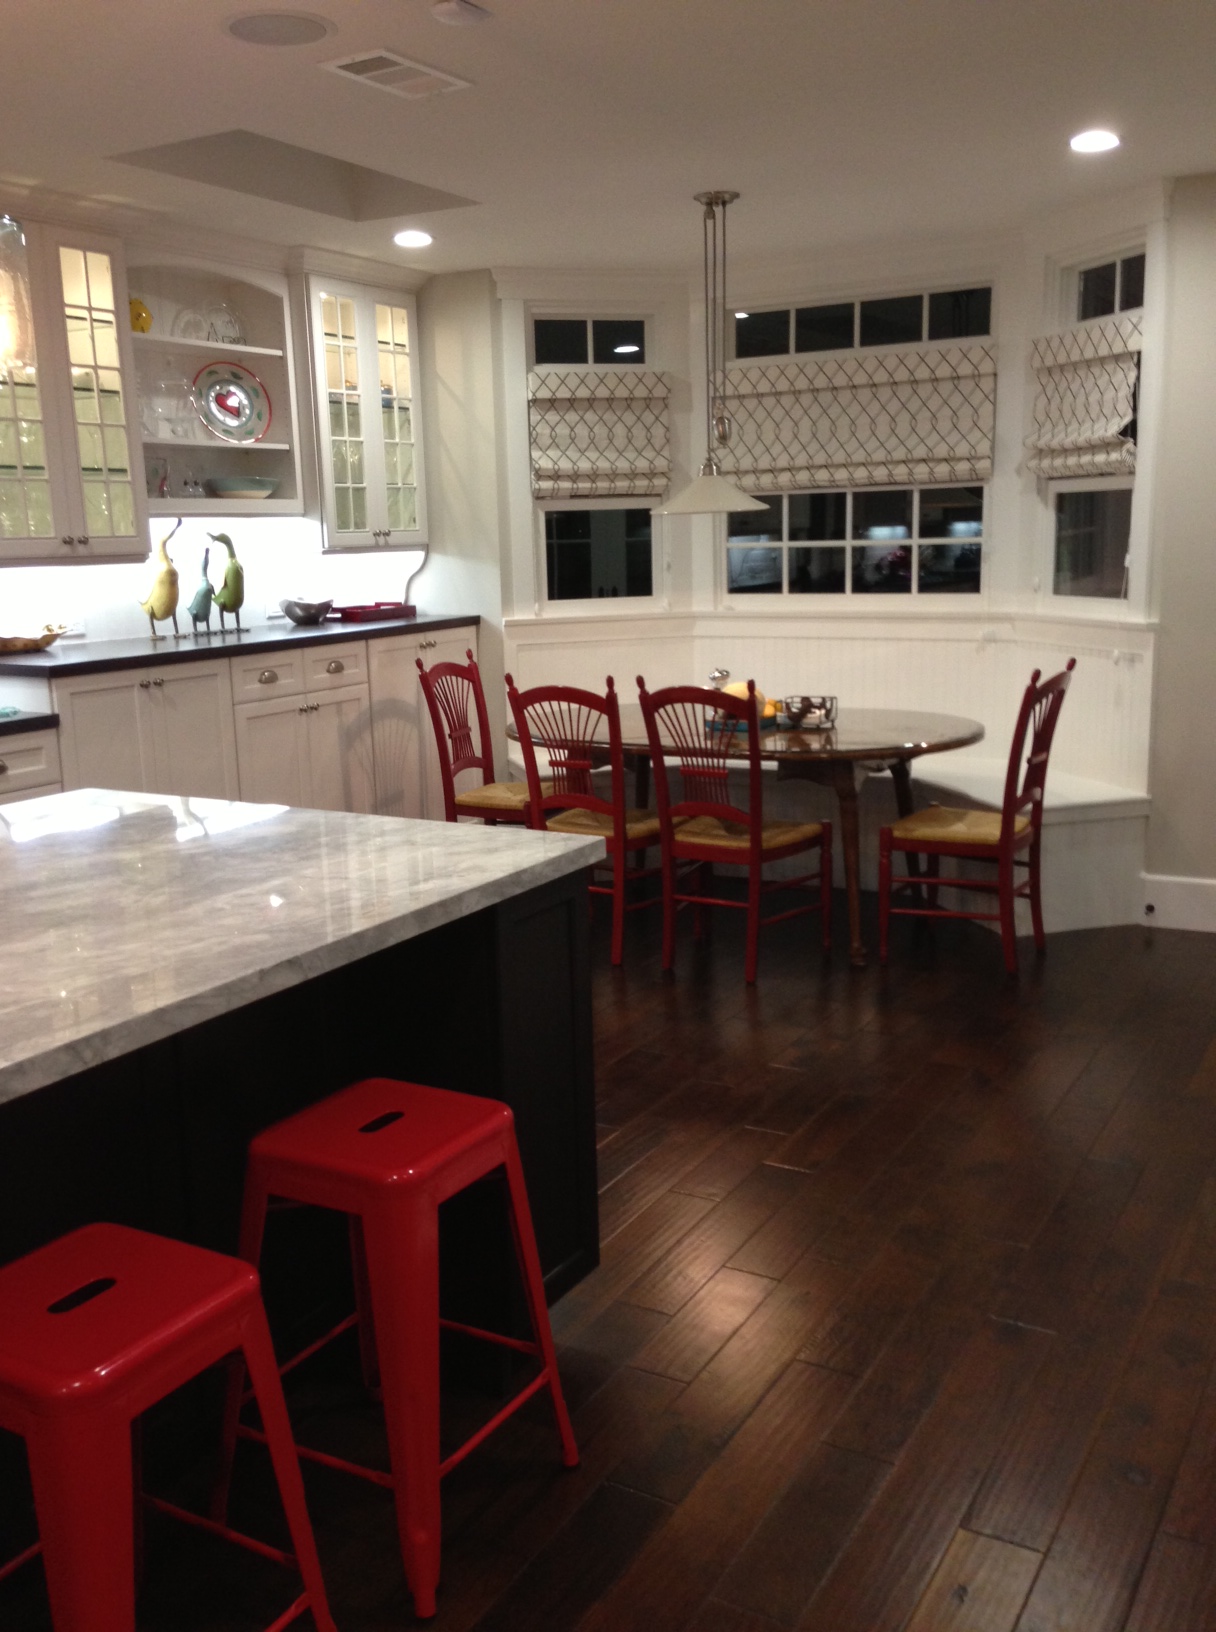
photo copy 10

Check out our Instagram account to see the fabrics I finally decided on yesterday. I really love them and think they will bring this space to life.

Enjoy!

Monday, November 14, 2011

Rest Your Head On A Personalized Pillowcase!

Making a pillow case as a gift, to donate, or for yourself is a wonderful way to bring a personal and unique story into someone's sleeping space. I like to make pillow cases for my close friends and loved ones for holidays and birthdays, or when they are setting out on a journey or moving to a new place. A pillow case is easy to make, it's small and packs flat, and it can be made very special just by the unique variety of materials you choose to combine. What's a better place to rest one's head than on a one-of-a-kind, made-with-love pillow? Or, if you are looking for an easy weekend project and are interested in sewing for a cause, there is the "1 Million Pillowcase Challenge" hosted by AllPeopleQuilt.com. Here are some pictures of the pillowcases Denise made using their "Roll-It-Up" pillowcase method:

I recently made a pillowcase for a friend who was moving to the southern Pacific island of Palau. I chose an appropriate variety of appealing cotton prints from Michael Levine's, all with an island air, in a palette of sea greens and azure blues, and featuring tropical foliage, birds, and flowers. It isn't the first time I've made a pillowcase as a "Bon Voyage" gift, because as I mentioned before, a gift for this occasion must be practical and pack flat. He later wrote to me and said "I had to stay in a shady motel the first night, so your pillowcase saved me!"

Before you begin, be sure to choose fabrics that are 45" wide, 100% Cotton. You may also want to pre-wash and dry your materials to prevent uneven shrinkage. I recommend that cotton prints be machine washed in warm water and tumbled dry on warm, and then pressed smooth with an iron on the cotton setting.
1. Cut the fabric using this guide, although you will probably be using different fabrics for each piece:

You will need:
7/8 yard of main FABRIC A1-1/2" x 45" strip of piping FABRIC B3/8 yard of band FABRIC C

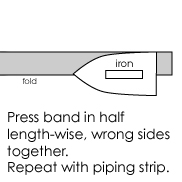
2. Press both band and piping strip in half lengthwise, wrong sides together:

3. Place main fabric (A) right-side-up, design facing you. On the right-hand edge (which will be a 45" edge), layer the piping strip (B) and then the band (C), all raw edges aligned on the right. Stitch together using a 1/2" seam allowance, then serge if you wish. If you would like a no-serge pillowcase method, check out this video.


4. Open and press band to the right, while pressing piping strip to the left:

5. After pressing, topstitch 1/8" from left edge of band:


6. Fold pillowcase in half, right sides together, wrong sides out, aligning both ends of piping and band. Edges should form squared corners. Starting at top right corner of picture below (band edge / pillowcase opening), stitch and back-stitch, then stitch long edge, pivot at corner , and stitch short edge. Serge if you desire.

7. Iron seams flat, turn pillowcase right side out, and press and steam all seams flat/smooth from outside. You may want to launder once more before using, to soften it up a little.
8. Lastly, if it will be a gift, I like to add a ribbon or bow. Fold or roll up the pillowcase, and tie it with a ribbon or a coordinated strip of silk georgette like I did:

Next time you are looking for a very personal and meaningful gift to give, I hope you will think of this tutorial and give the gift of sweet dreams!

Tuesday, September 27, 2011

A day in the life... from arrival to departure at Michael Levine

Ever wonder what it's like to be a roll of cloth at Michael Levine's? Well here's a behind the scenes view of our operations!
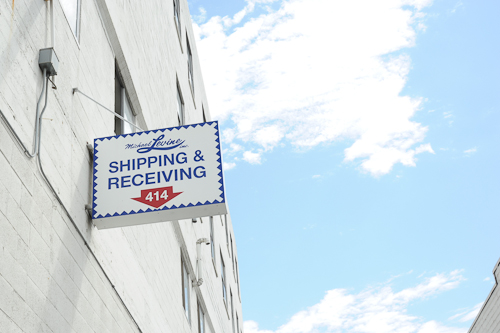
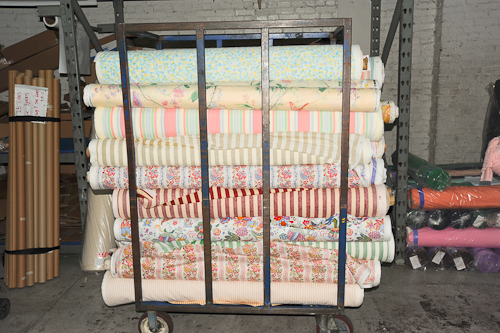
Nearly every day, shipments of new fabrics arrive by truckloads at our warehouse, located right next door to the main store.


New items are unloaded and checked in by warehouse staff:


Some fabrics, as shown above, arrive on a double-fold board. But others, shown below, need to be converted by warehouse staff from large heavy rolls to a more easily-handled, double fold board.


The fabrics are then stickered with prices and other unique information used to track inventory and costs.


Some fabrics are then moved on carts to one of three floors of our expansive warehouse, and down a specific aisle, to a specific shelf.
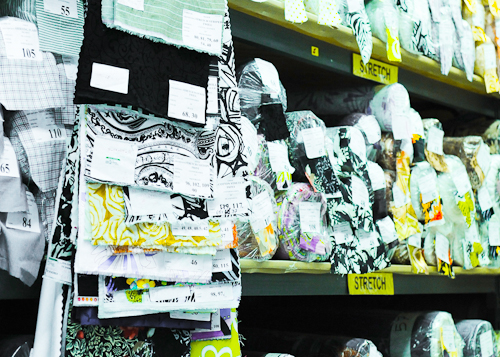
Fabrics are organized by the category and department of our store to which they belong, and then further organized and stacked by color and price.
The warehouse is a great place to visit when a customer can't find what they need in store, or if they need a larger quantity than what's on display. One of our staff will certainly be happy to bring you here if need be!


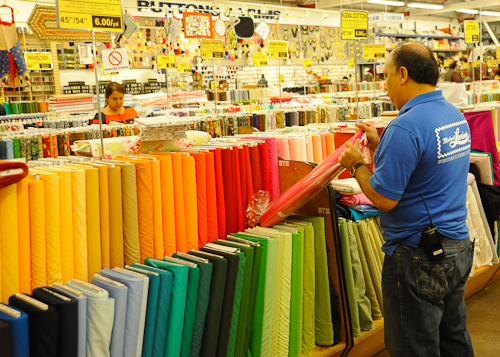
New fabrics that have not been previously stocked will await a different cart ride, which will take them over to our main store or home decoration store.  There, they will make their debut as new items:


Upon arrival at our stores, one of our floor clerks will take the new materials to the appropriate shelf, making sure that price labels are attached and that the rolls are not too heavy to handle. The fabrics are now available for sale!


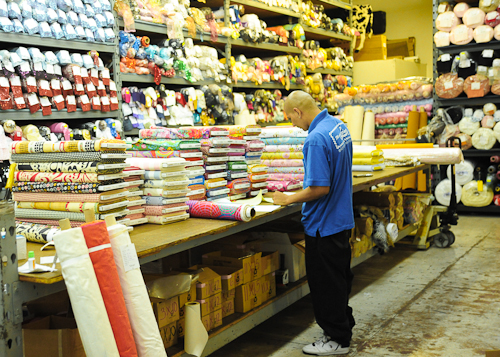
The last step before a material becomes a project is when it gets cut. Yardage is measured and cut at one of five tables and written up on a ticket for sale. This is where customers interact with our friendly staff and exchange ideas and sewing tips with one another.
We hope that next time you visit our stores or website, www.LowPriceFabric.com, you'll take a closer look and enjoy knowing what goes into the daily operations of Michael Levine! Oh...and if you're wondering what happens to those last little end pieces when we finish a roll of fabric, be sure to read the next blog entry about our discounted remnant shop, the Loft!