
For today, I just wanted to show you a few projects, both cotton and flannel, that are going up in the store.
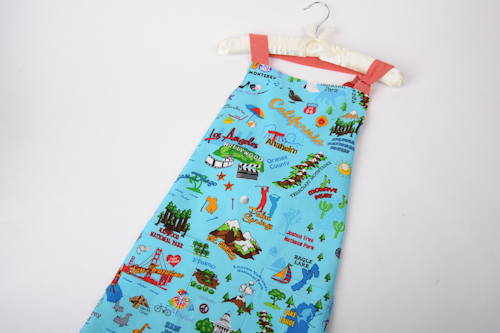
First the new California cotton print from Timeless. In one yard you get the best of California. Our sample maker decided top make an apron from it.
Here's the front:
and here's the back
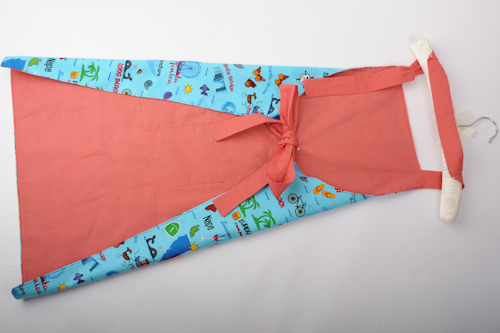
This free Apron tutorial is very similar to the apron shown here. Again, while I love this new print, remember to check out all our cotton prints and pick one that is just right for you or the person receiving this great apron.
Another cute line we're featuring with a sample is Marmalade Flannels and Vintage Modern Flannel from Moda.
We have it in both cotton and flannel. Both these collections have the wonderful feel of the good ol' days. They have found a way to take vintage charm and add a bit of modern geometric flair.
Both collections have an assortment of prints to pick from. In this stroller blanket we used three of them. Click here to see the entire collection.
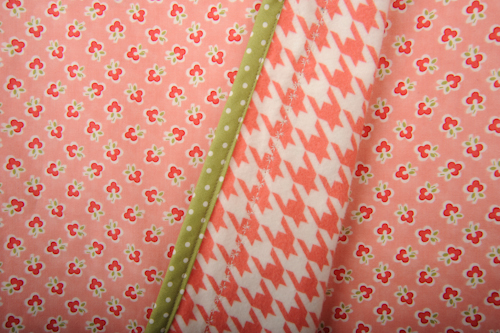
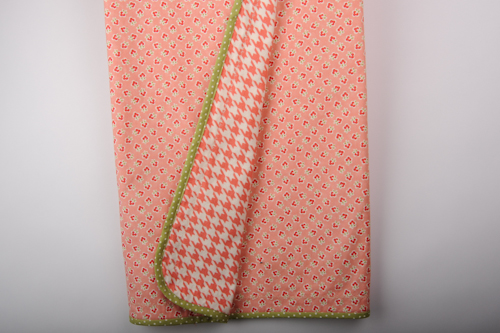
This blanket was made from a super easy pattern, not even really sure you can call it a pattern, more just a sheet of directions. Basically you get 1 3/4 yards of a one print and 1 1/4 yards of another print (cotton or flannel) and approximately 3 2/3 yards of ric rac or a contrast bias binding. You should always pre-wash both pieces before you cut them. Cut both pieces to the same size, 40' by 42' square. To add ric rac, put both pieces of fabric right sides together adding ric rac in between the two pieces. Stitch around the edge of the blanket leaving an opening of about 6 inches. Turn the blanket right side out and stitch the opening closed. Iron with steam. If desired, ric rac can be added to the outside of the blanket on the flannel side for a decorative look. Simply sew the two pieces of fabric together right sides together, turn right side out, close the opening, and add the ric rac on top to finished blanket. To make a blanket with binding, put the wrong sides together and add the binding edge on top of the cotton print side edge. Stitch 1/4 inch seam allowance around the blanket. Fold binding edge over to the back of the blanket and blind stitch by hand or machine.
The last sample is from the same collection. It is still in the process of being sewn, but I just wanted to give you a peek at this great patch work blanket.
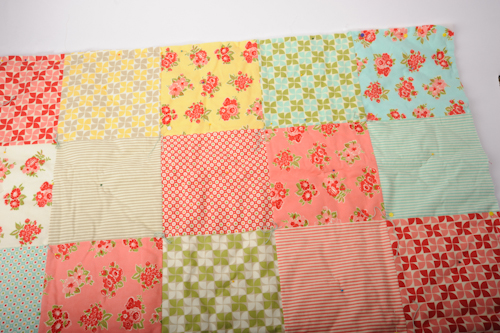
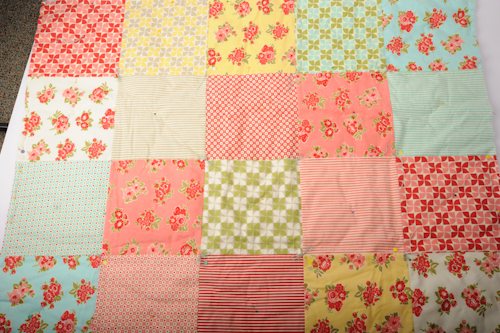
It is hand tied and not quilted. Really cute & simple. Again, I love this collection, and this quilt really shows off many pieces from it,but if you find yourself with less time than you anticipated you could buy our fat quarters, coming on-line next week, and whip it together in no time.
That's it for now. Keep checking our site all month for great new cotton and flannel prints. Also remember all our cotton and flannels are 10% off everyday.


